A relationship to a parent can be complicated.

On the one hand it can be a place of refuge and comfort. But on the other, it can also be genuinely heavy and infuriating at times. My Mother was all of these things - and many things in between. I wish she could have been a happier, kinder person (there was often a lot to be happy about all told). But I also know that she had a very hard time fitting in with others and I can deeply relate to that. I wish she had been more optimistic, but I also know she dealt with a lot of constant physical pain later in life. I wish she had opened her heart to more people and let more of the world in general into her life but, she also often told me that she “didn’t like people all that much”. Depending on the day, I can relate to this too.
She was human, she was complicated. Just like her youngest son. Just like all of us I suppose.
There are parts of her I see in me that I really hate. And yet, there are parts of me that are so intrinsically “me”, parts that I am so grateful for. Parts that I love. That I don’t know who I’d be without them. I regret that I never got around to explicitly tell you that, though I tried to live my life while you were here in such a way that you might’ve seen it. Hopefully you did at any rate.
The grand irony is that the one time in the last decade that she told me that she “had felt the best I have felt in years”, she was gone 6 hours later. I’m grateful that my last conversation with her was a good one, that it was sunny that day, that it was warm and that you sounded happy, optimistic even.
RIP Mom.
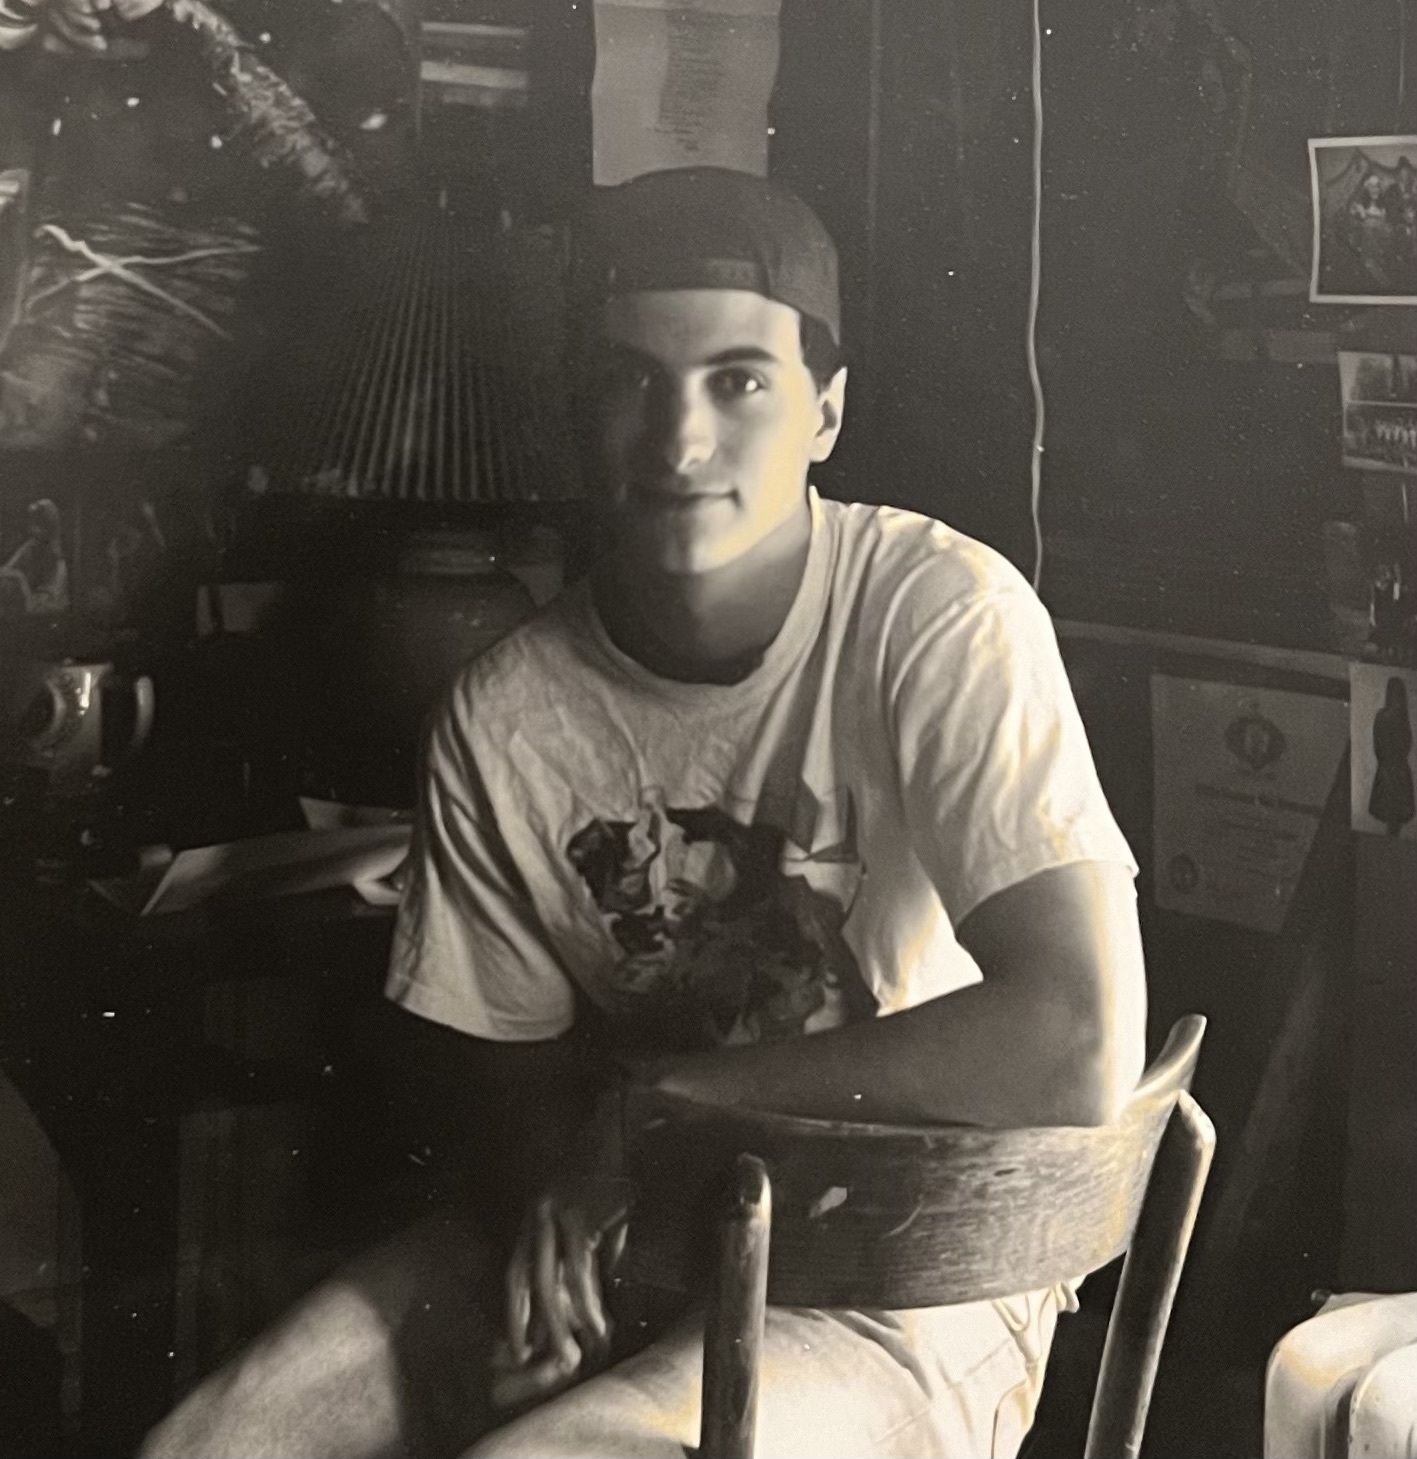
(About the pictures. I’ve always been told that I look a lot like my father but, these pictures were taken at roughly the same time in our lives and I’ve always loved how similar we look here.)
Got my first mechanical keyboard!
A low end Keychron (the Amazon exclusive one) with brown switches. Couldn’t resist the price and didnt want to go huge on something I may not be able to use over time (RSI issues and whatnot). I’ve wanted to move back to a mechanical keyboard for years now (after using them ages ago in school and different jobs) with the hope of possibly building my own in the future. Might be a nice hobby as I get older. 😊👴🏻⌨️
Anyways, we’ll see how it goes! The sound and feel of using it sure is lovely so far!
Not proud at all of the time it took for me to do this but...
…I finally deleted my Twitter account. I can’t offer up any valid excuses honestly. All I was using it for these days was the few hyper-local weather geeks that I followed on there, so I maybe would check it a few times a month?
So, yeah, while it feels good to have let that one go, it does make me pause for some self-evaluation when I think about how long that inner process took. 😕
After 4 years… it finally got me.
Mild symptoms at the moment but, I definitely feel ill. Bummed to finally catch it, but not surprised either with the numbers climbing as much as they have in recent weeks. 🤒😷
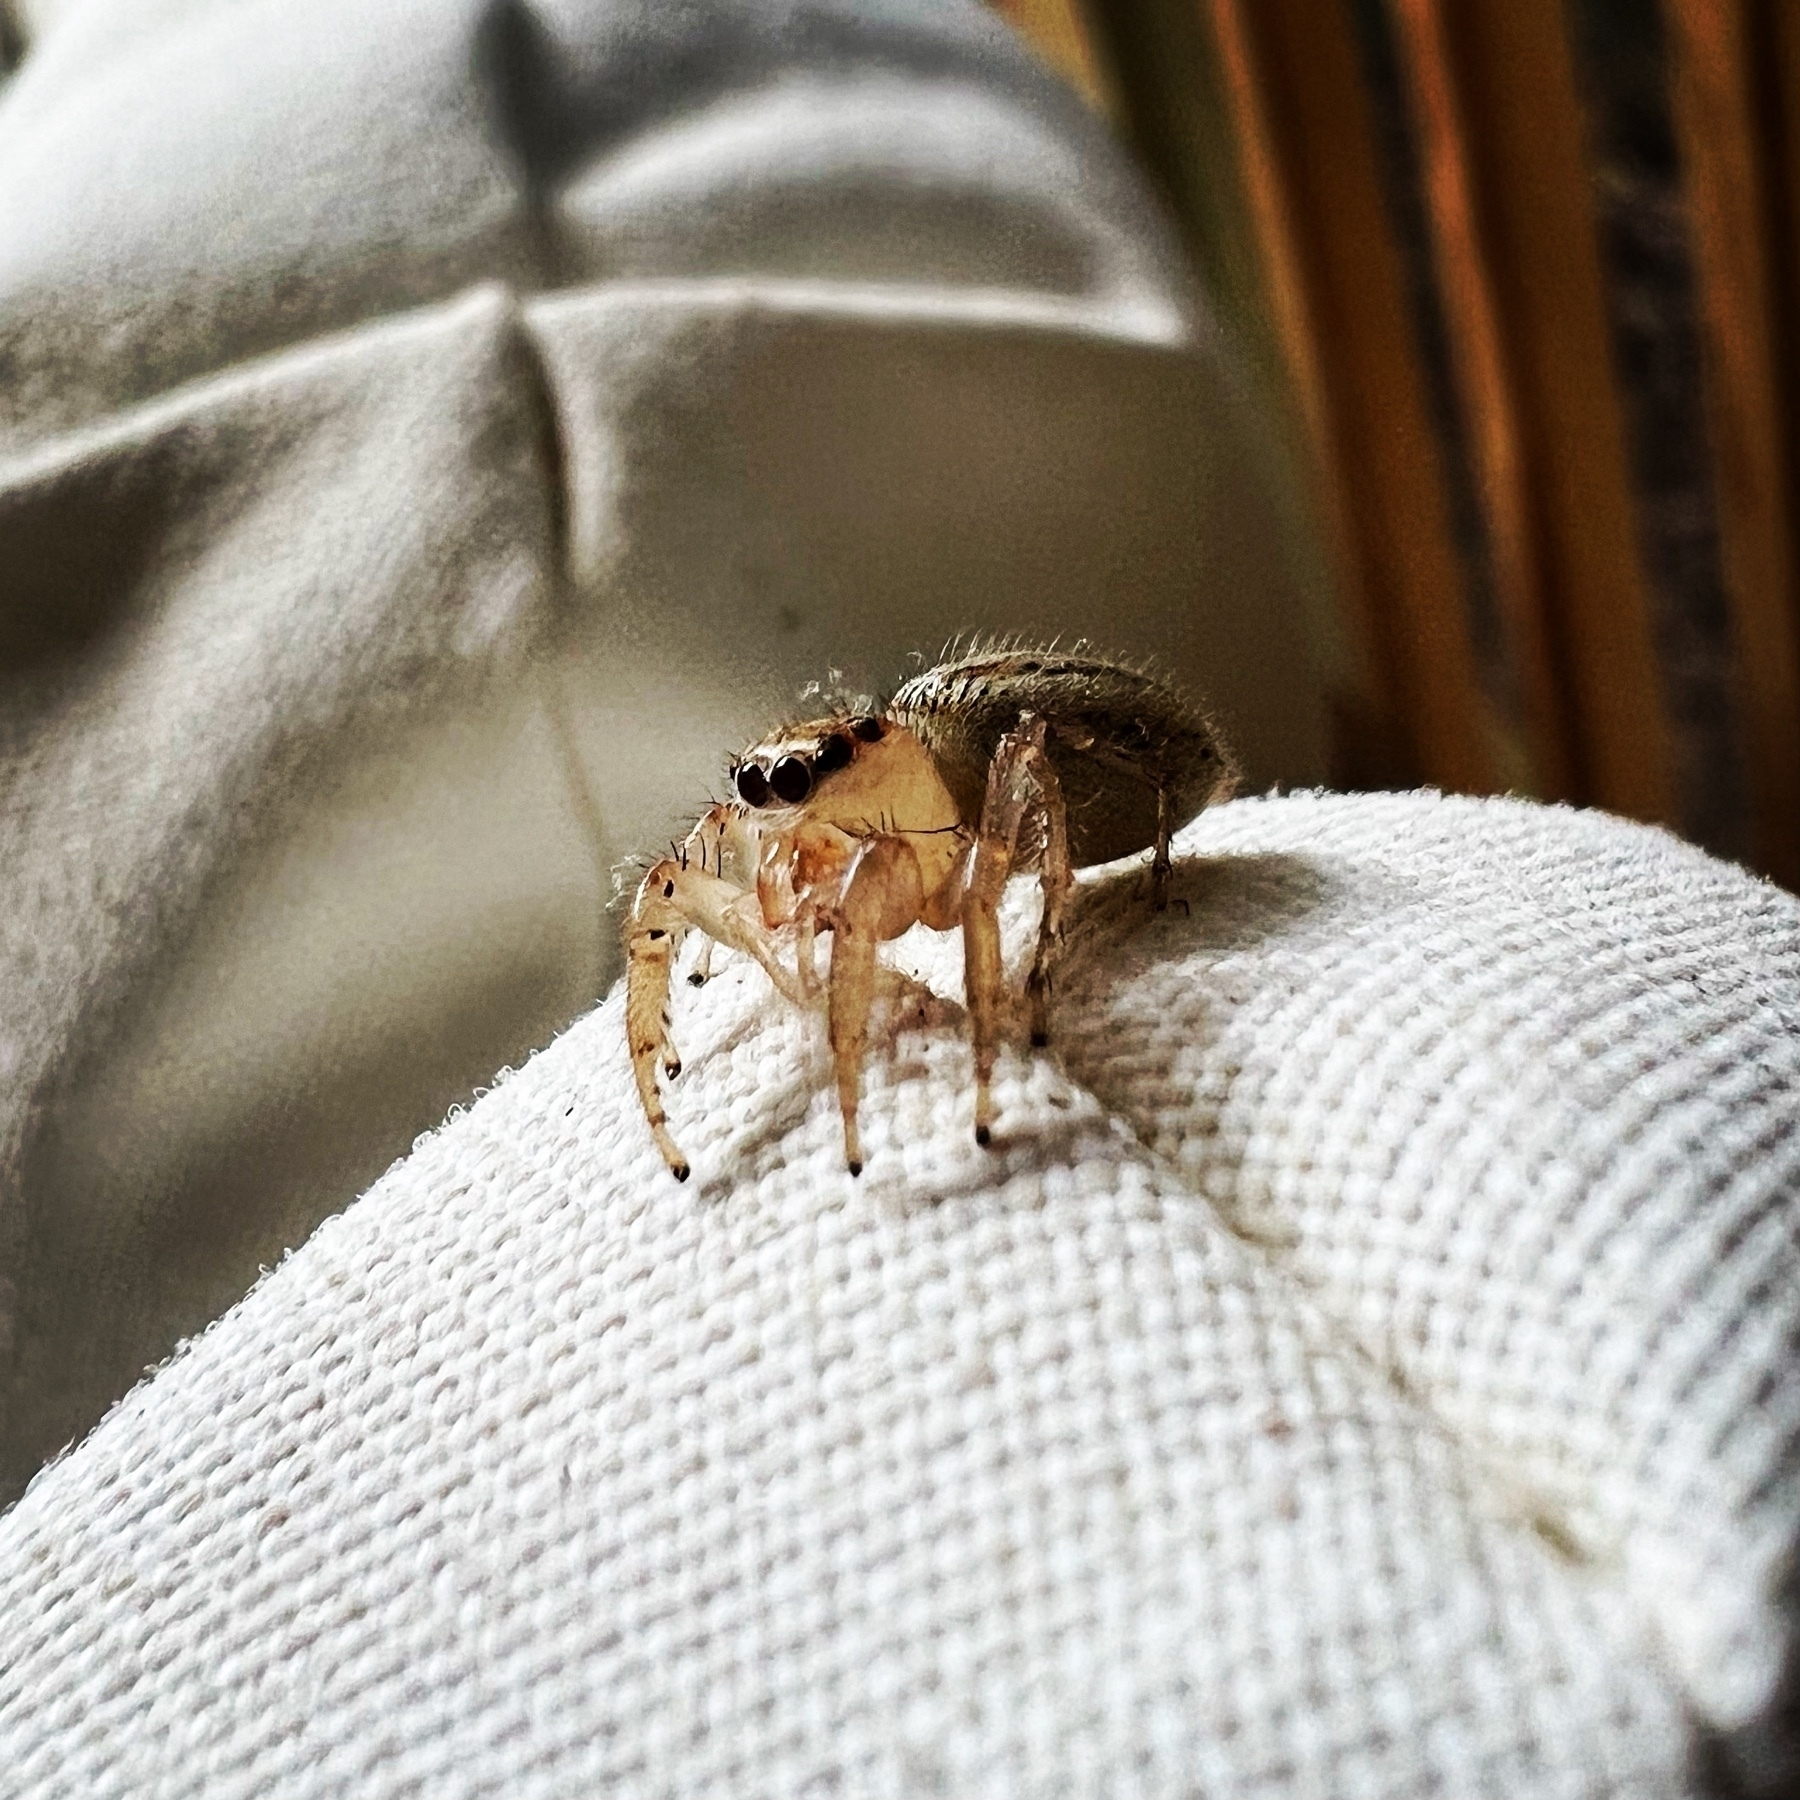
Not too bad 📱 13 Pro macro lens!

Been a while...
I’ve intentionally stepped back from participating in social media for a variety of reasons, most of them boring and, by today’s standards, cliché. But, to boil that particular ocean, I did it for my mental health. This last autumn brought a lot of change and the rise of Omicron had me refocusing on the things that are important. Well, important to me anyways, and as much as I love y’all, participating in social media was waaaaaaay down at the bottom of that list. Not at the very bottom mind you, but close.
Still, I do recognize the value in letting friends and family know that I am still alive. So, yeah, hi there! :)
Some things that have changed quite a bit since the last time I updated this space:
Professional stuff. I got a “new old” job back at the Duke Clinical Research Institute. I worked there for about 13 years before heading out on my own for a bit. It’s going great! It’s surreal to be back and seeing a lot of familiar faces. It’s also nice to be working/collaborating with long time friends - and to be able to walk to work again - if we ever head back to the office. Before heading back to the DCRI, I worked a little over a year at a wonderful design firm in Raleigh called Walk West. I learned a ton from that awesome crew of hyper talented people and it was not easy to leave. But life can take you in unexpected directions. RIP Conduit Designs, it was a good ride!
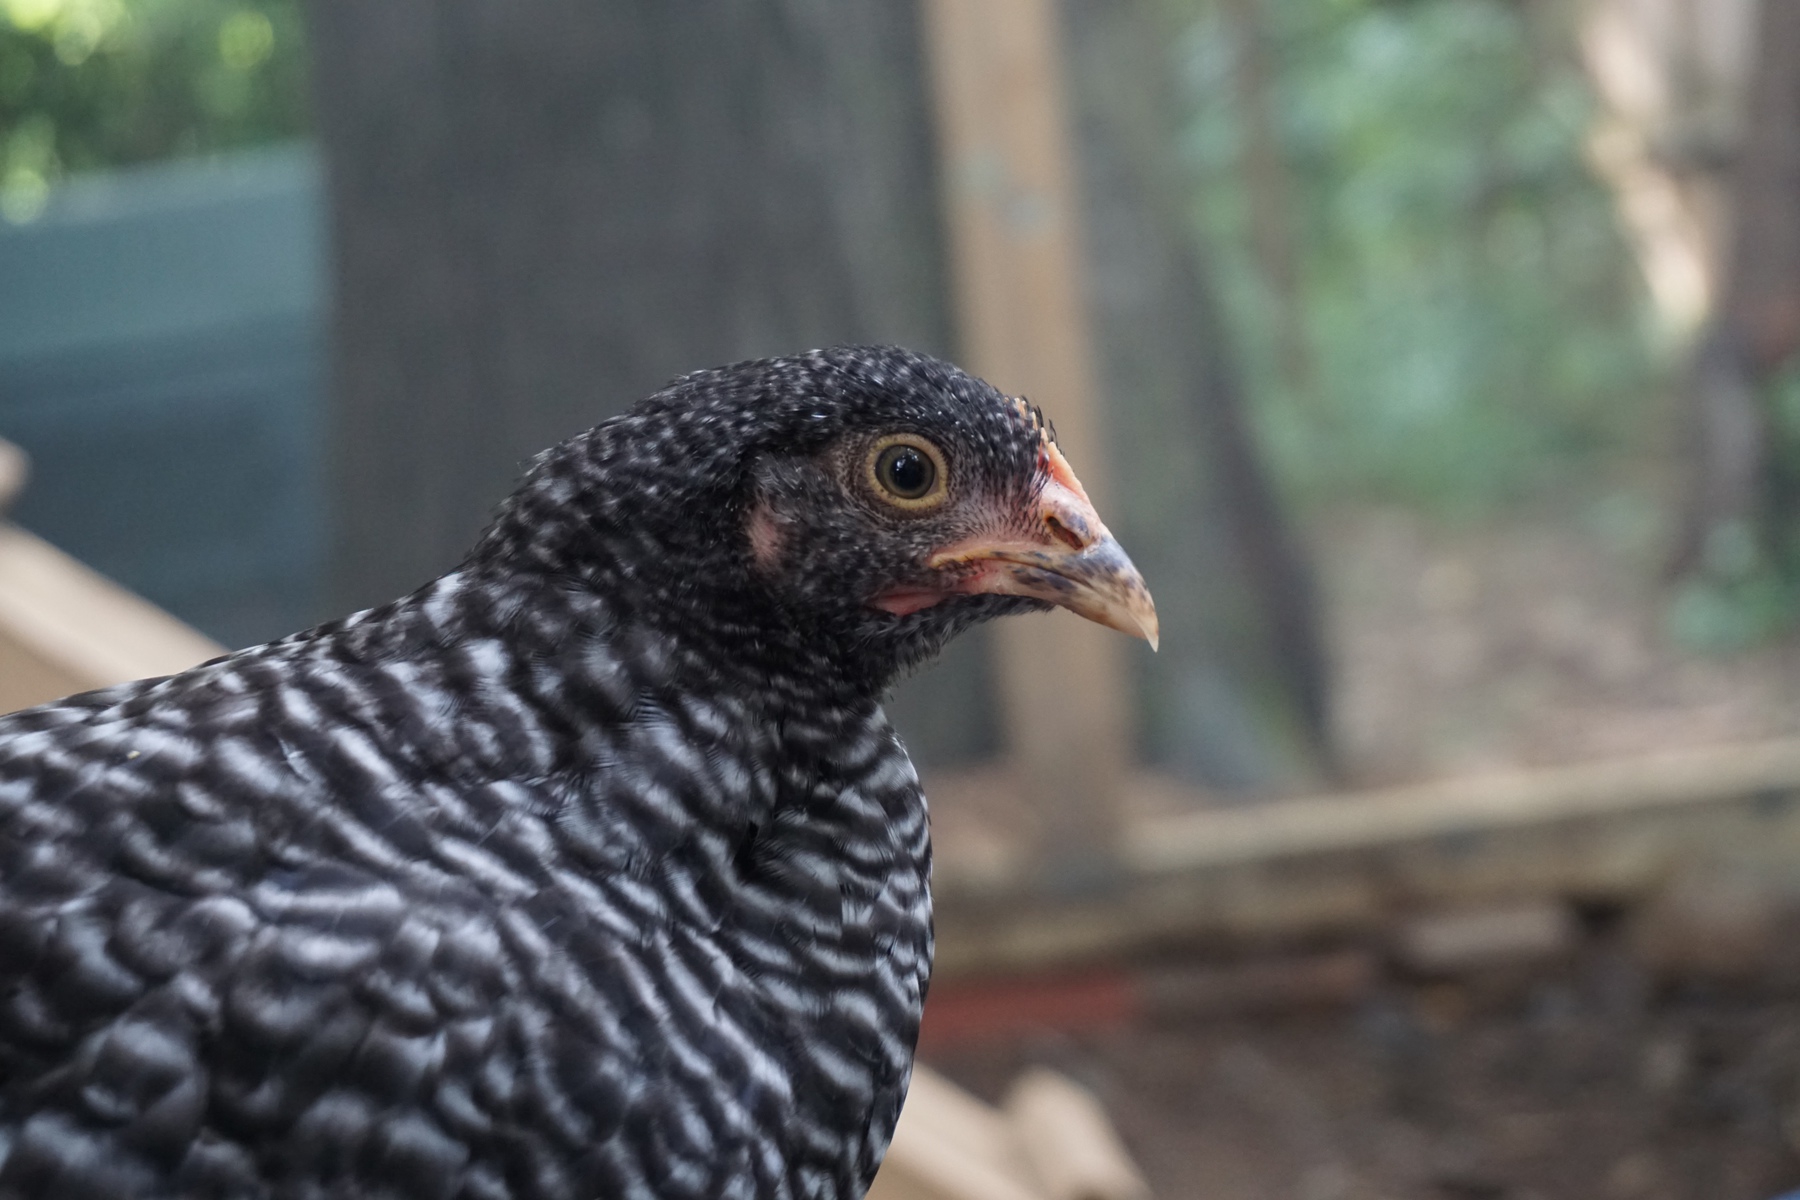
Requisite chicken update. Our chickens suffered a really awful loss in January. A loose dog got into our run and we lost six hens. Pretty devastating on a lot of levels as those hens saw us through some tough times. Looking forward, we still have Banana and she gets consistently broody when the days get longer and warmer. We are hoping to slip some fertilized eggs under her the next time she is, to see if we can get some new chicks for the Spring!
Last big thing is my sobriety. It’s been 2 years and 4 months since I’ve had an alcoholic beverage. I’ve battled substance abuse off and on throughout my illustrious drinking career. Right before the pandemic took over the world I had been leaning WAY too much on alcohol for just about everything and it was changing me into someone I didn’t want to be anymore. It was the easiest toughest decision I’ve had to make thus far and literally everything in life has improved significantly for it. It’s nice to be back and present for all of life’s slings and arrows. It’s nice be present for all of the lovely things as well. 10/10. Highly recommended. Would do it again.
That’s it on my end! I’m doing all right and I hope that, on your own terms, in your own time, you can do the same.
Finally got around to introducing a Magic Keyboard into the mix for my iPad Pro.
I had a Brydge keyboard before and, honestly, the difference between the two products is night and day. The MK is superior in almost every way.
I do miss the shortcut keys found on the top row of the Brydge keyboard, but literally everything else is better on the MK. And the smart connector? It obliterates a bluetooth connection any day of the week! As advertised, it’s instantaneous with not a millisecond of lag. Add in the over all build quality, and it only took 30 minutes of typing and trackpad use for me to realize how much of the Brydge was actually a compromise.
The best part? I can hand it to my wife to use with her new iPad Air without pairing. So we can both use it without finagling bluetooth connections and disrupting our workflows. Honestly? It’s like an Apple commercial, it simply works. Every time.
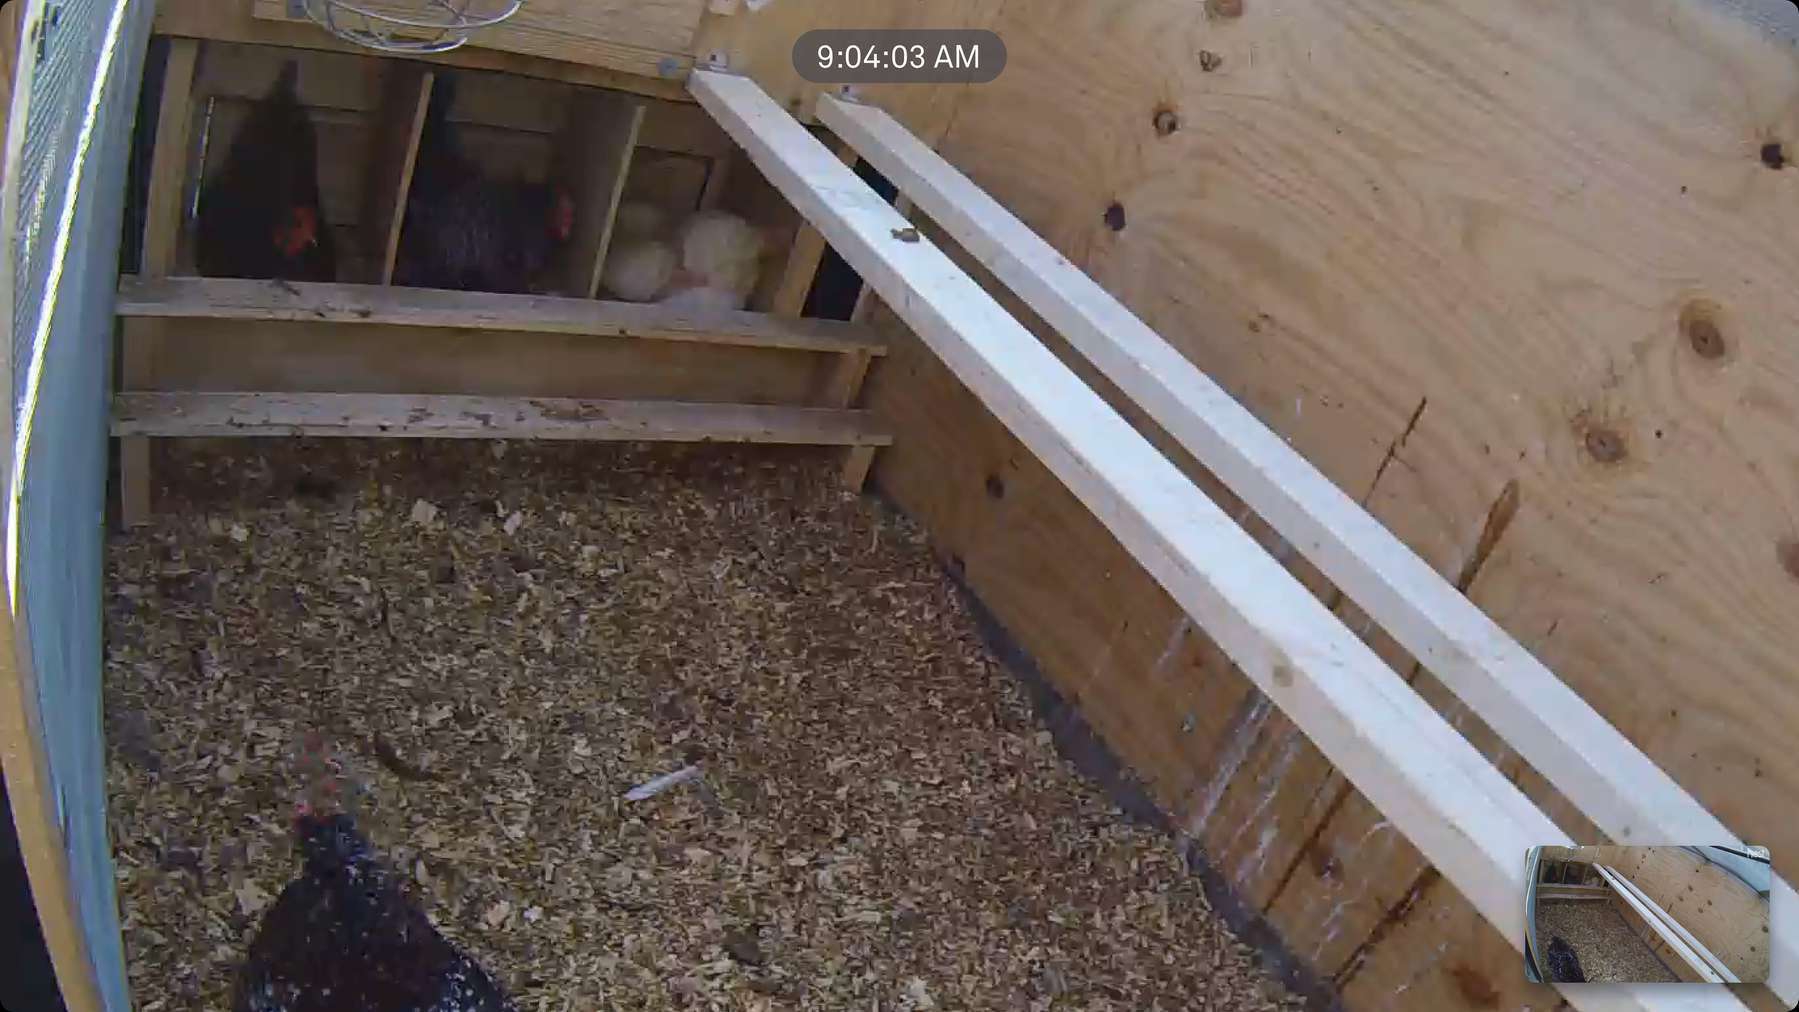
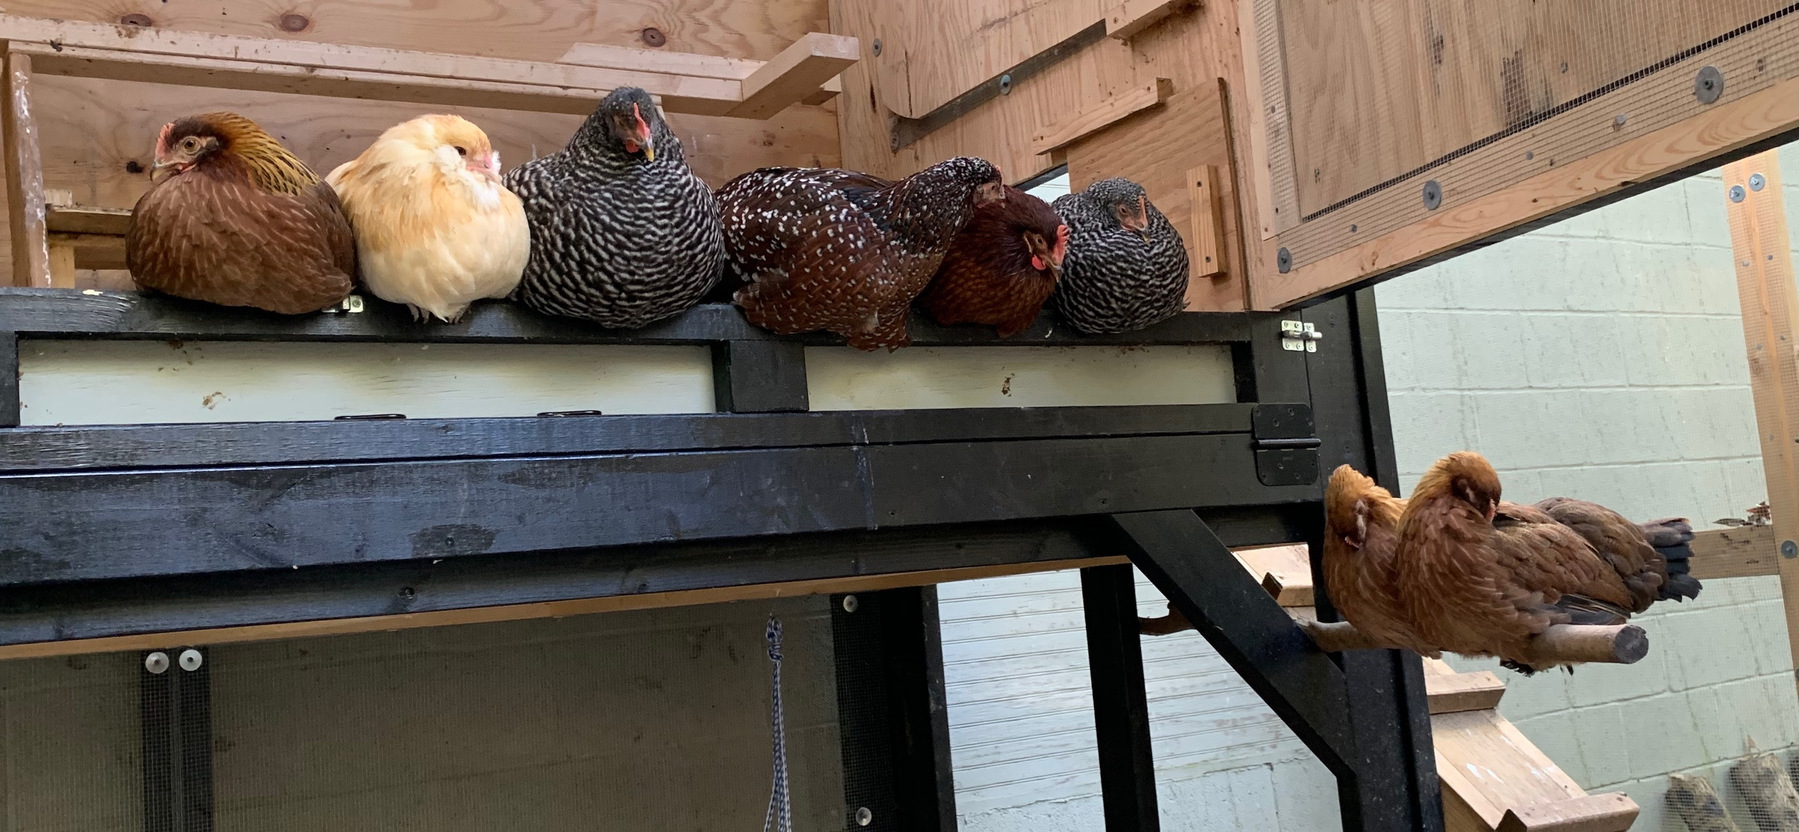
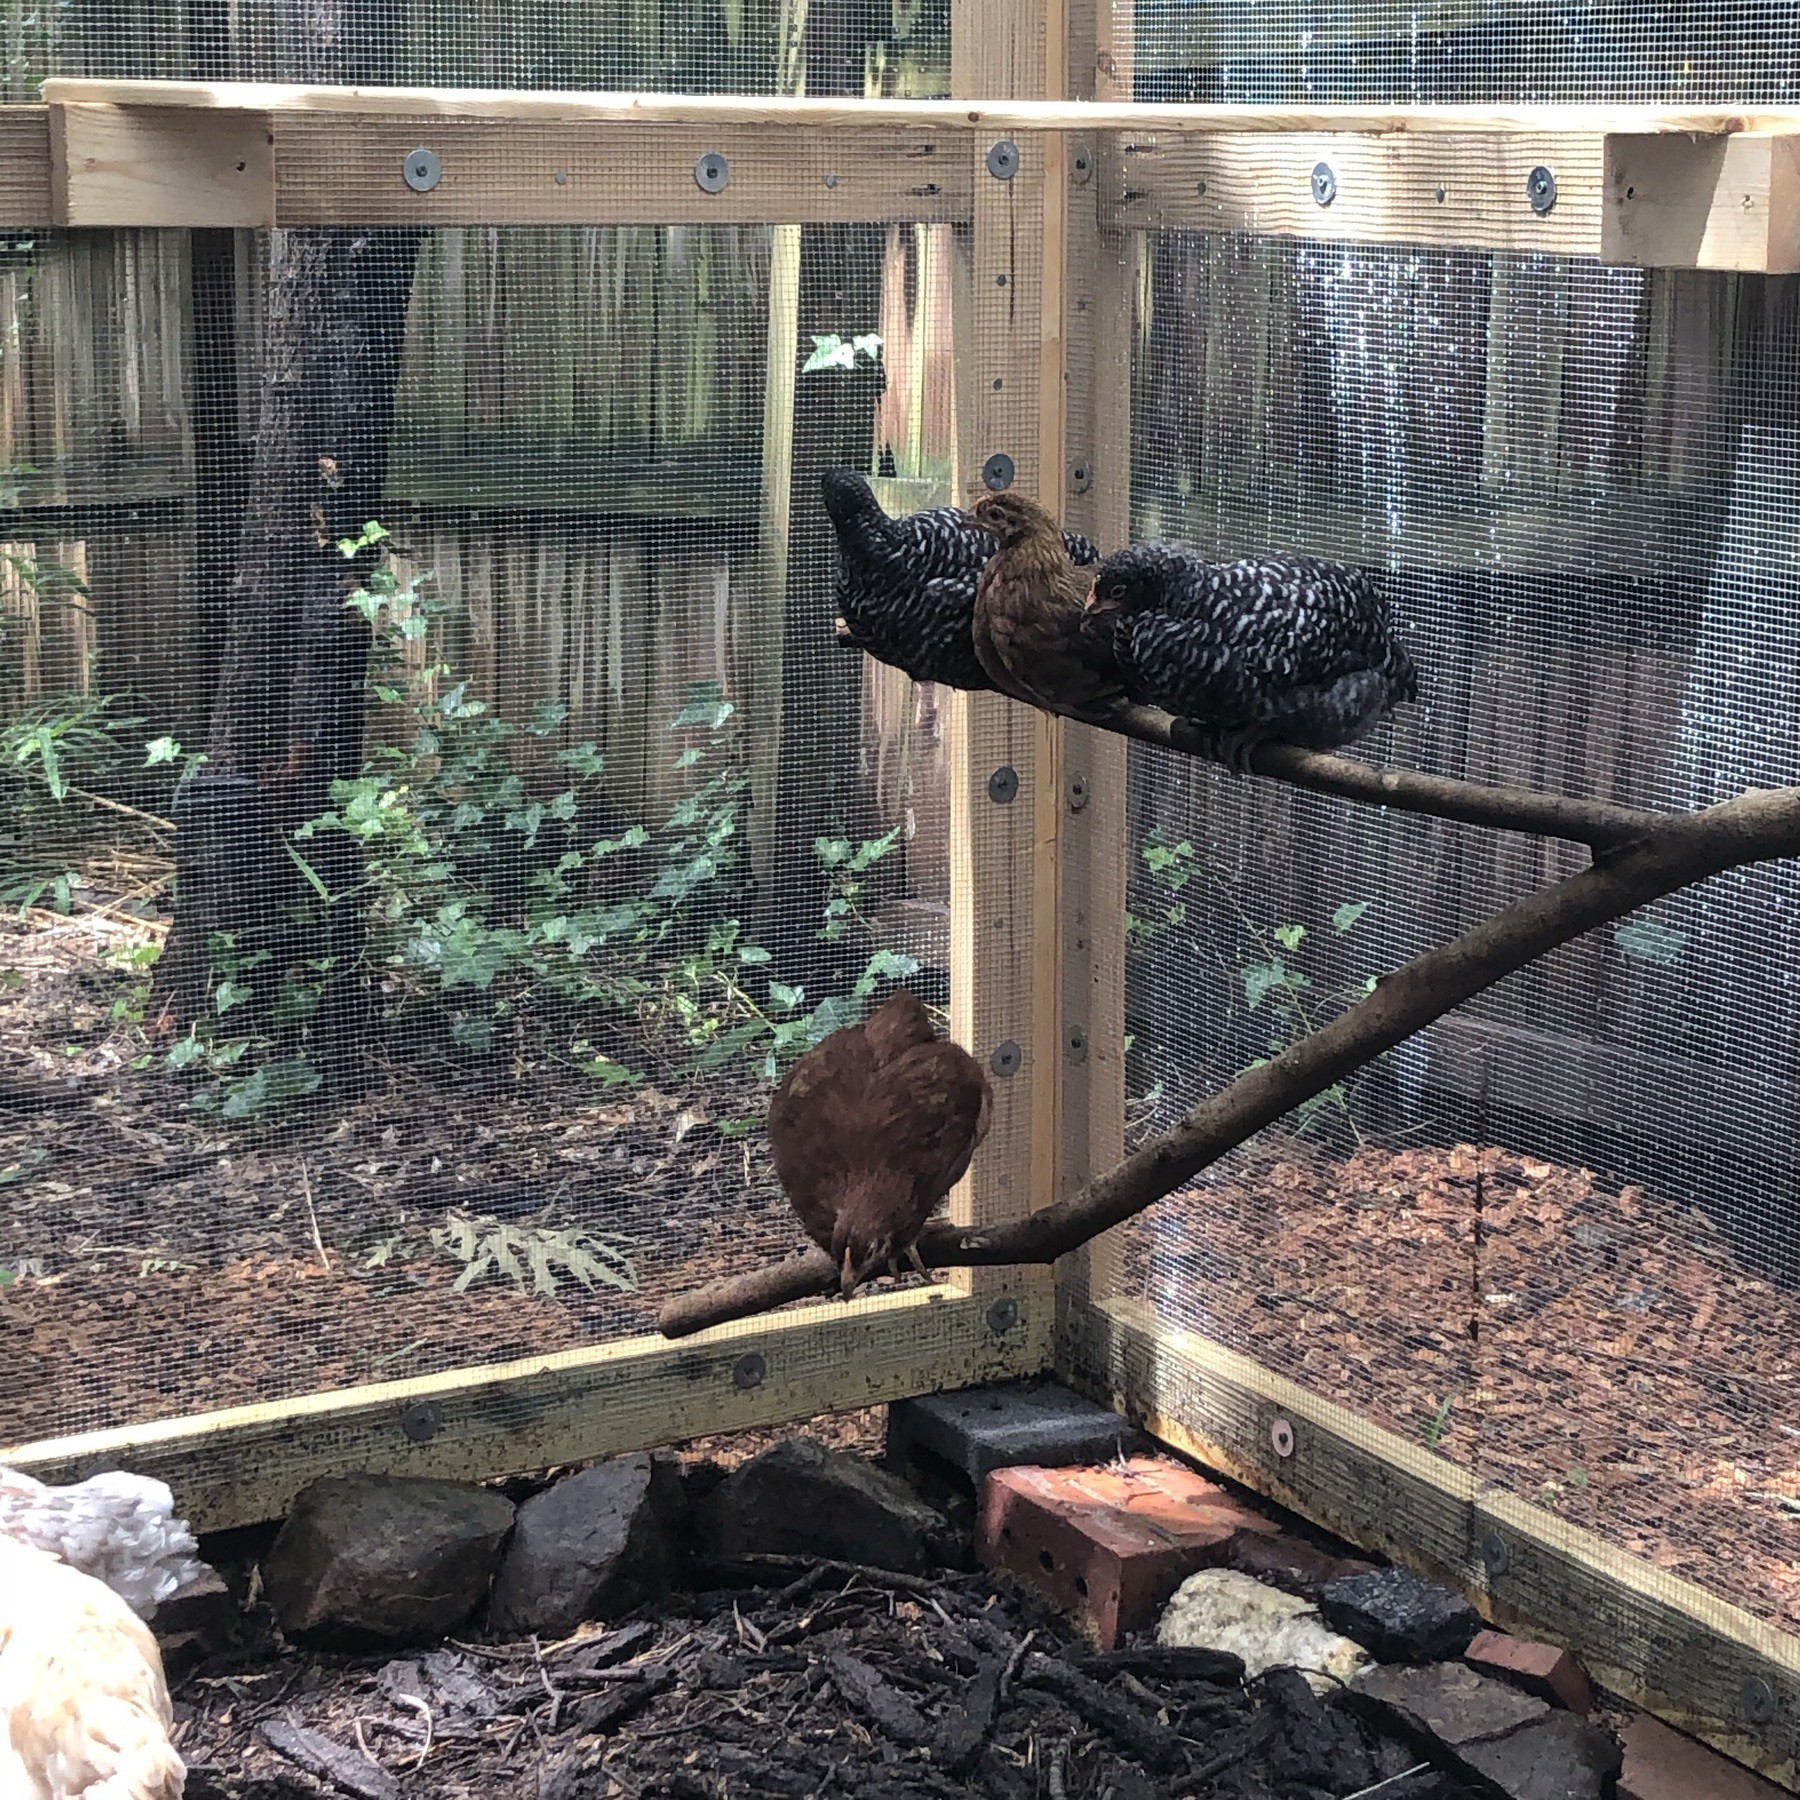
And just like that! We suddenly have 7 active egg layers! The coop also gets a roost upgrade. 🐓
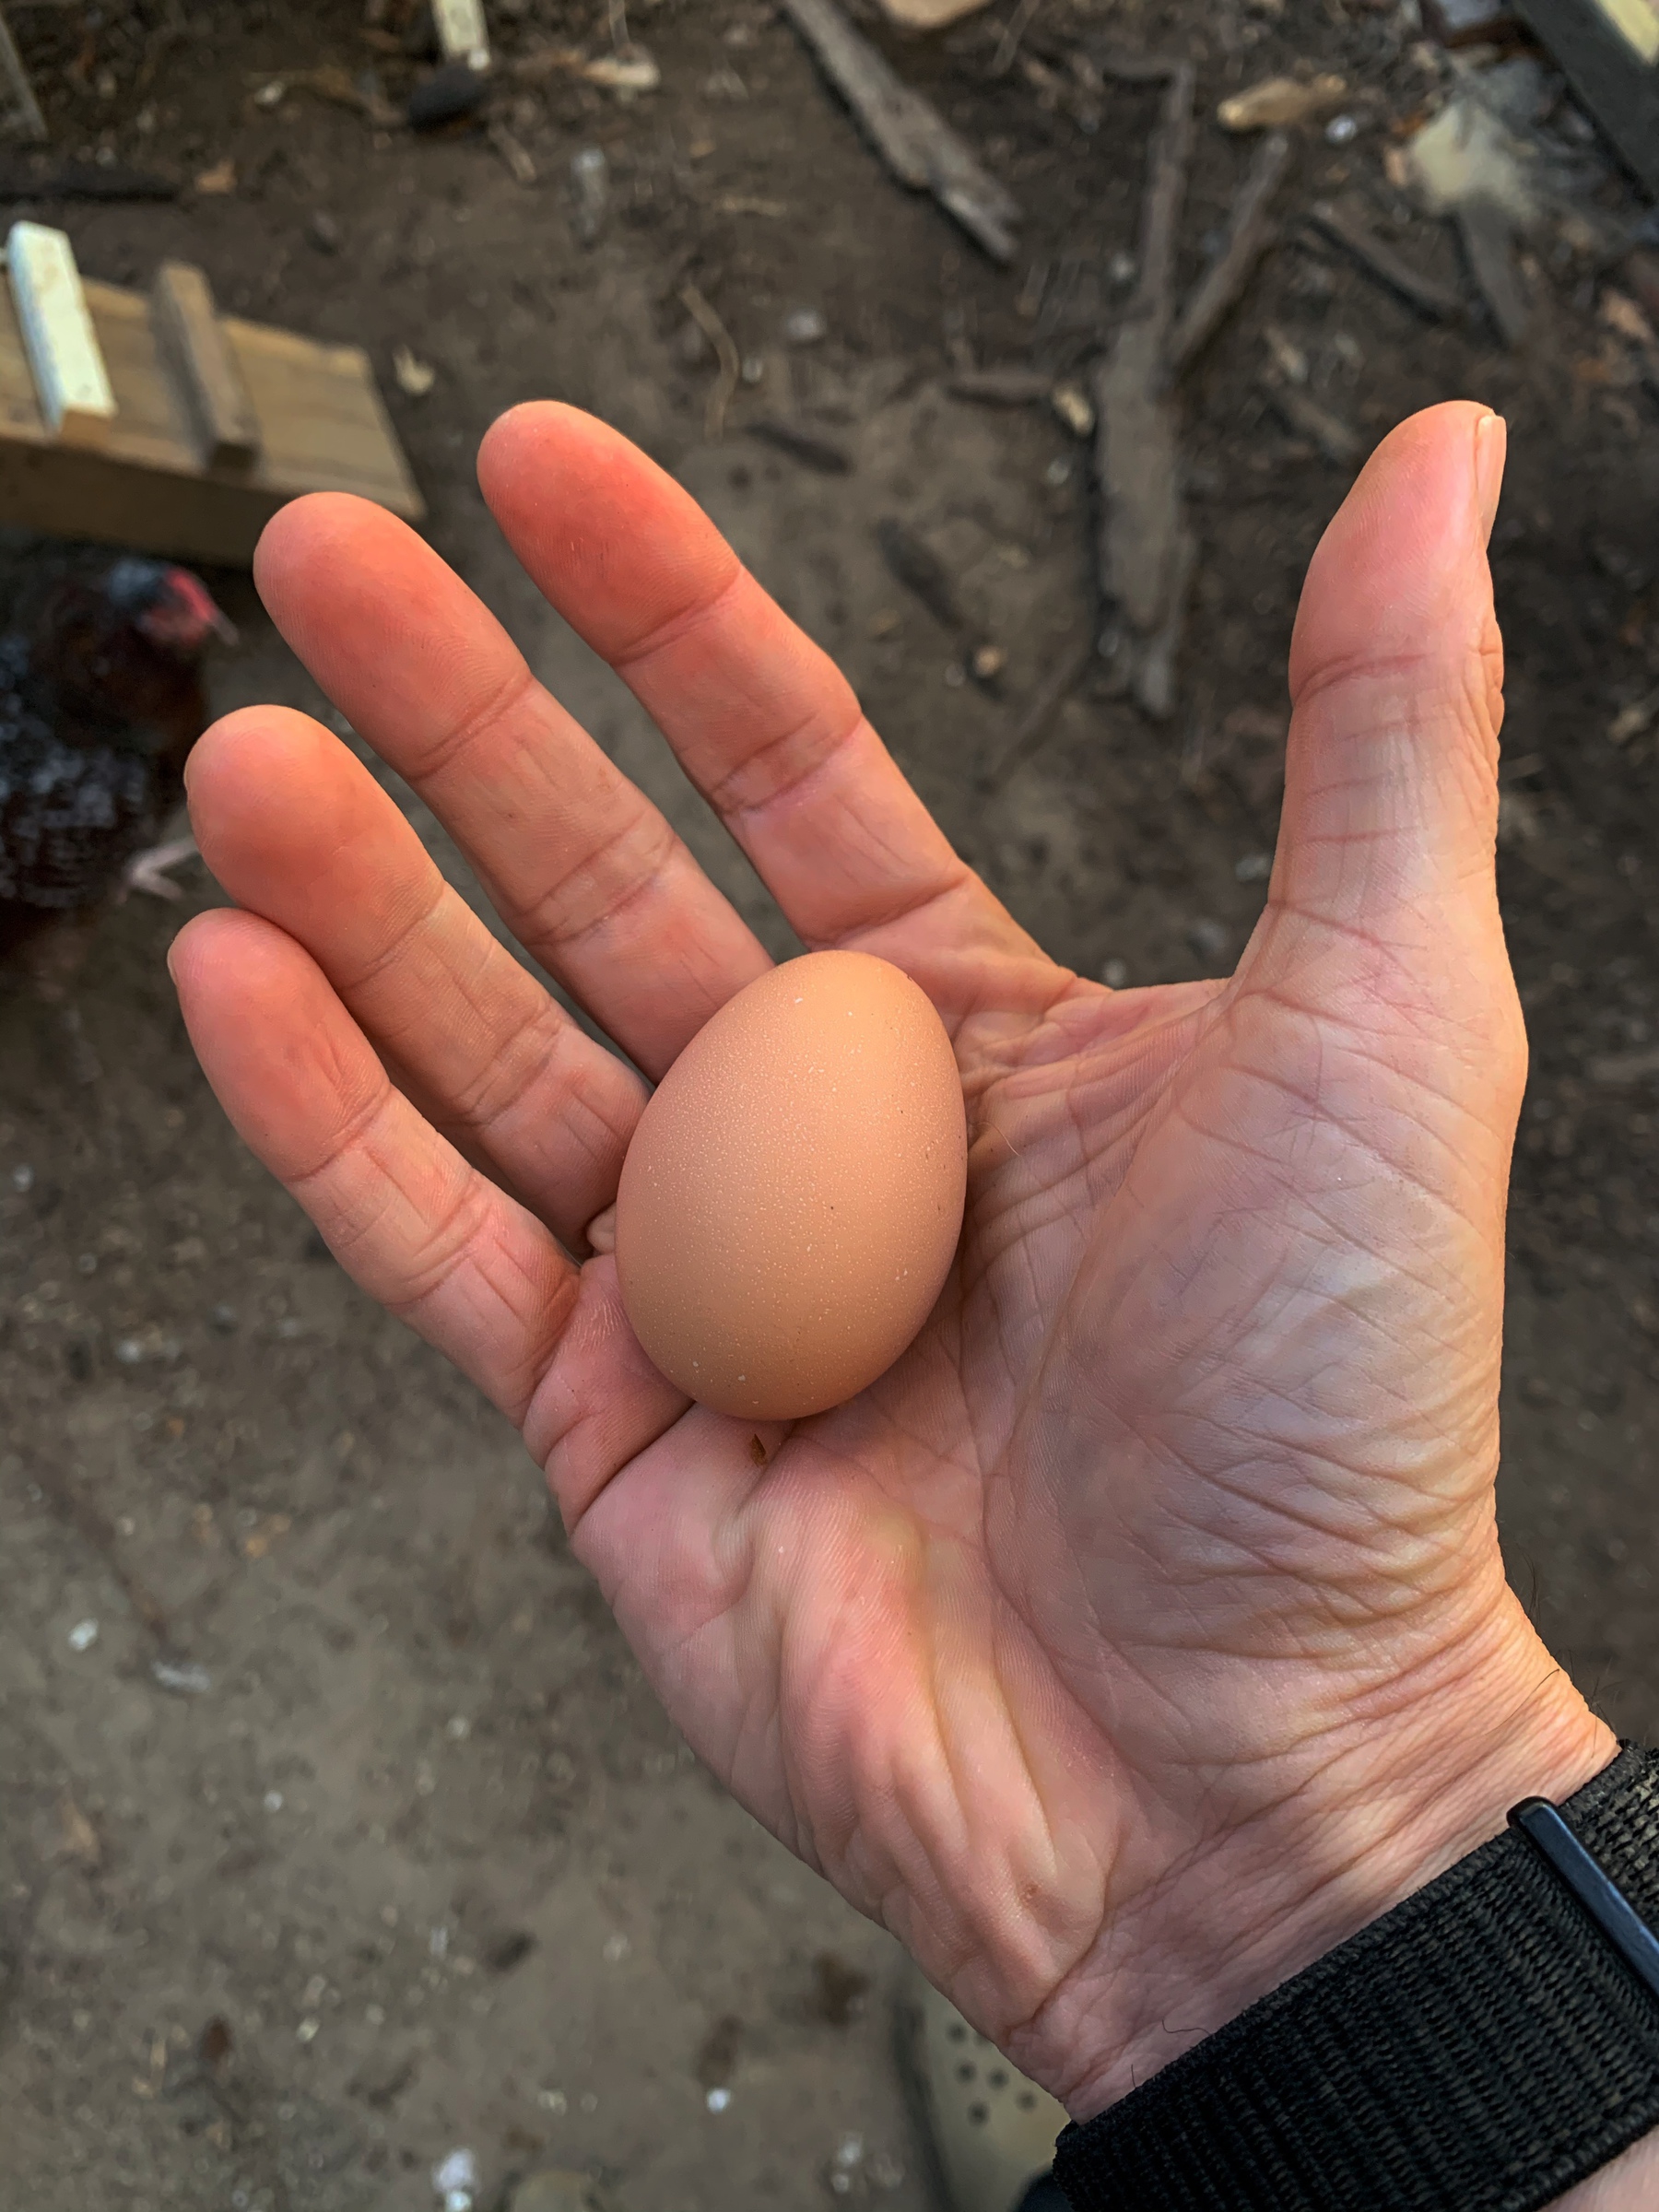
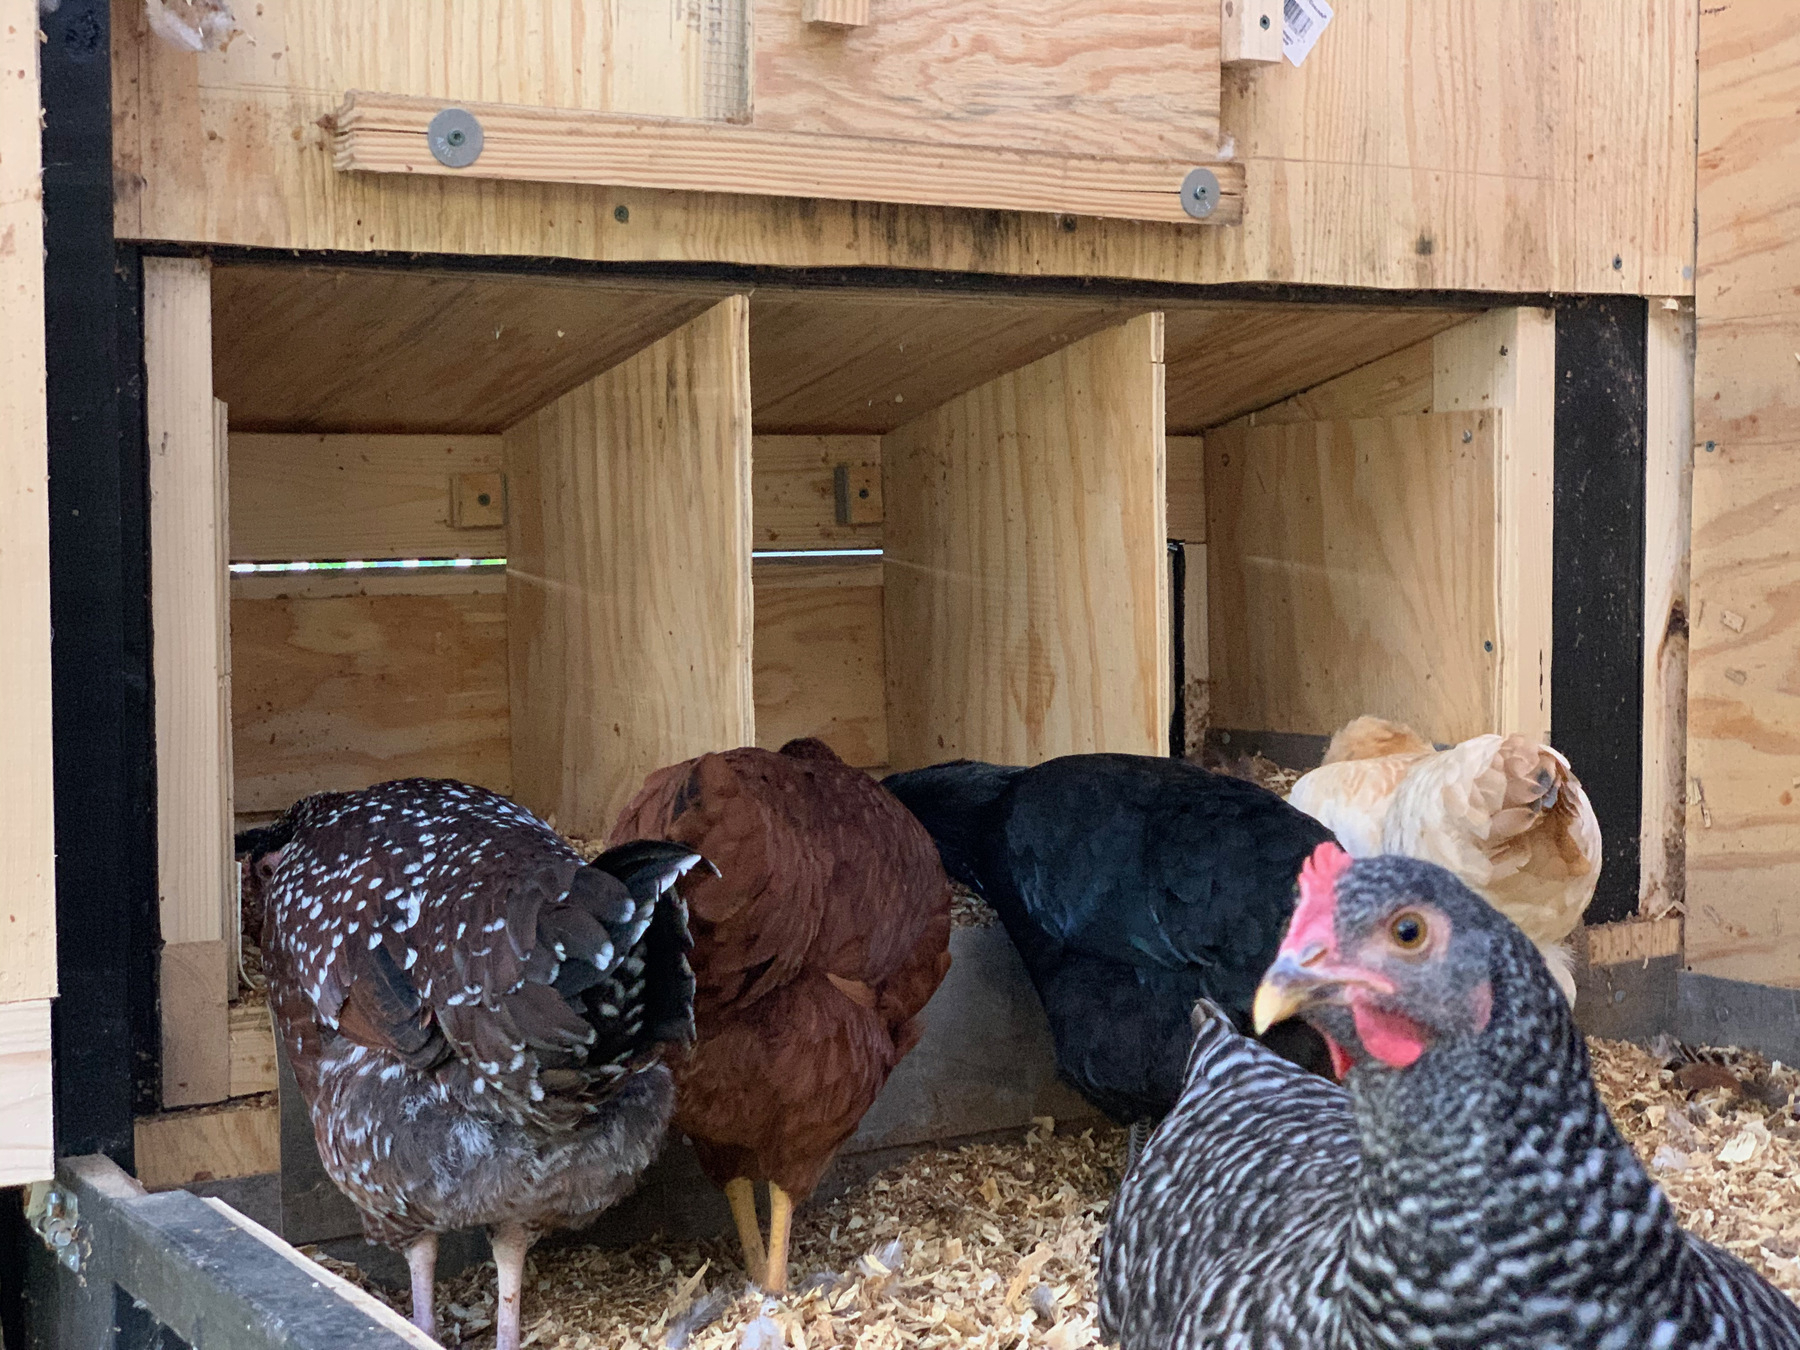
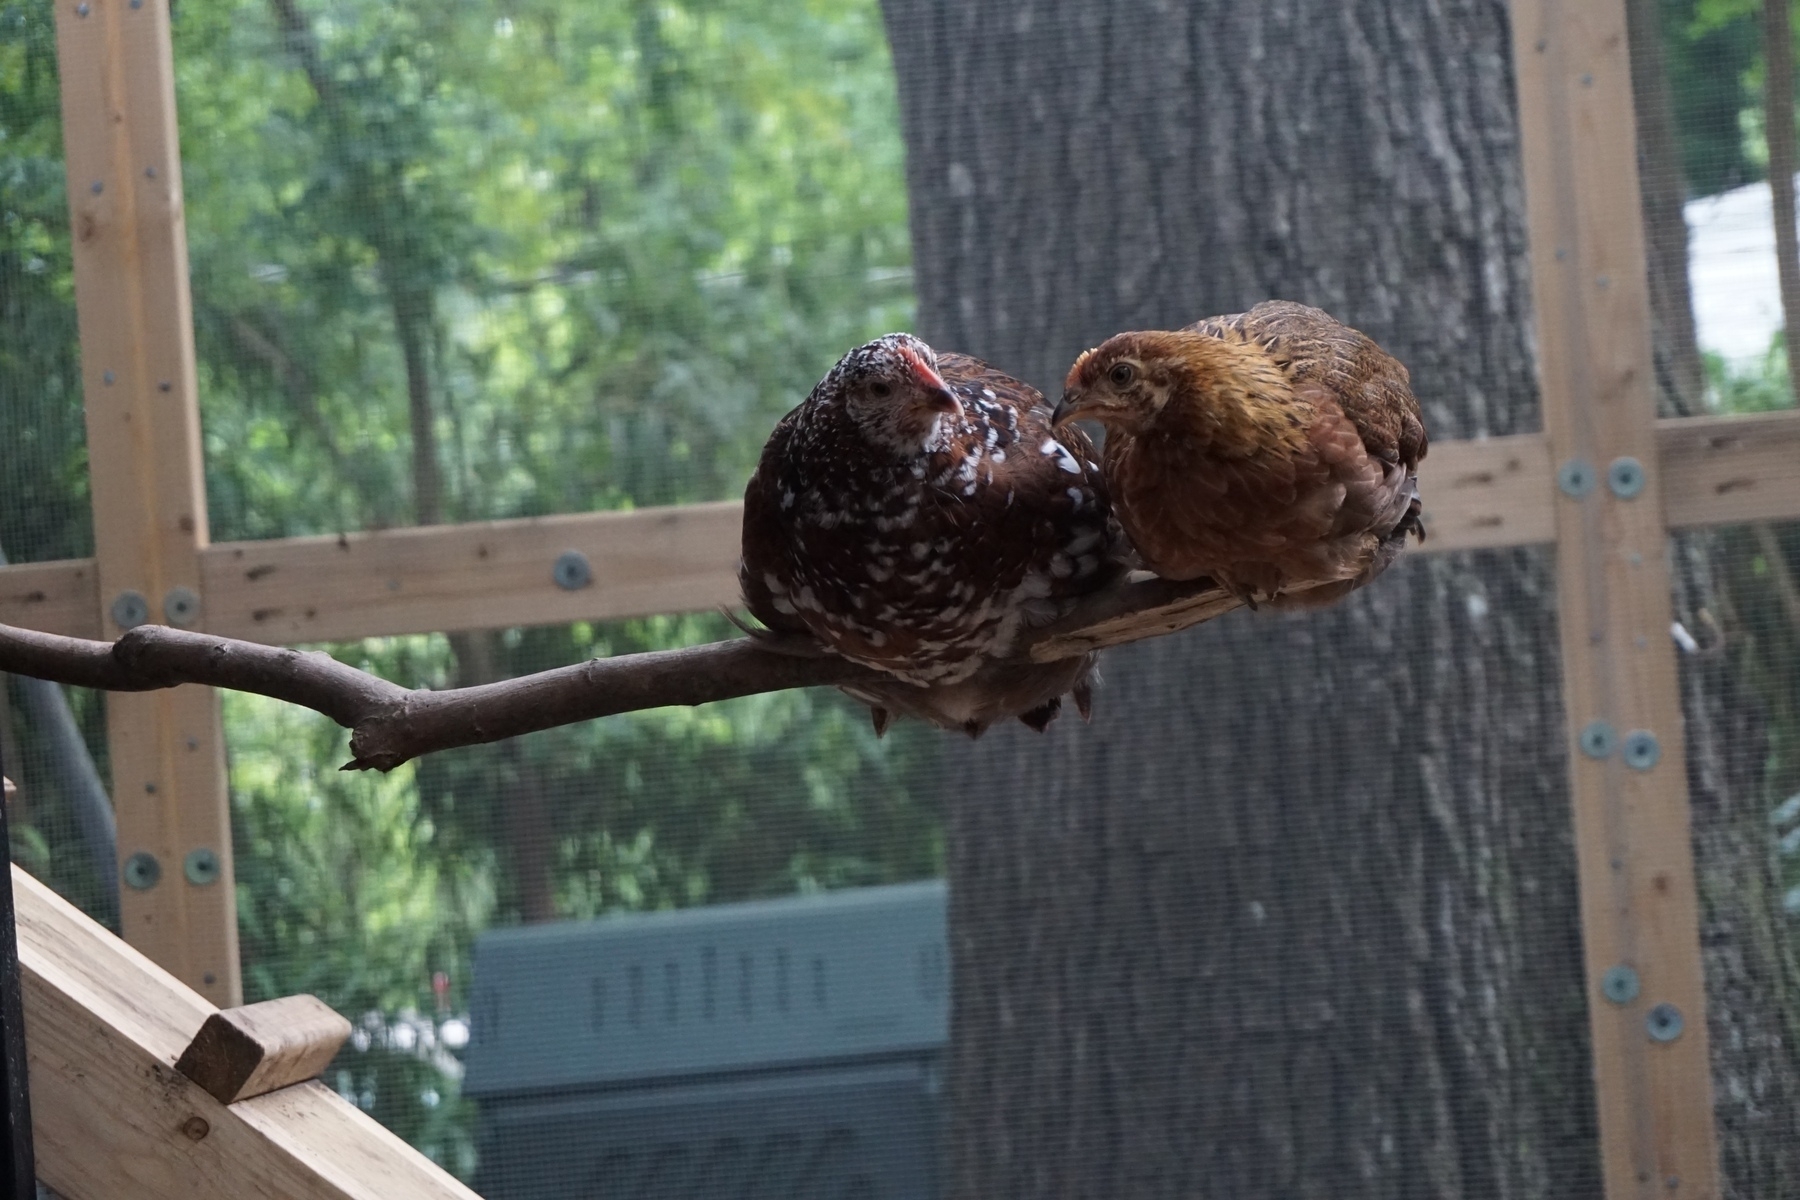
The last few weeks have been kinda crazy in the egg laying department. We went from three eggs consistently a day to five to six on the regular. The biggest surprise? The two younger pullets we replaced the roosters with started laying last week!! We had no idea that they were mature enough and expected them to not start laying until the spring. So, needless to say, we were genuinely surprised to find the cutest speckled dark brown eggs mysteriously showing up. All three of our Welsummers are stealth layers (our term, not technical) in that they don’t sit in the egg laying boxes for terribly long. They hop in for five to ten minutes tops and hop on out. The others sit in there for an hour so.
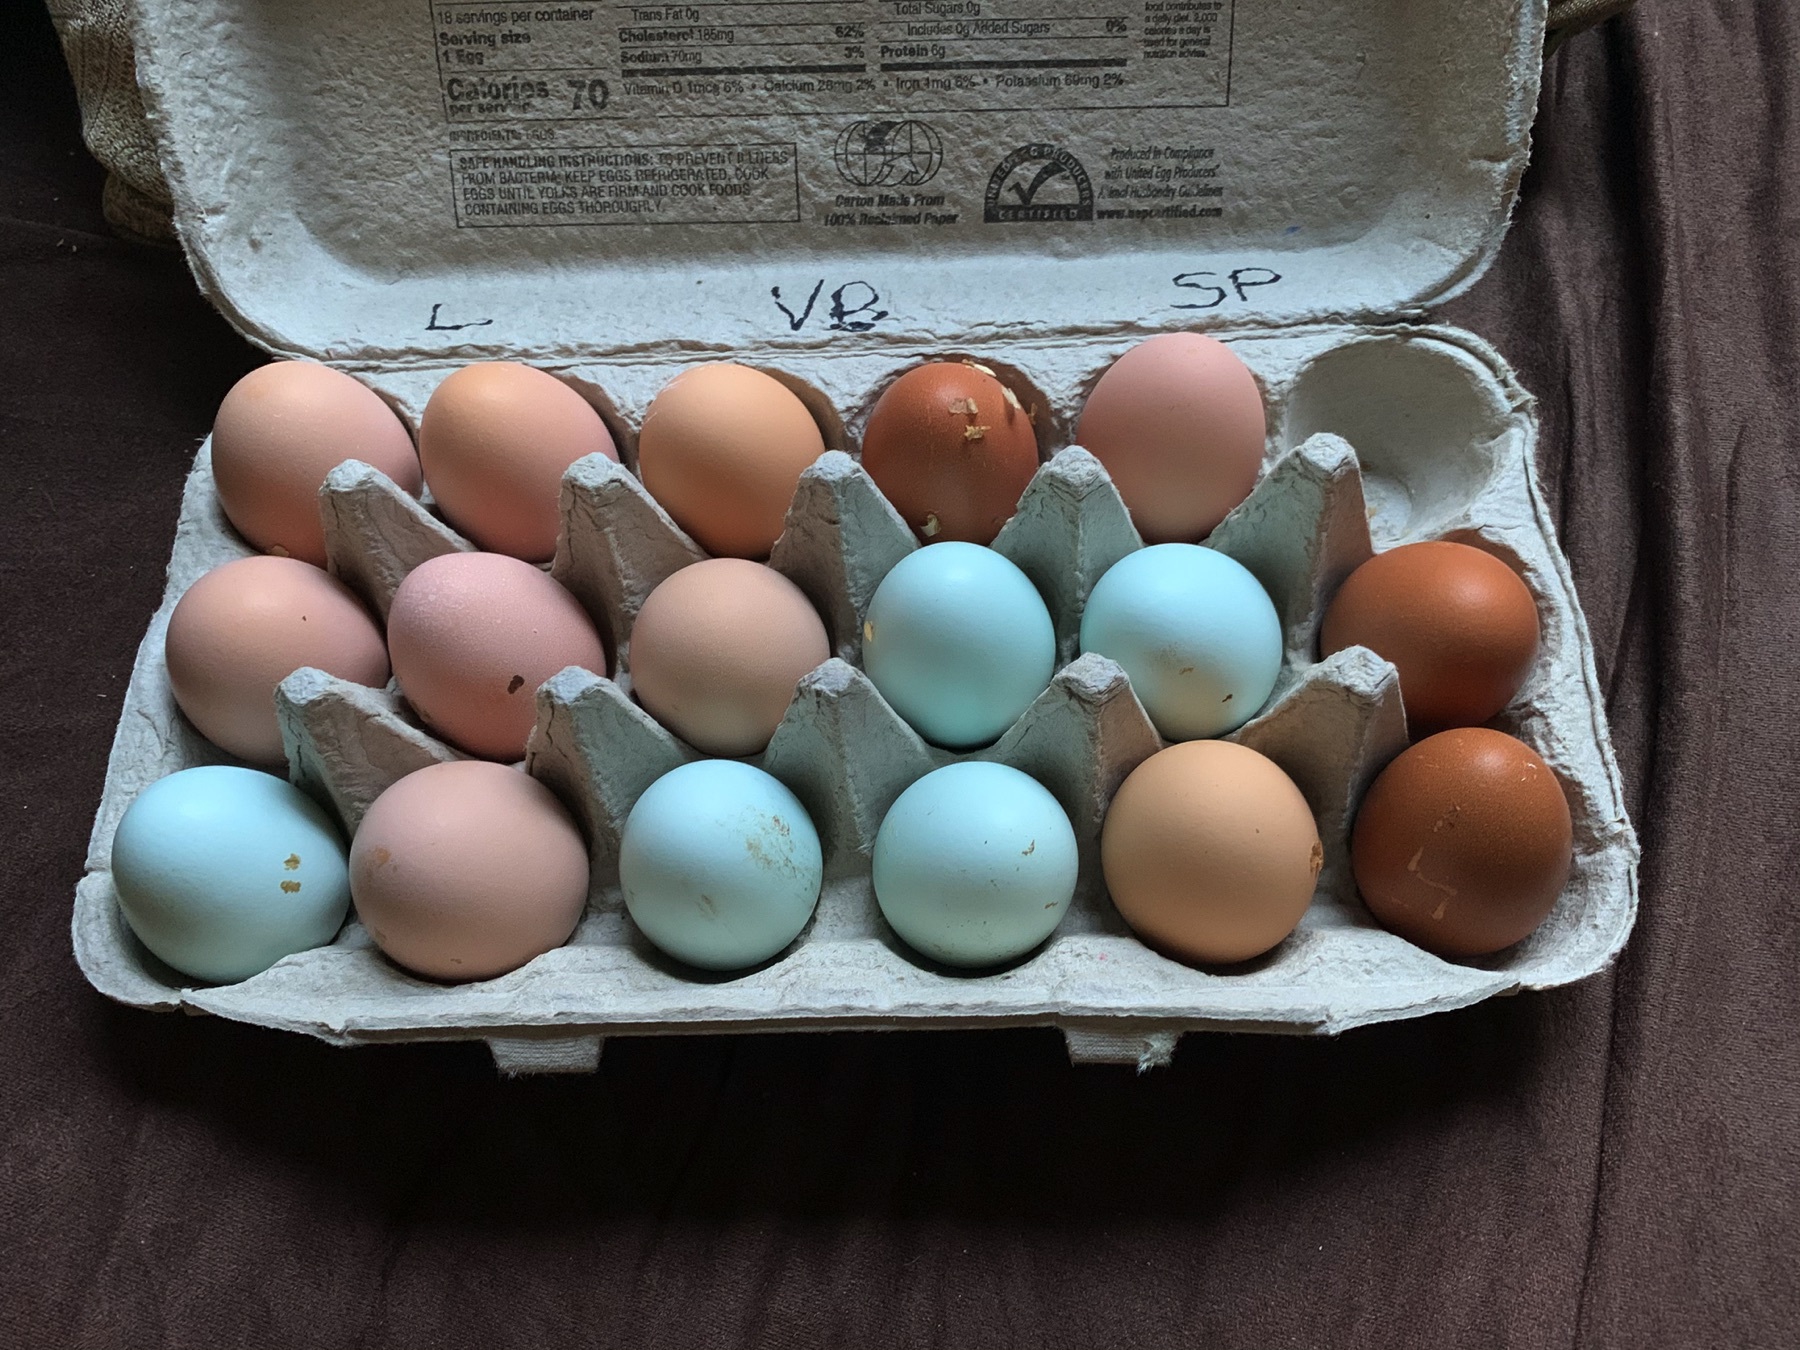
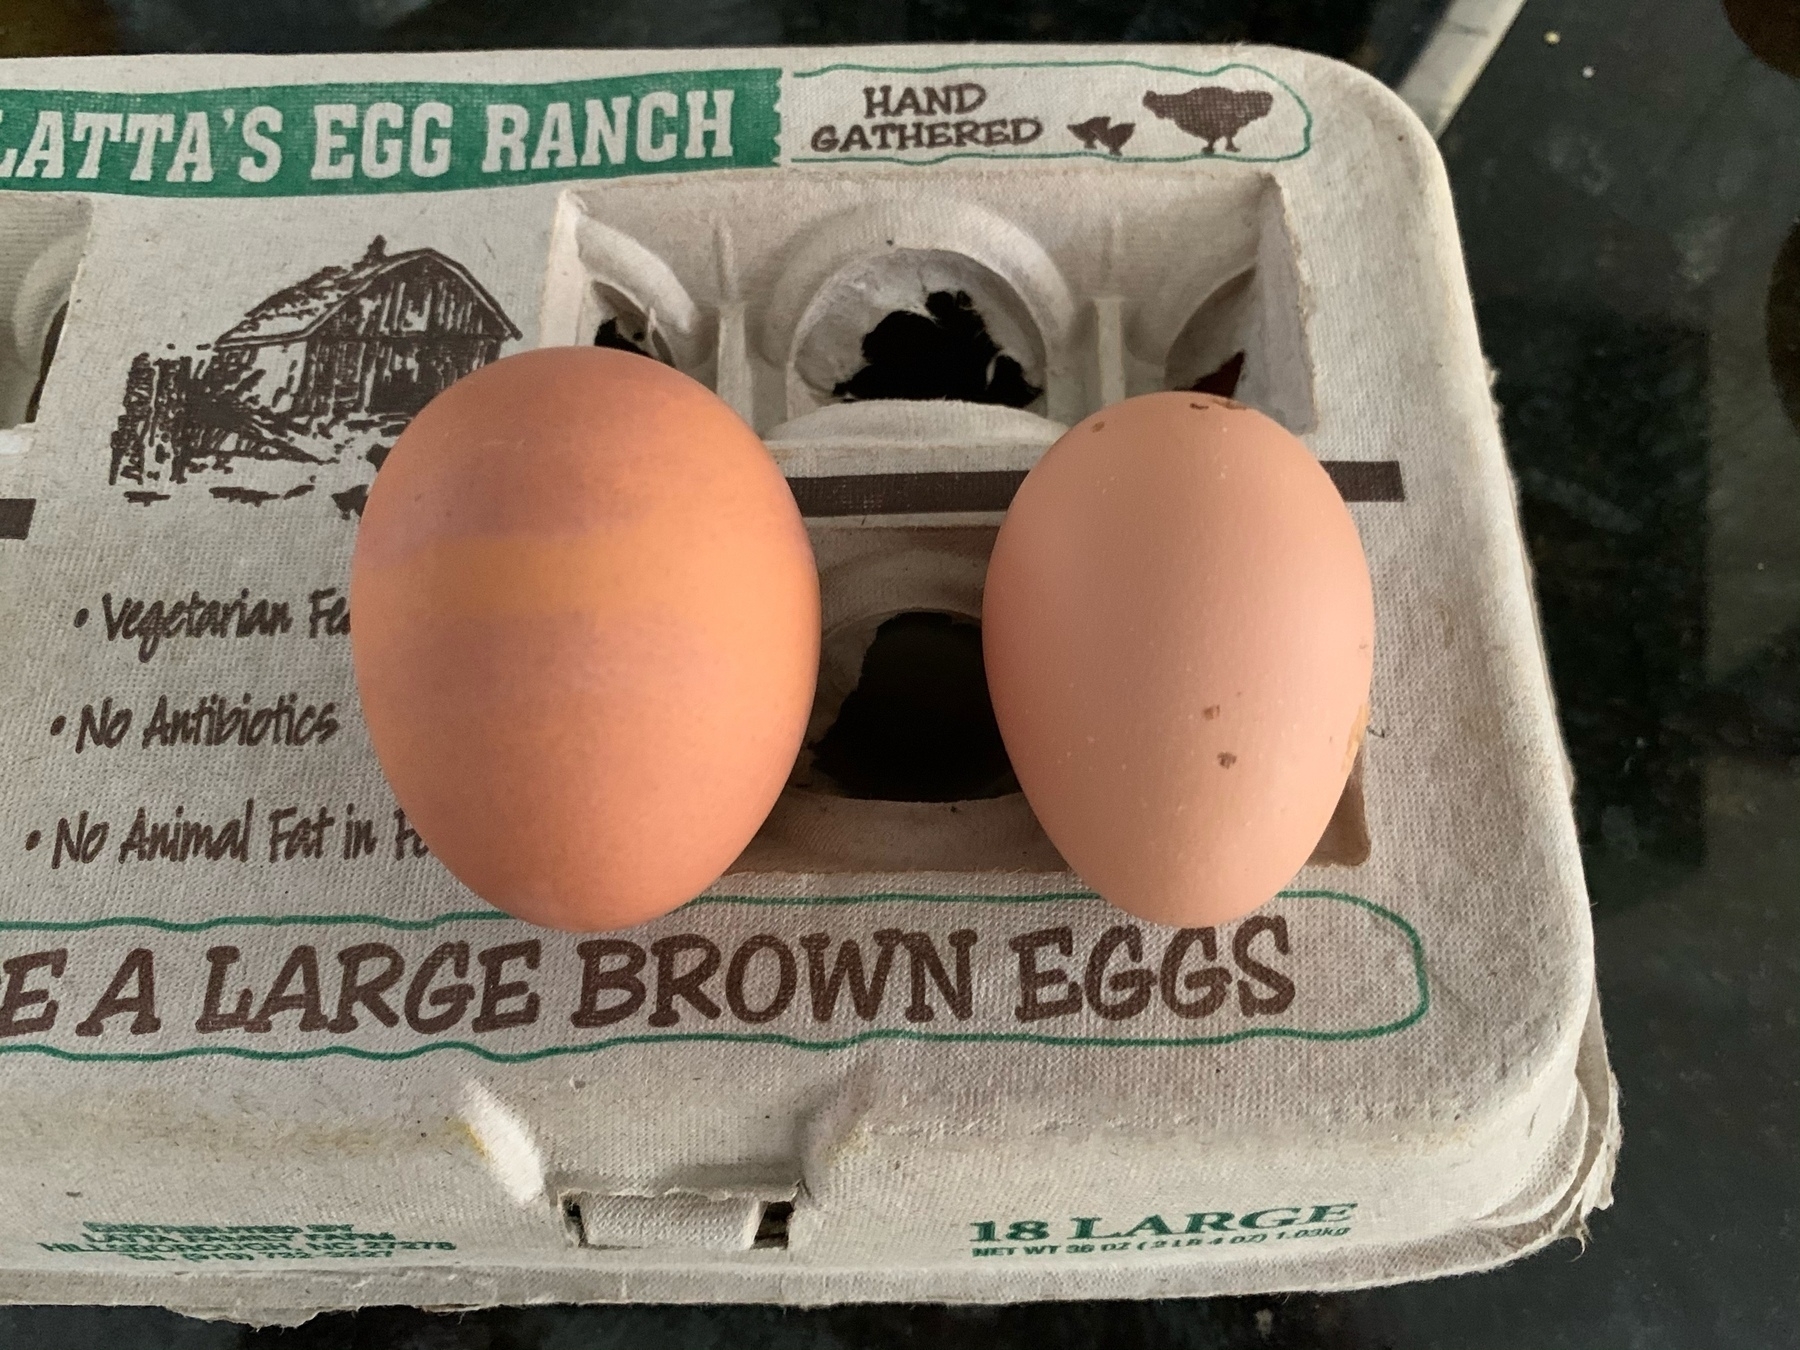
One of several deciding factors in choosing our hens was the prospect of naturally colored eggs. I am so glad we did this, as we end up with quite the spectrum of colors in our dozens. The eggs taste the same of course, but seeing them laid out all pretty is quite joy-inducing. 😊
We now officially have had our first traffic jams at the egg laying boxes and we couldn’t be happier. They all make a crazy racket pre, during, and post, laying. Luckily our neighbors find it as amusing as we do! I’m sure the occasional free eggs help a bit. 😅
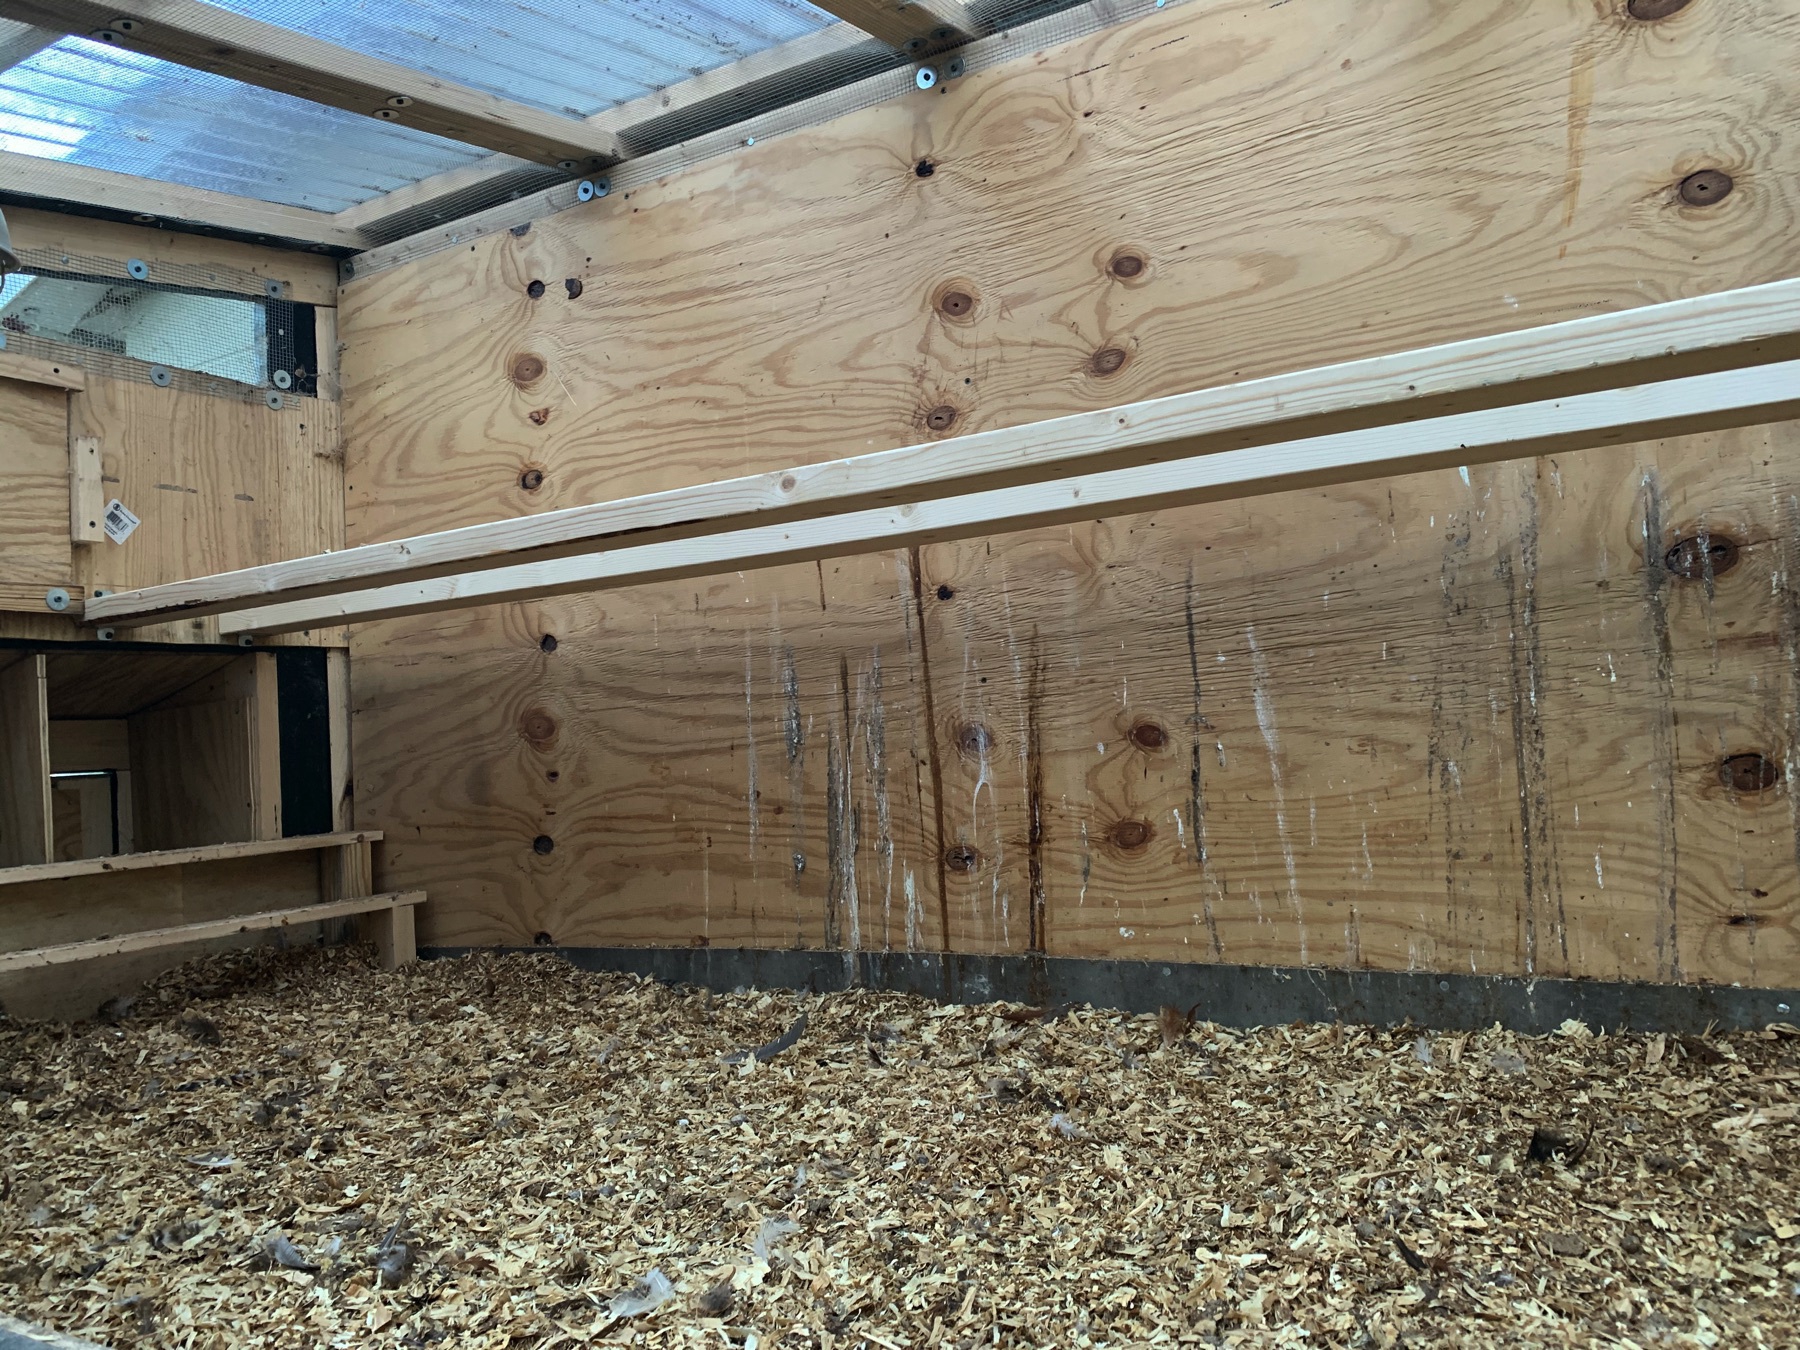
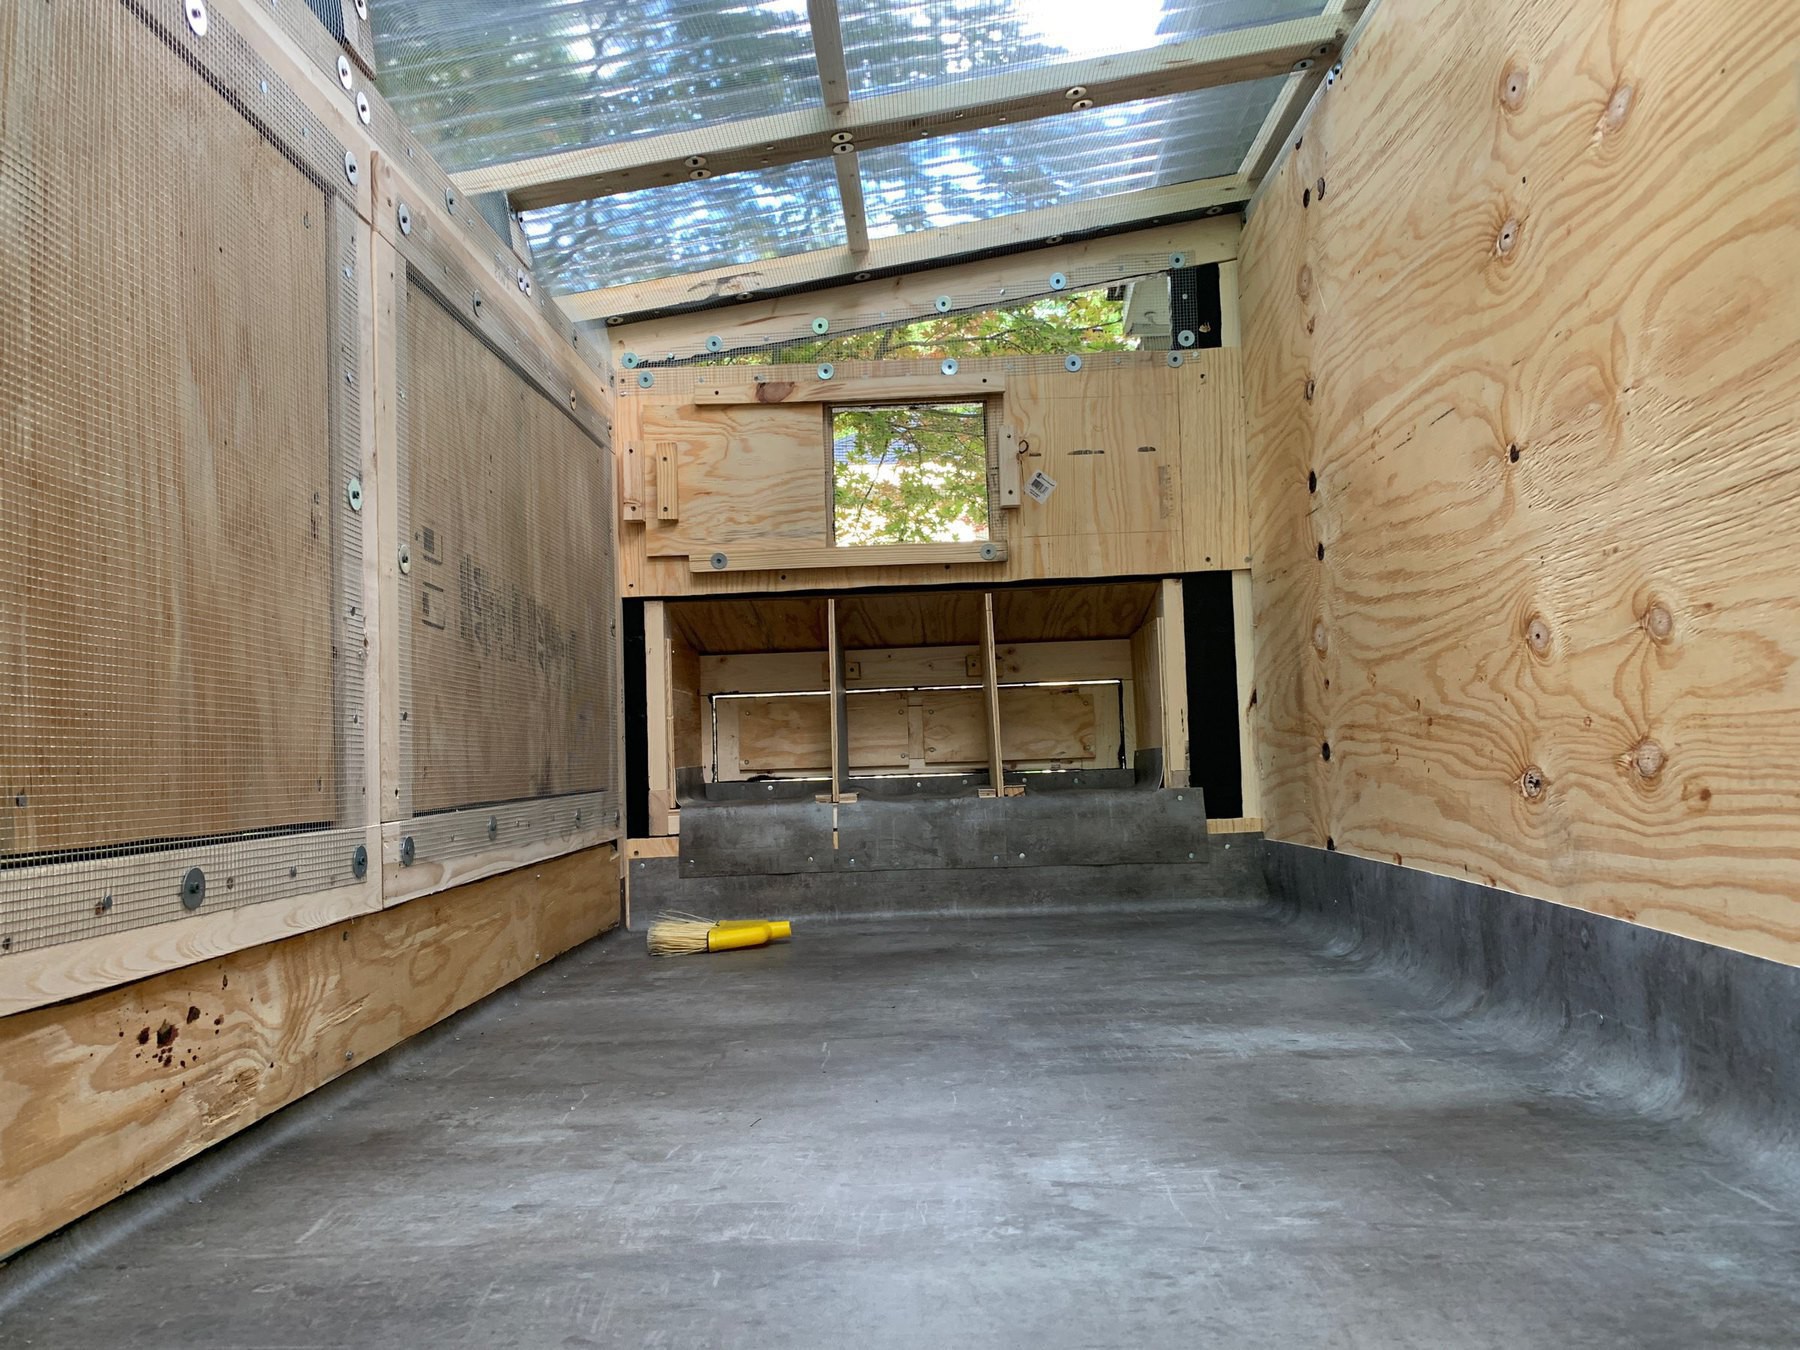
One last thing I recently did with the coop was to upgrade the roost rails. The original roost I built worked just fine, but as they grew I kept Frankenstein-ing more scrap pieces of wood to it until it became quite heavy and unwieldy to remove whenever we turned their coop bedding. It only made sense to give them more space and get it all off the coop floor. Now that it’s installed, I honestly wish I’d done all of that when we built it originally. So much cleaner (visually and spatially) and now there’s more space for them to move around inside.
Three eggs a day and an extended run for the hens! 🐓
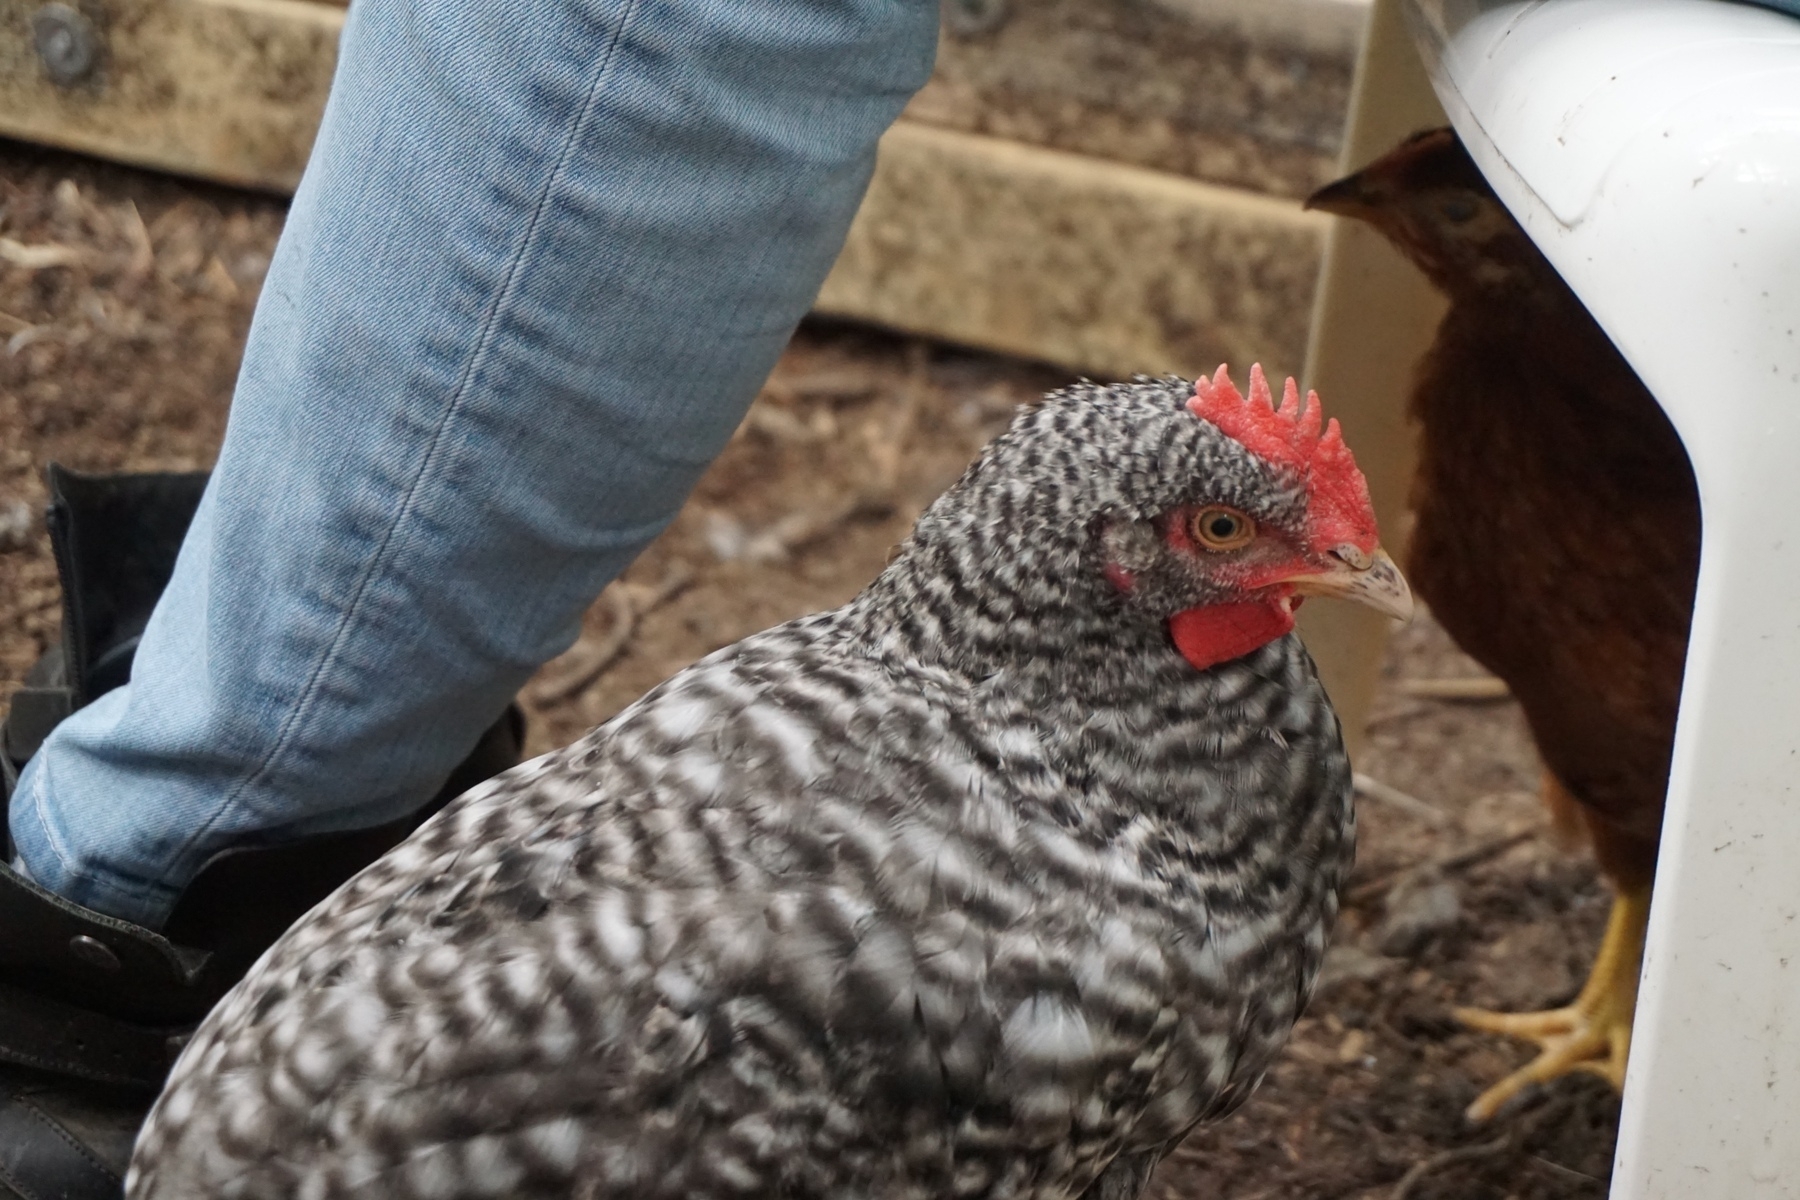
This last week our third hen started laying eggs on the semi-daily. They all take a day off periodically but, for the most part, they are producing 3 eggs a day a now! For the first time since getting these ladies, it feels like we are quickly getting to a point where store-bought eggs will be a thing of the past. At least for a little while anyways. When all 9 are laying, that’ll be crazy!
We also took some time at the end of November to extend the run beyond the existing fenced-in area. It’s open air, so we have to be out there with them (too many hawks in the area nabbing hens), but they seem to really, really love this addition. Lots of frolicking and happy chortling! It also gets us outside a little more, which is much needed these days.


The flock gets smaller (but then grows!)... 🐓
It’s been a while since I updated this space. The new job I started in July really took a lot out of me as far as changes to every day life and the pace at which I had to learn a ton of new skills. It’s going well, it’s just at the end of the day I simply want to turn my brain off and writing on this site requires at least some level of thought.
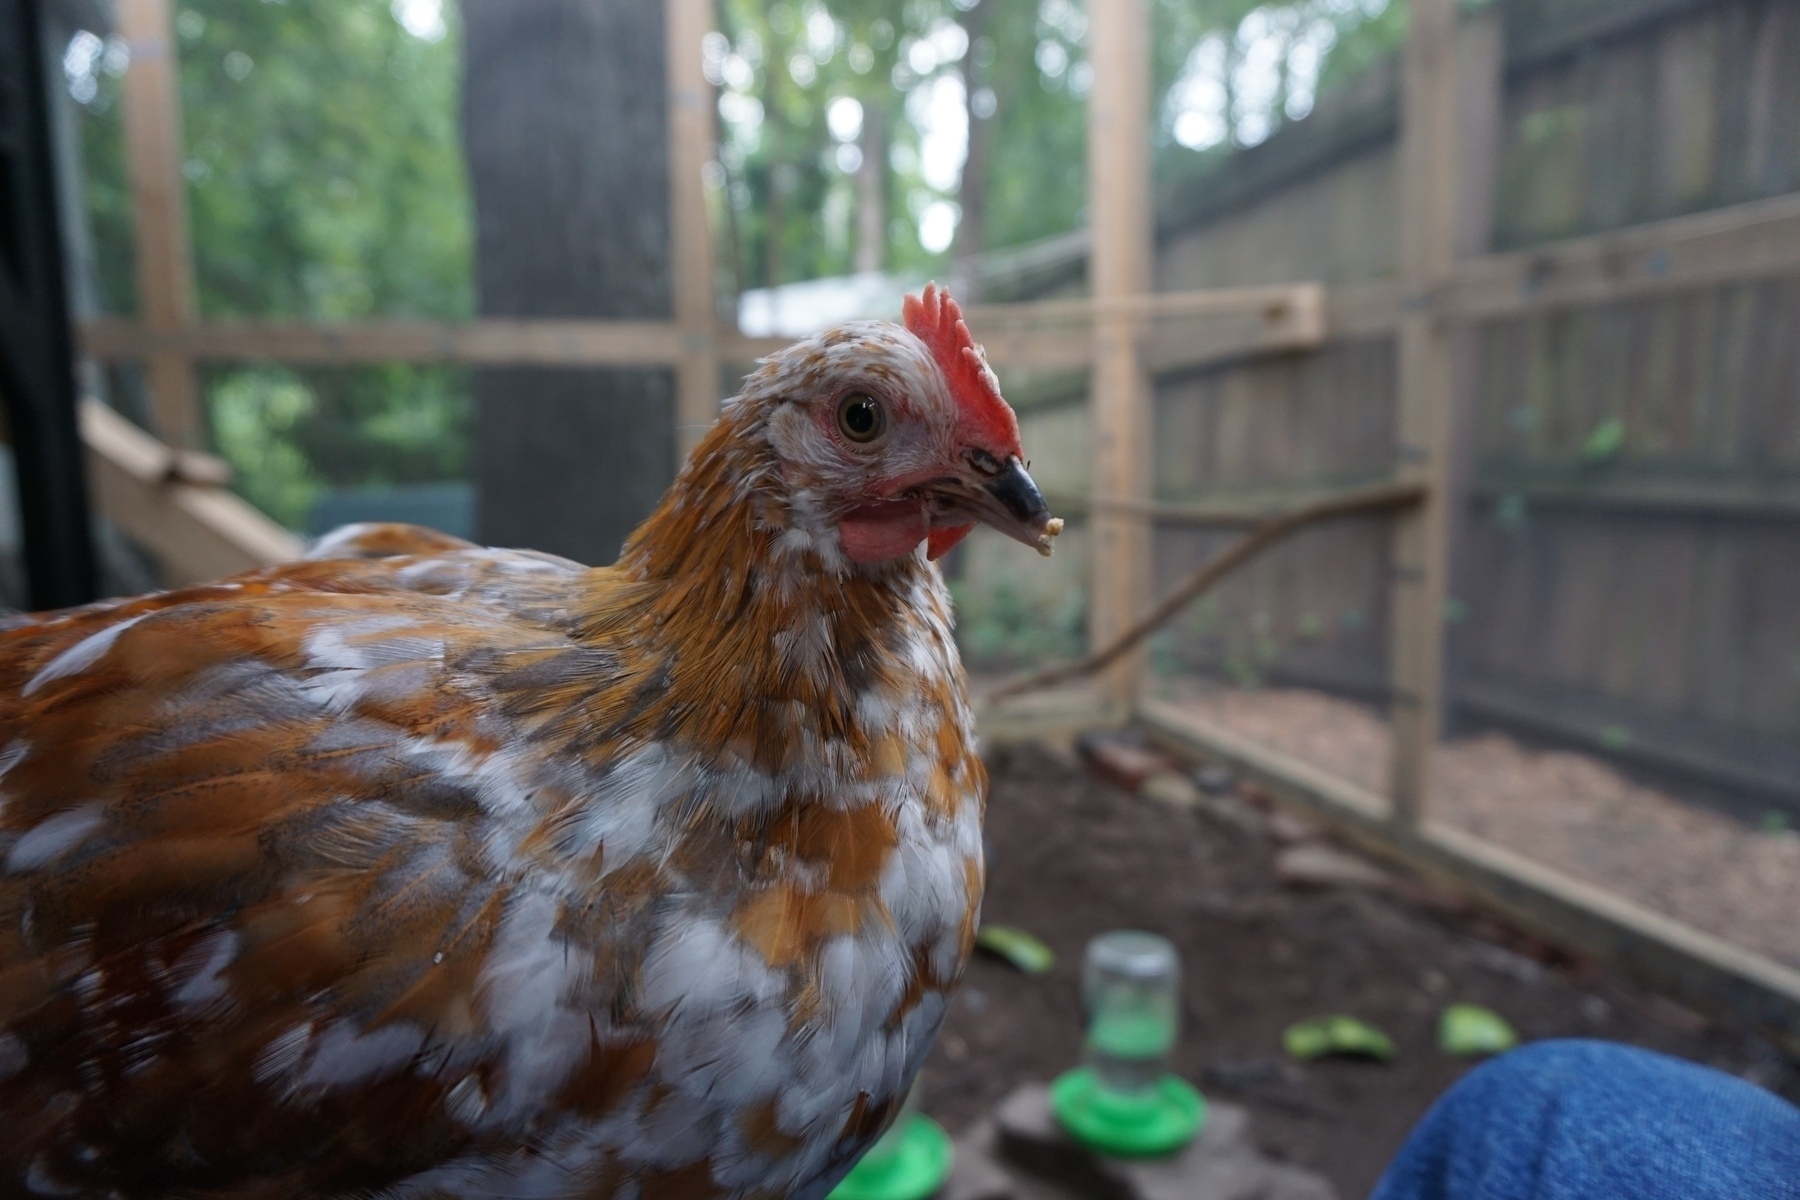
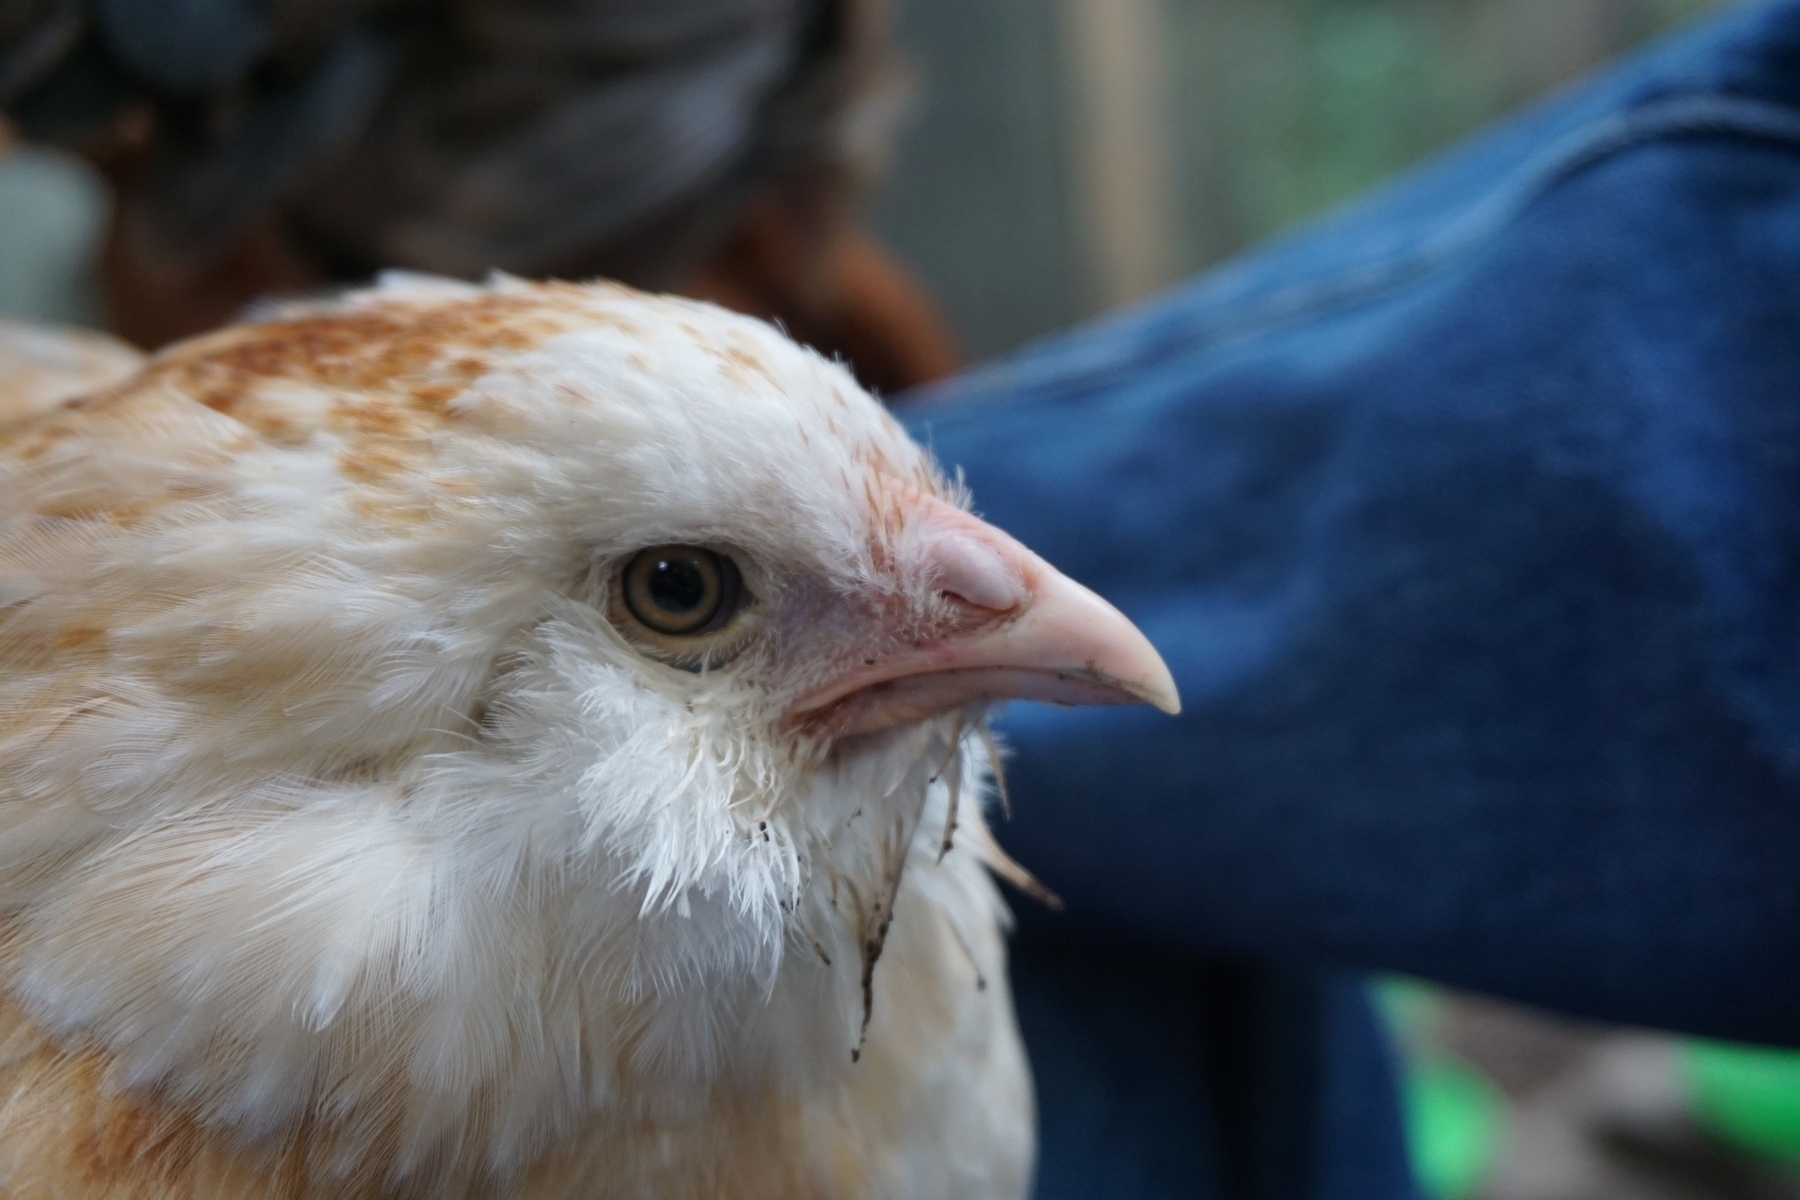
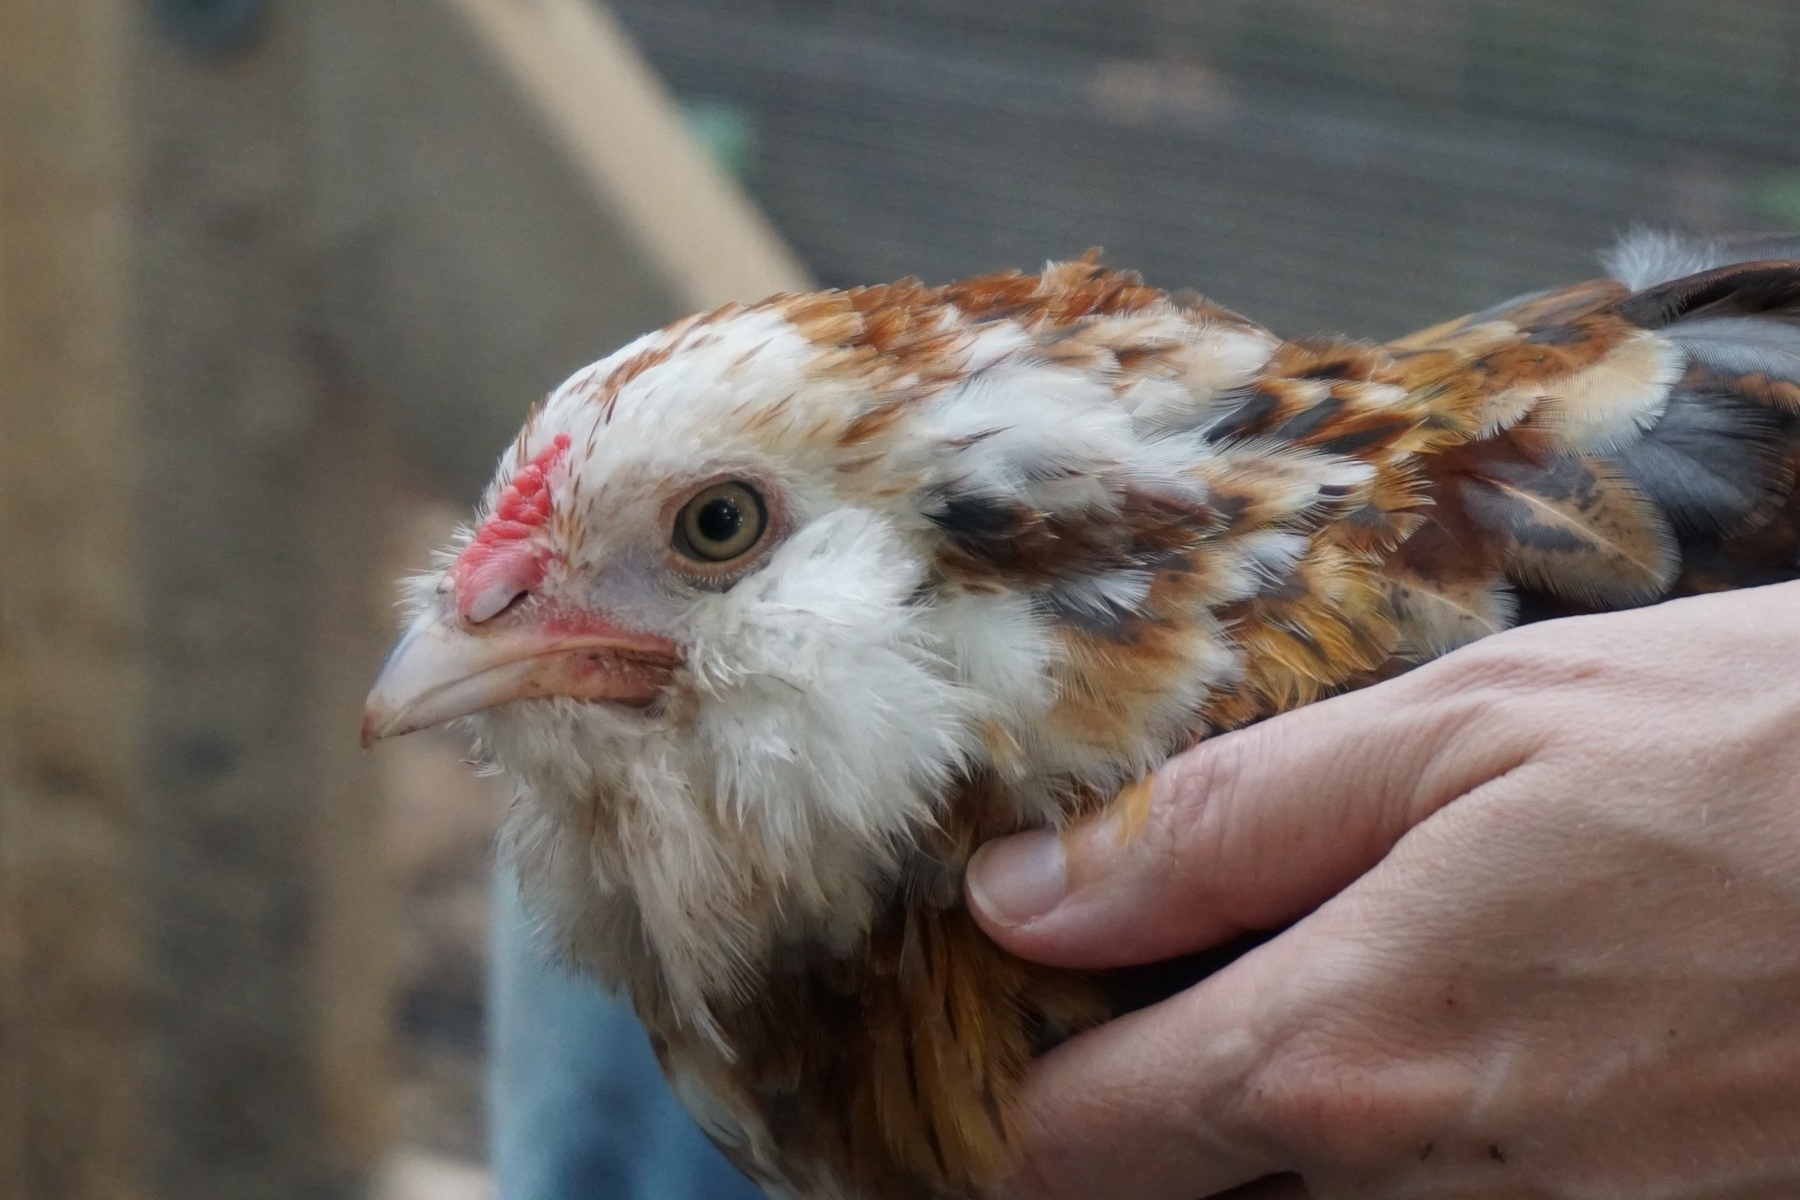
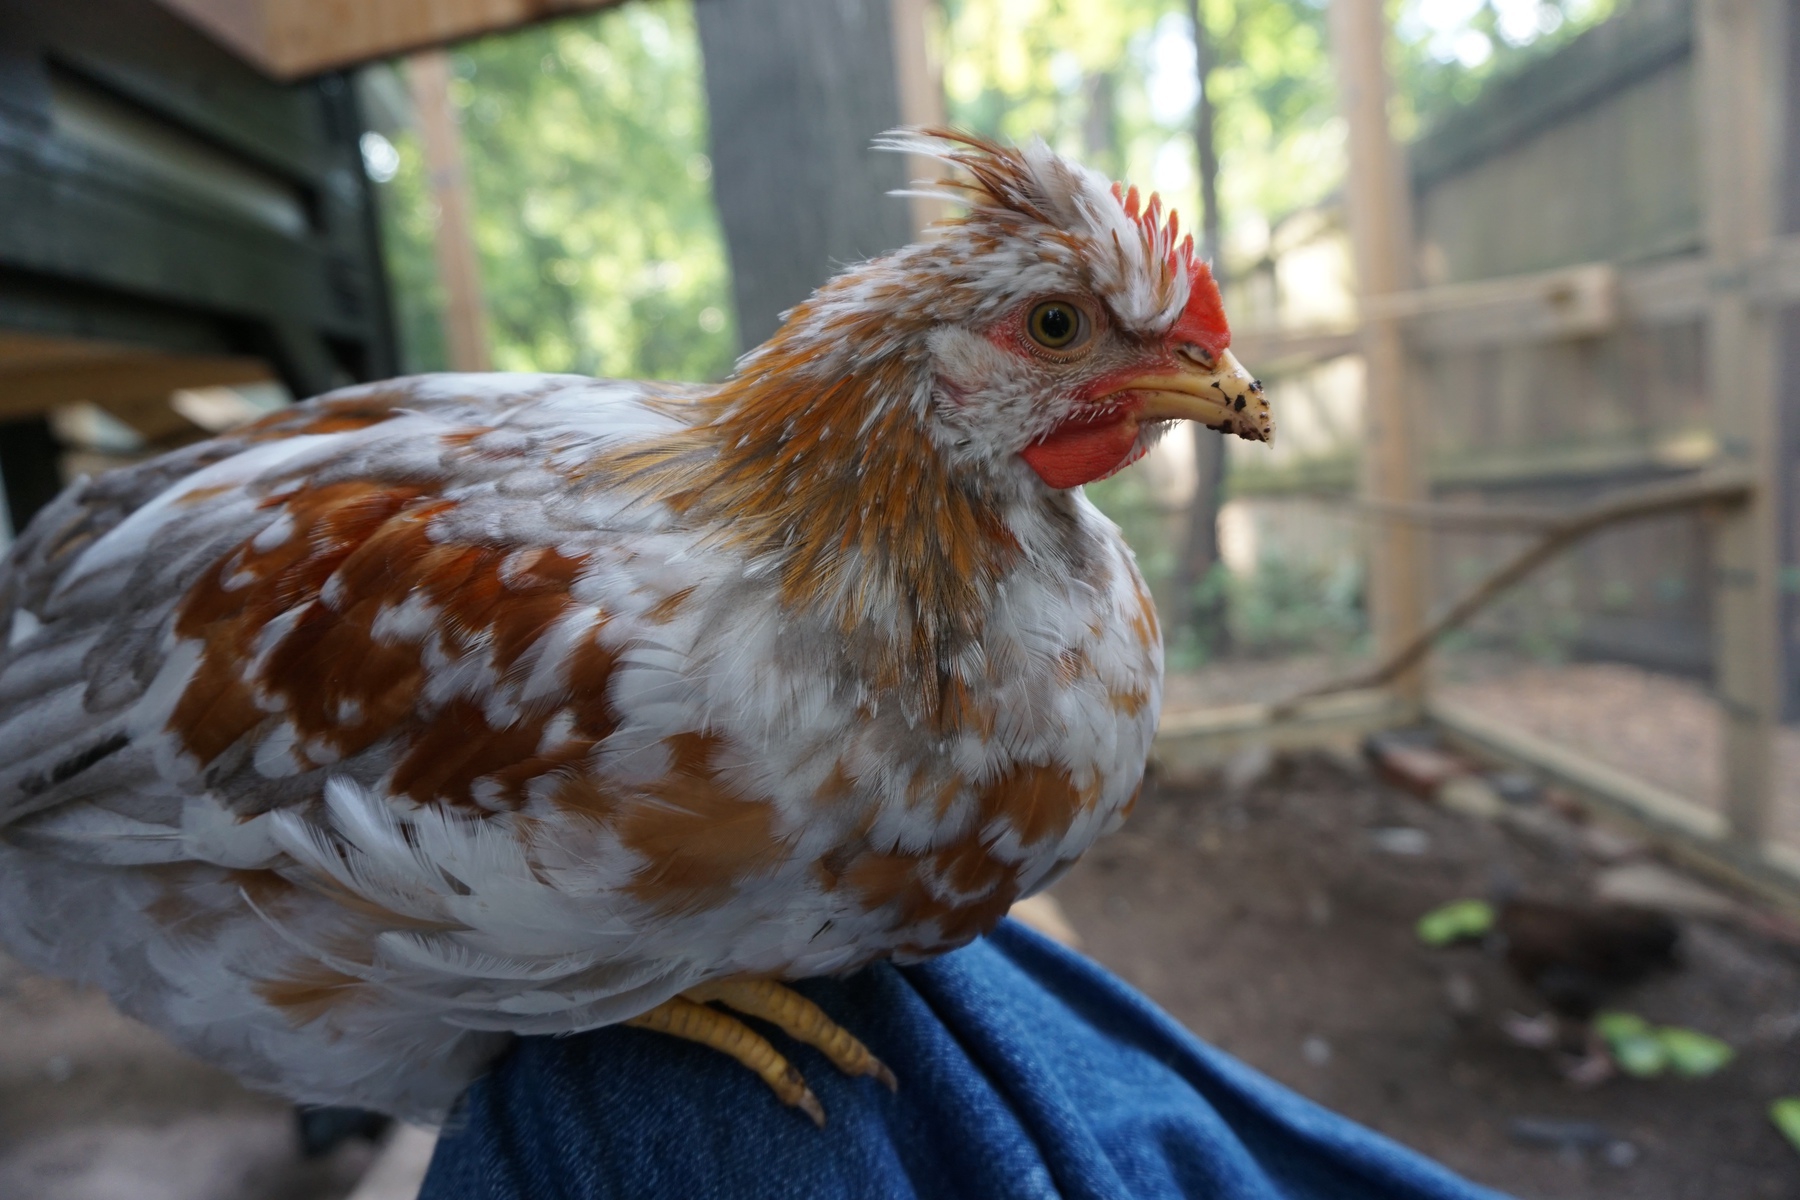
As I mentioned in the title above, our family of chickens had to say goodbye to four of the OG flock. Shortly after the last post Brave, London Fog, Cookies and Cream, and Lemonade started crowing very loudly every morning. We knew this day would come and we bought these birds with the full knowledge that we’d have to let some of them go. Still, it was sad to say goodbye to them. We raised them from less than 24 hours of age, and as much as you try not to, you really do become attached to these silly birds and their personalities. Luckily, one of the farmers that we got 4 of our hens from, had two pullets that were up for grabs. She offered them to us cheaply since one of her “hens” that were supposed to be sexed ahead of time, turned out to be a rooster.

Their names are Cinnamon and Hashbrown and while they are considerably younger than the other hens, they are slowly but surely growing and weeding their way into the flock. We’ve had to break up a lot of fights and play referee a bunch. These new little guys are drama queens so it’s hard to hear their cries and not do anything - I don’t abide bullying with humans and it turns out that that sentiment extends to animals too apparently. Still, I had no idea how brutal these ladies can be to each other! Hopefully, come dead of winter, these new additions will be grown enough to defend themselves a little more and not be such easy targets.
Oh! On another hen-related note, we opened up the egg laying boxes! They are definitely interested, but no one’s jumped in one of them so I think we are still a ways out. Hopefully we don’t have to wait until the spring for eggs, but we might! 🤞🏼🤞🏼
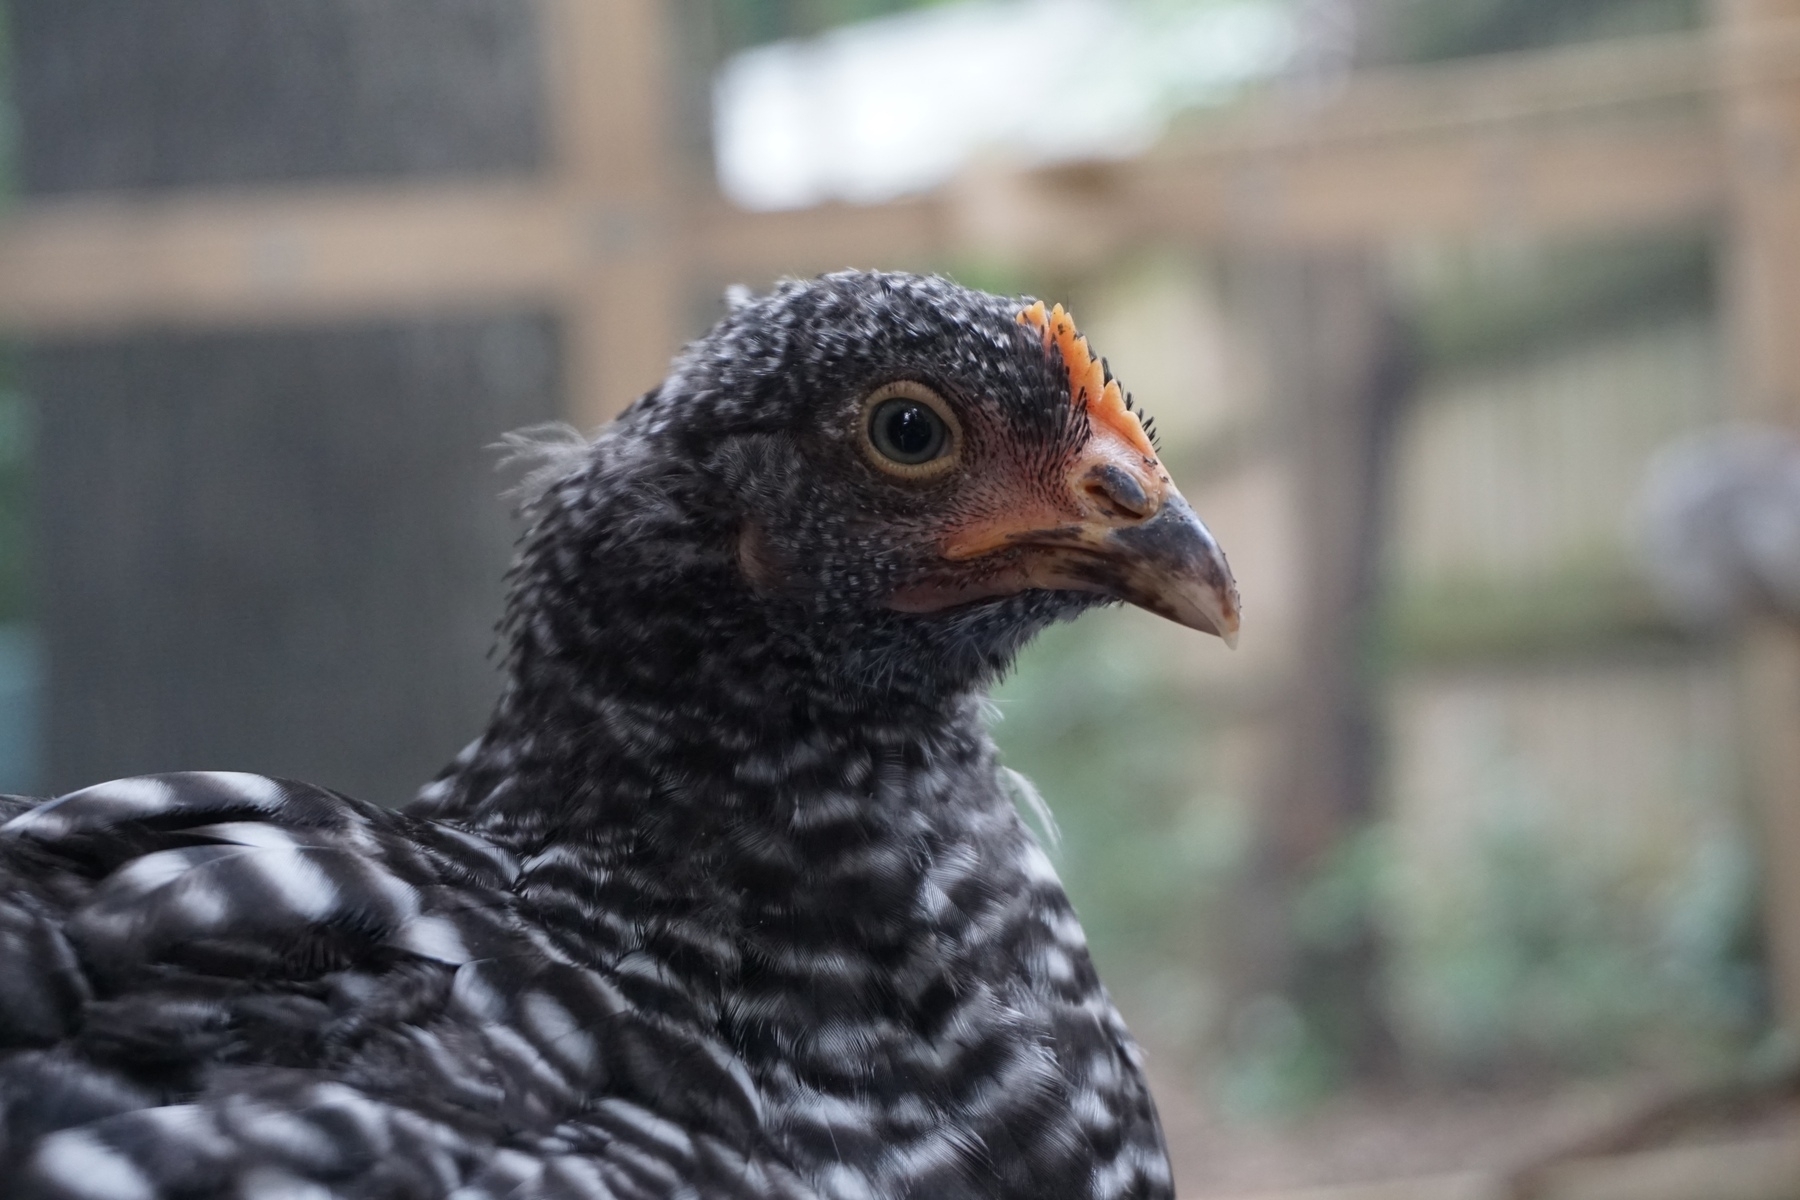
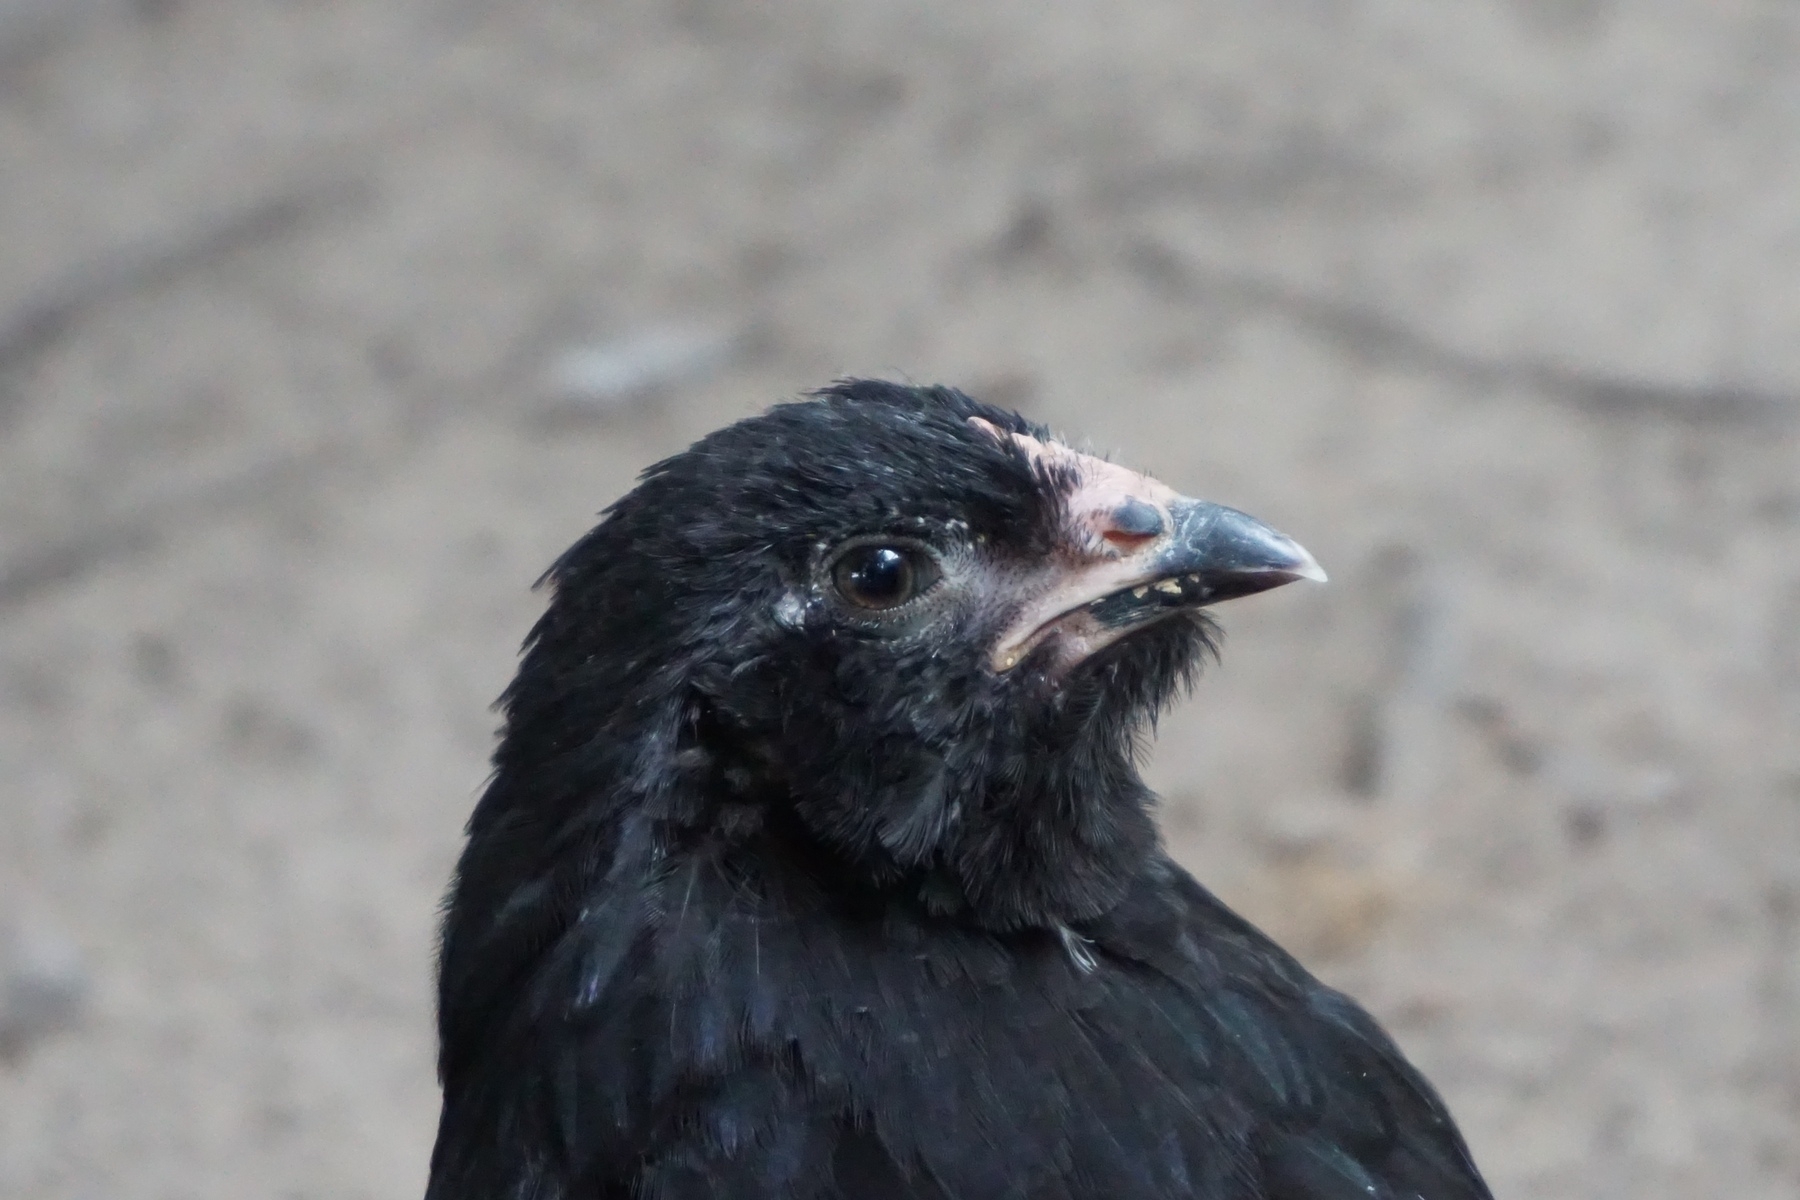
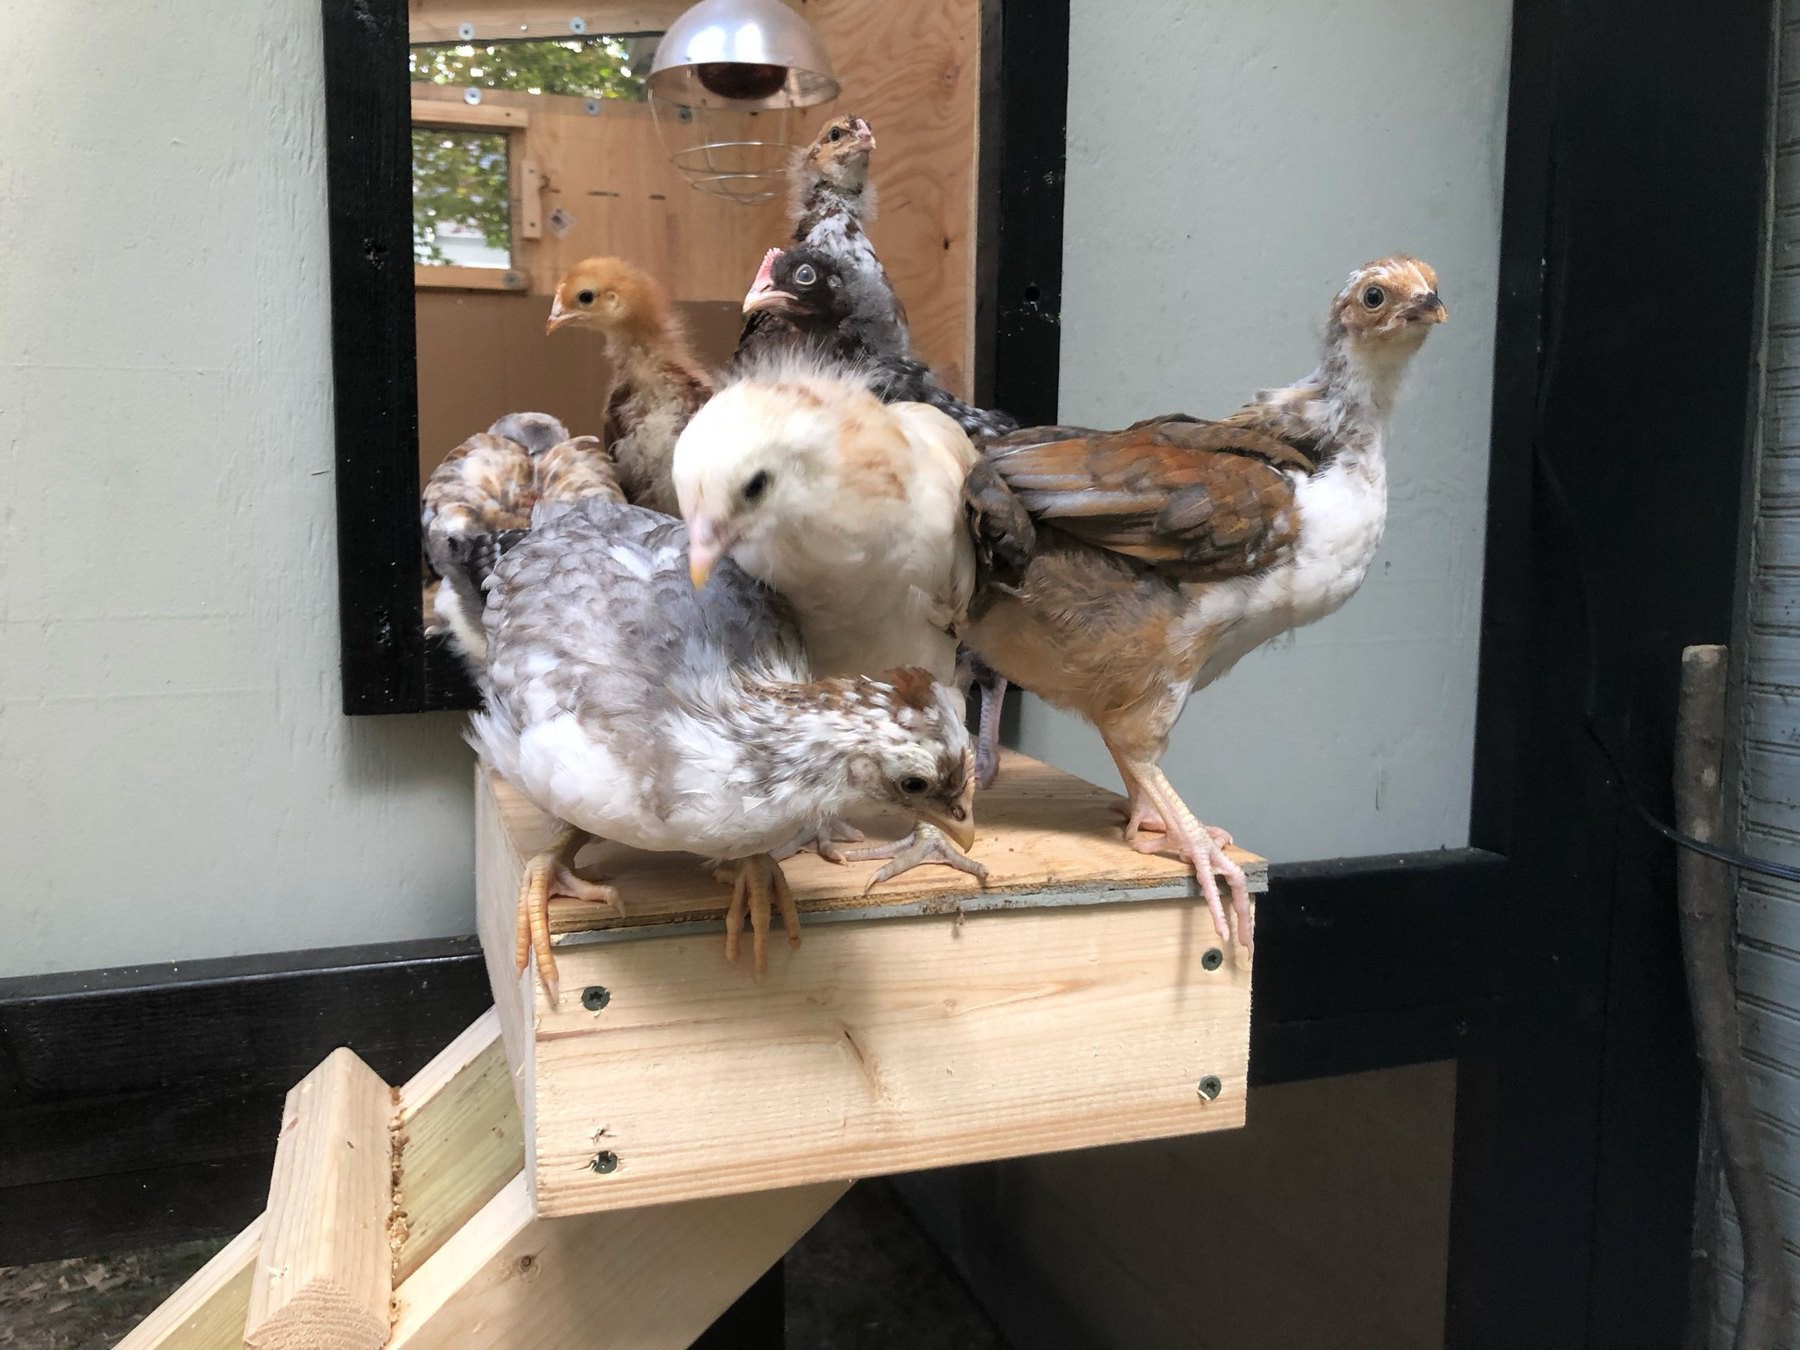
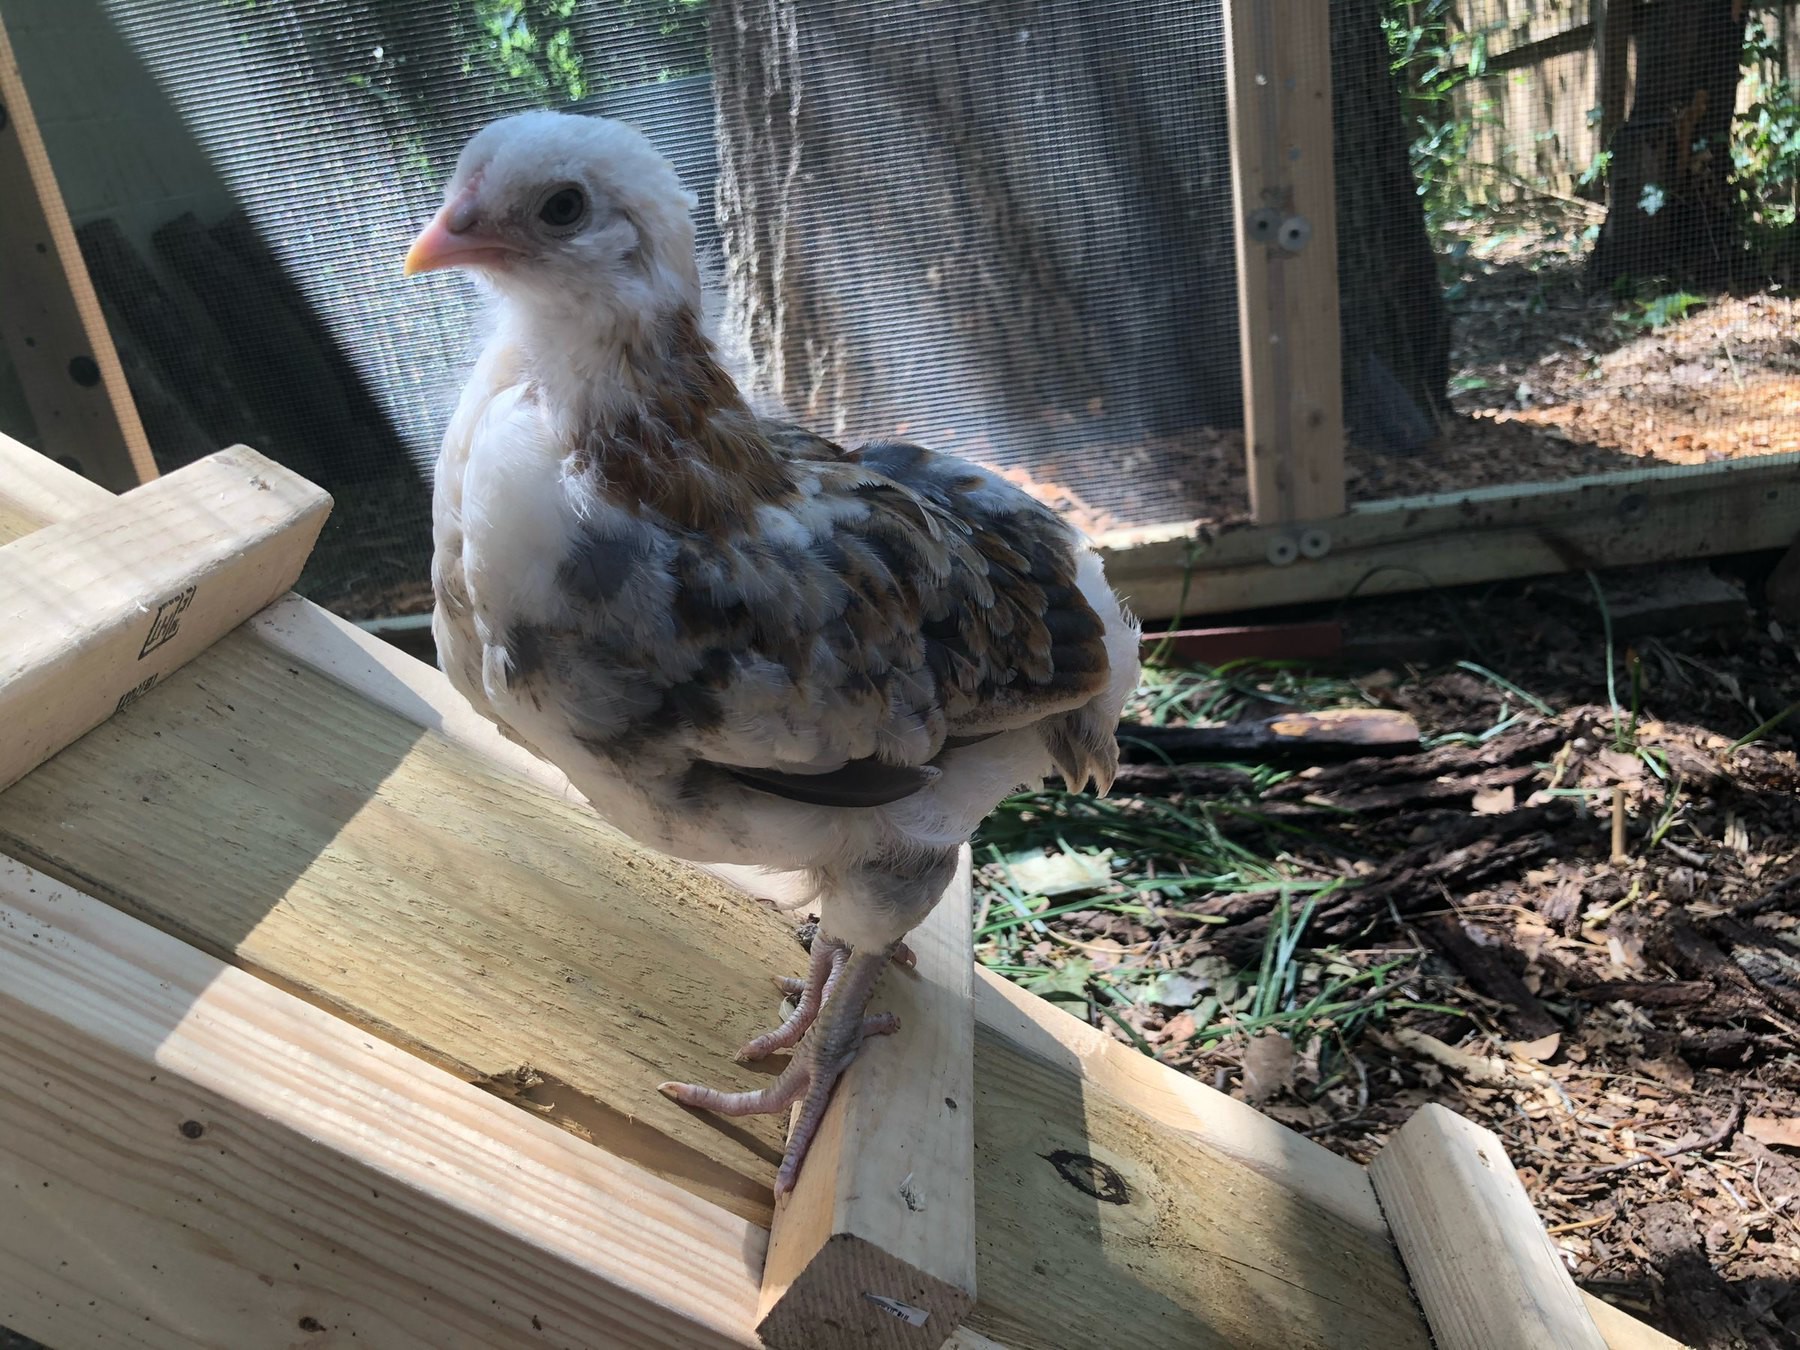
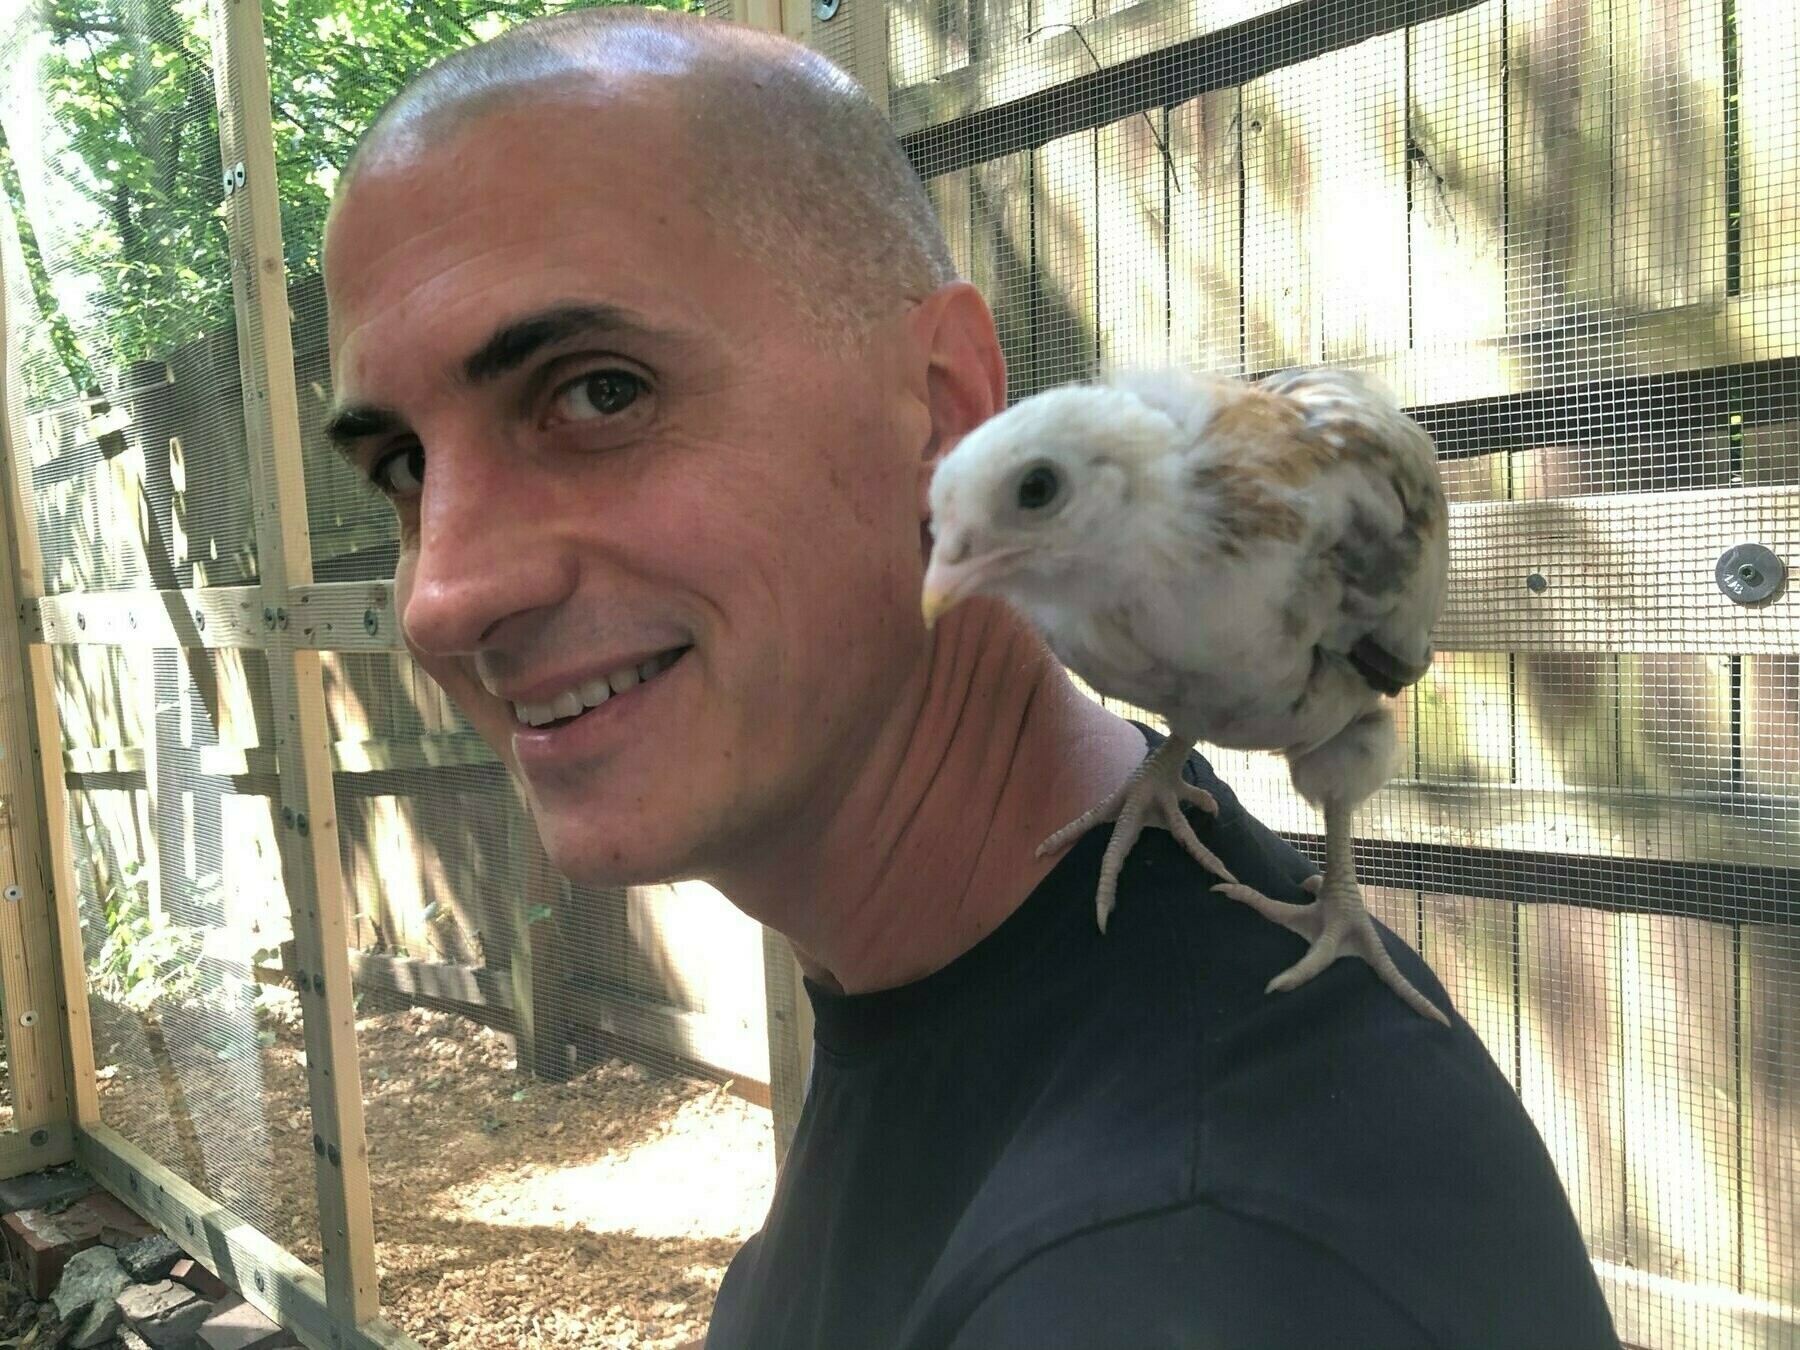
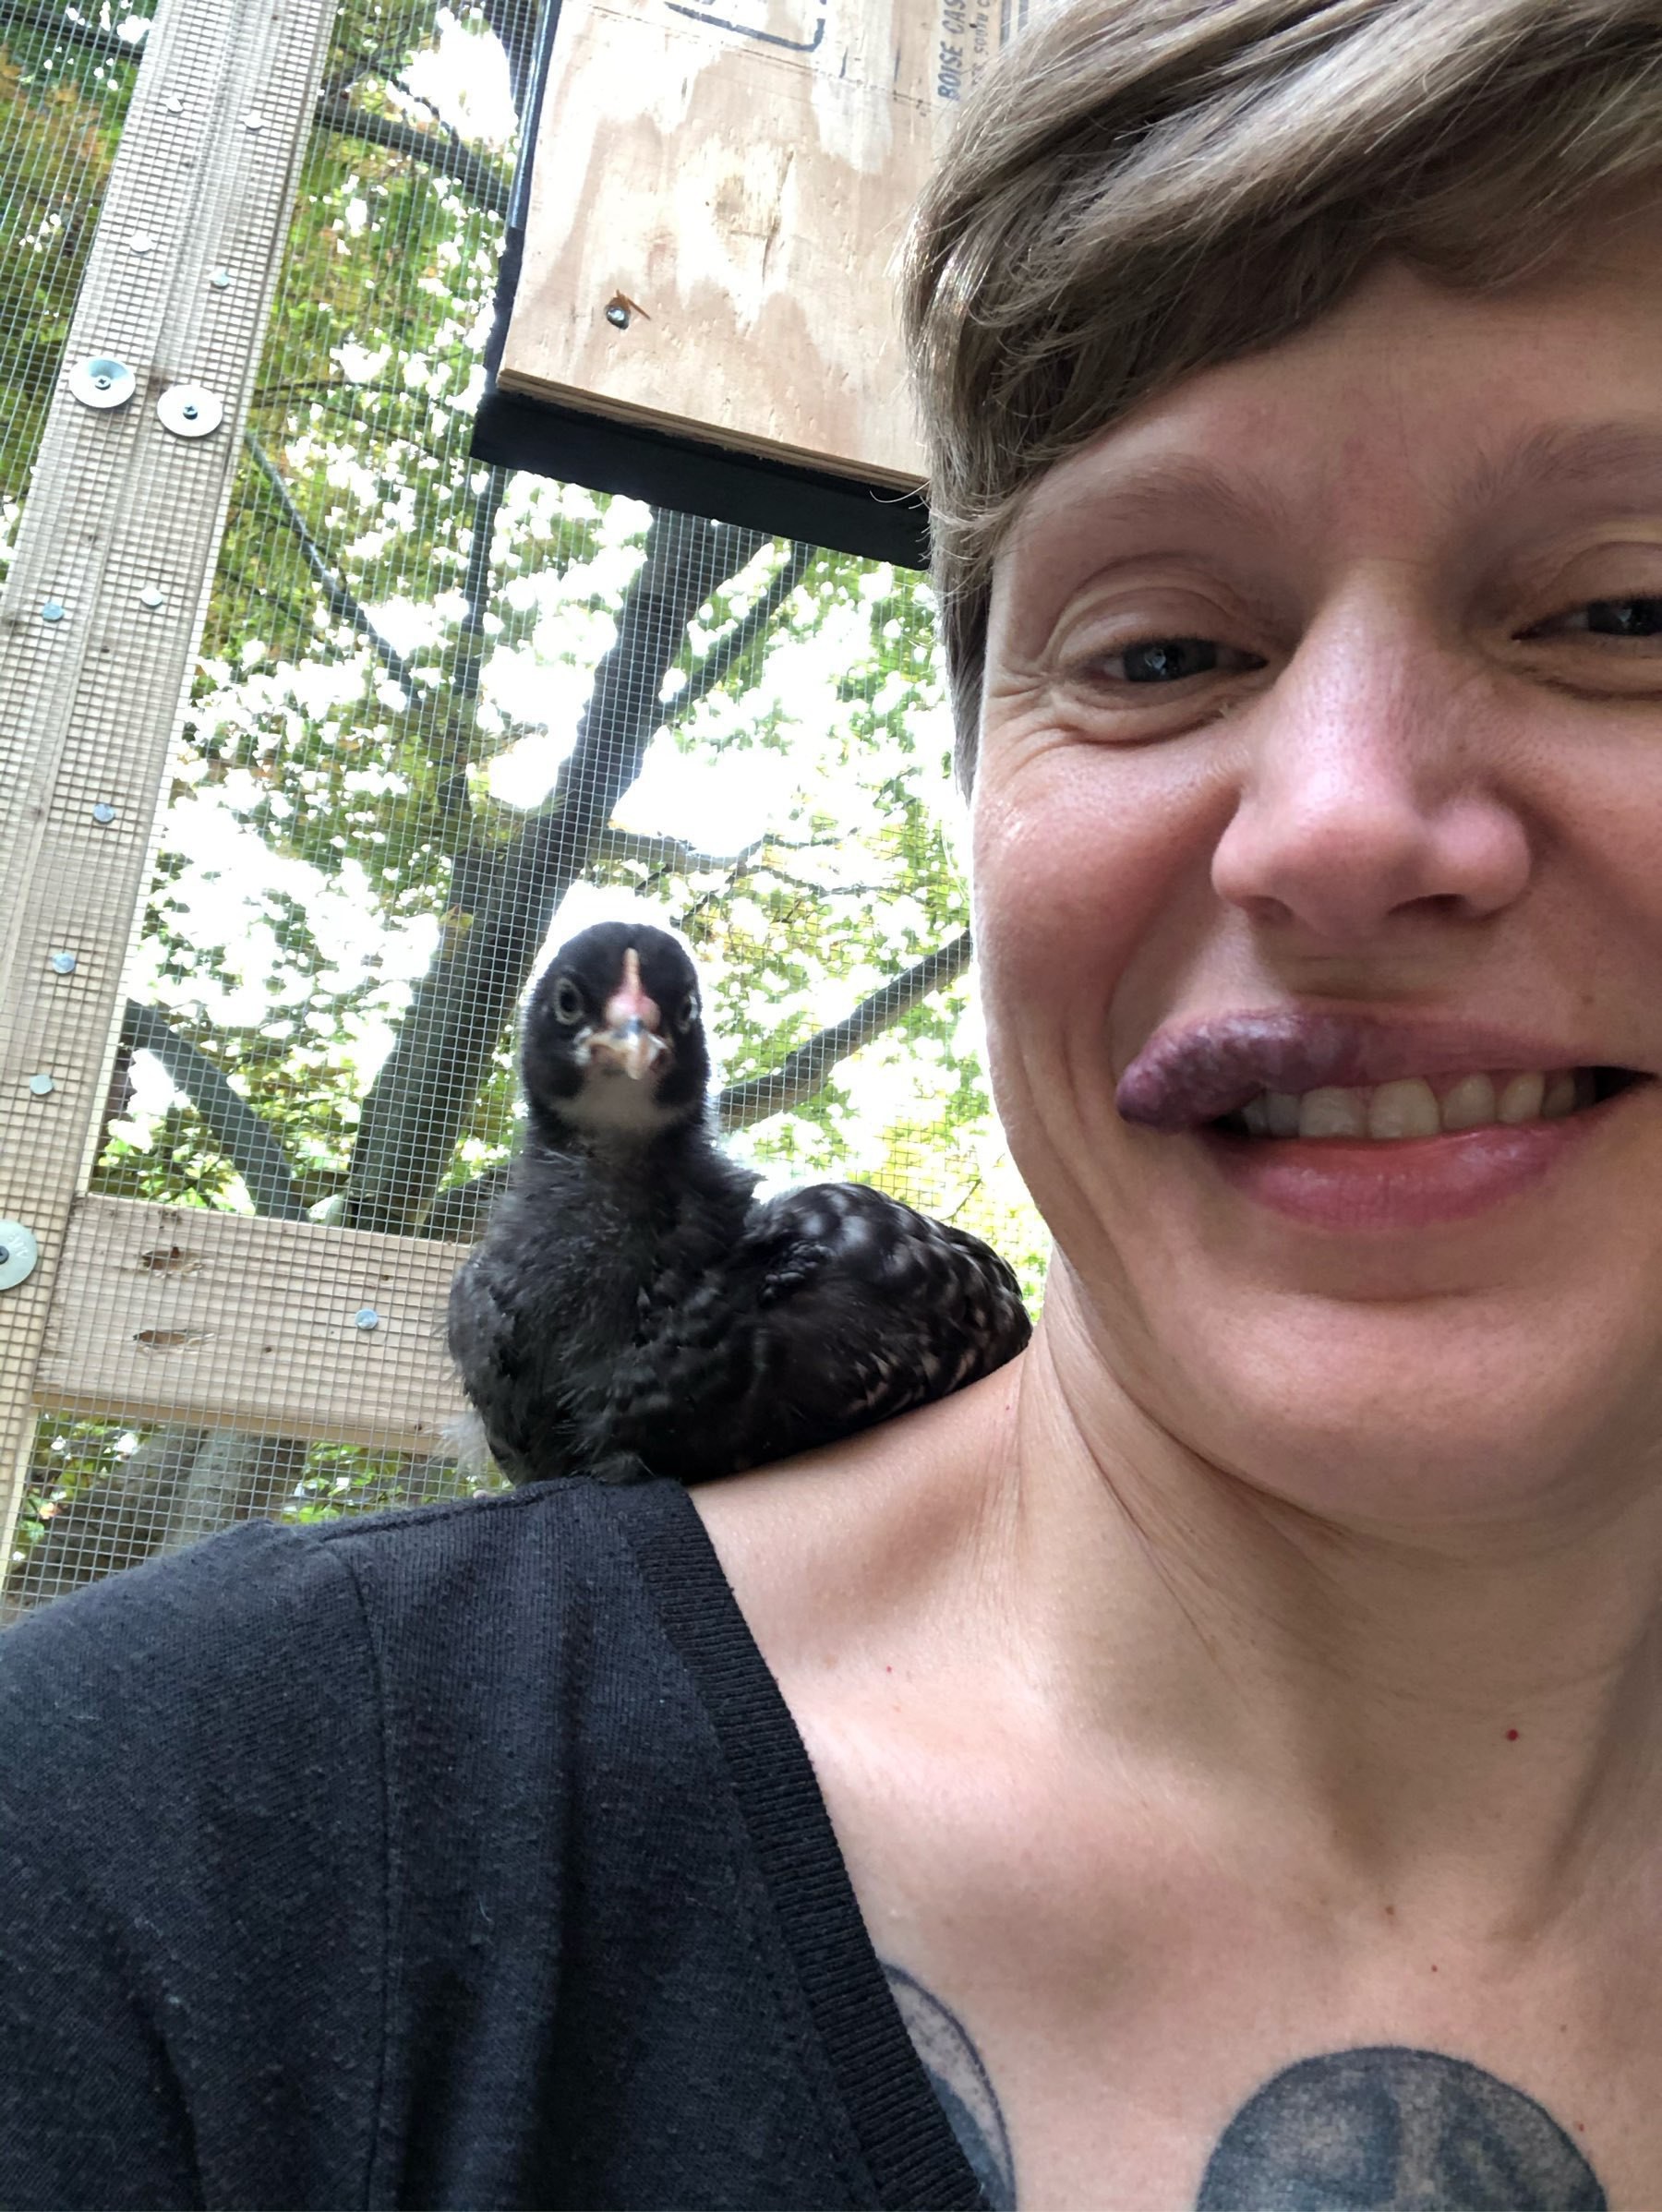
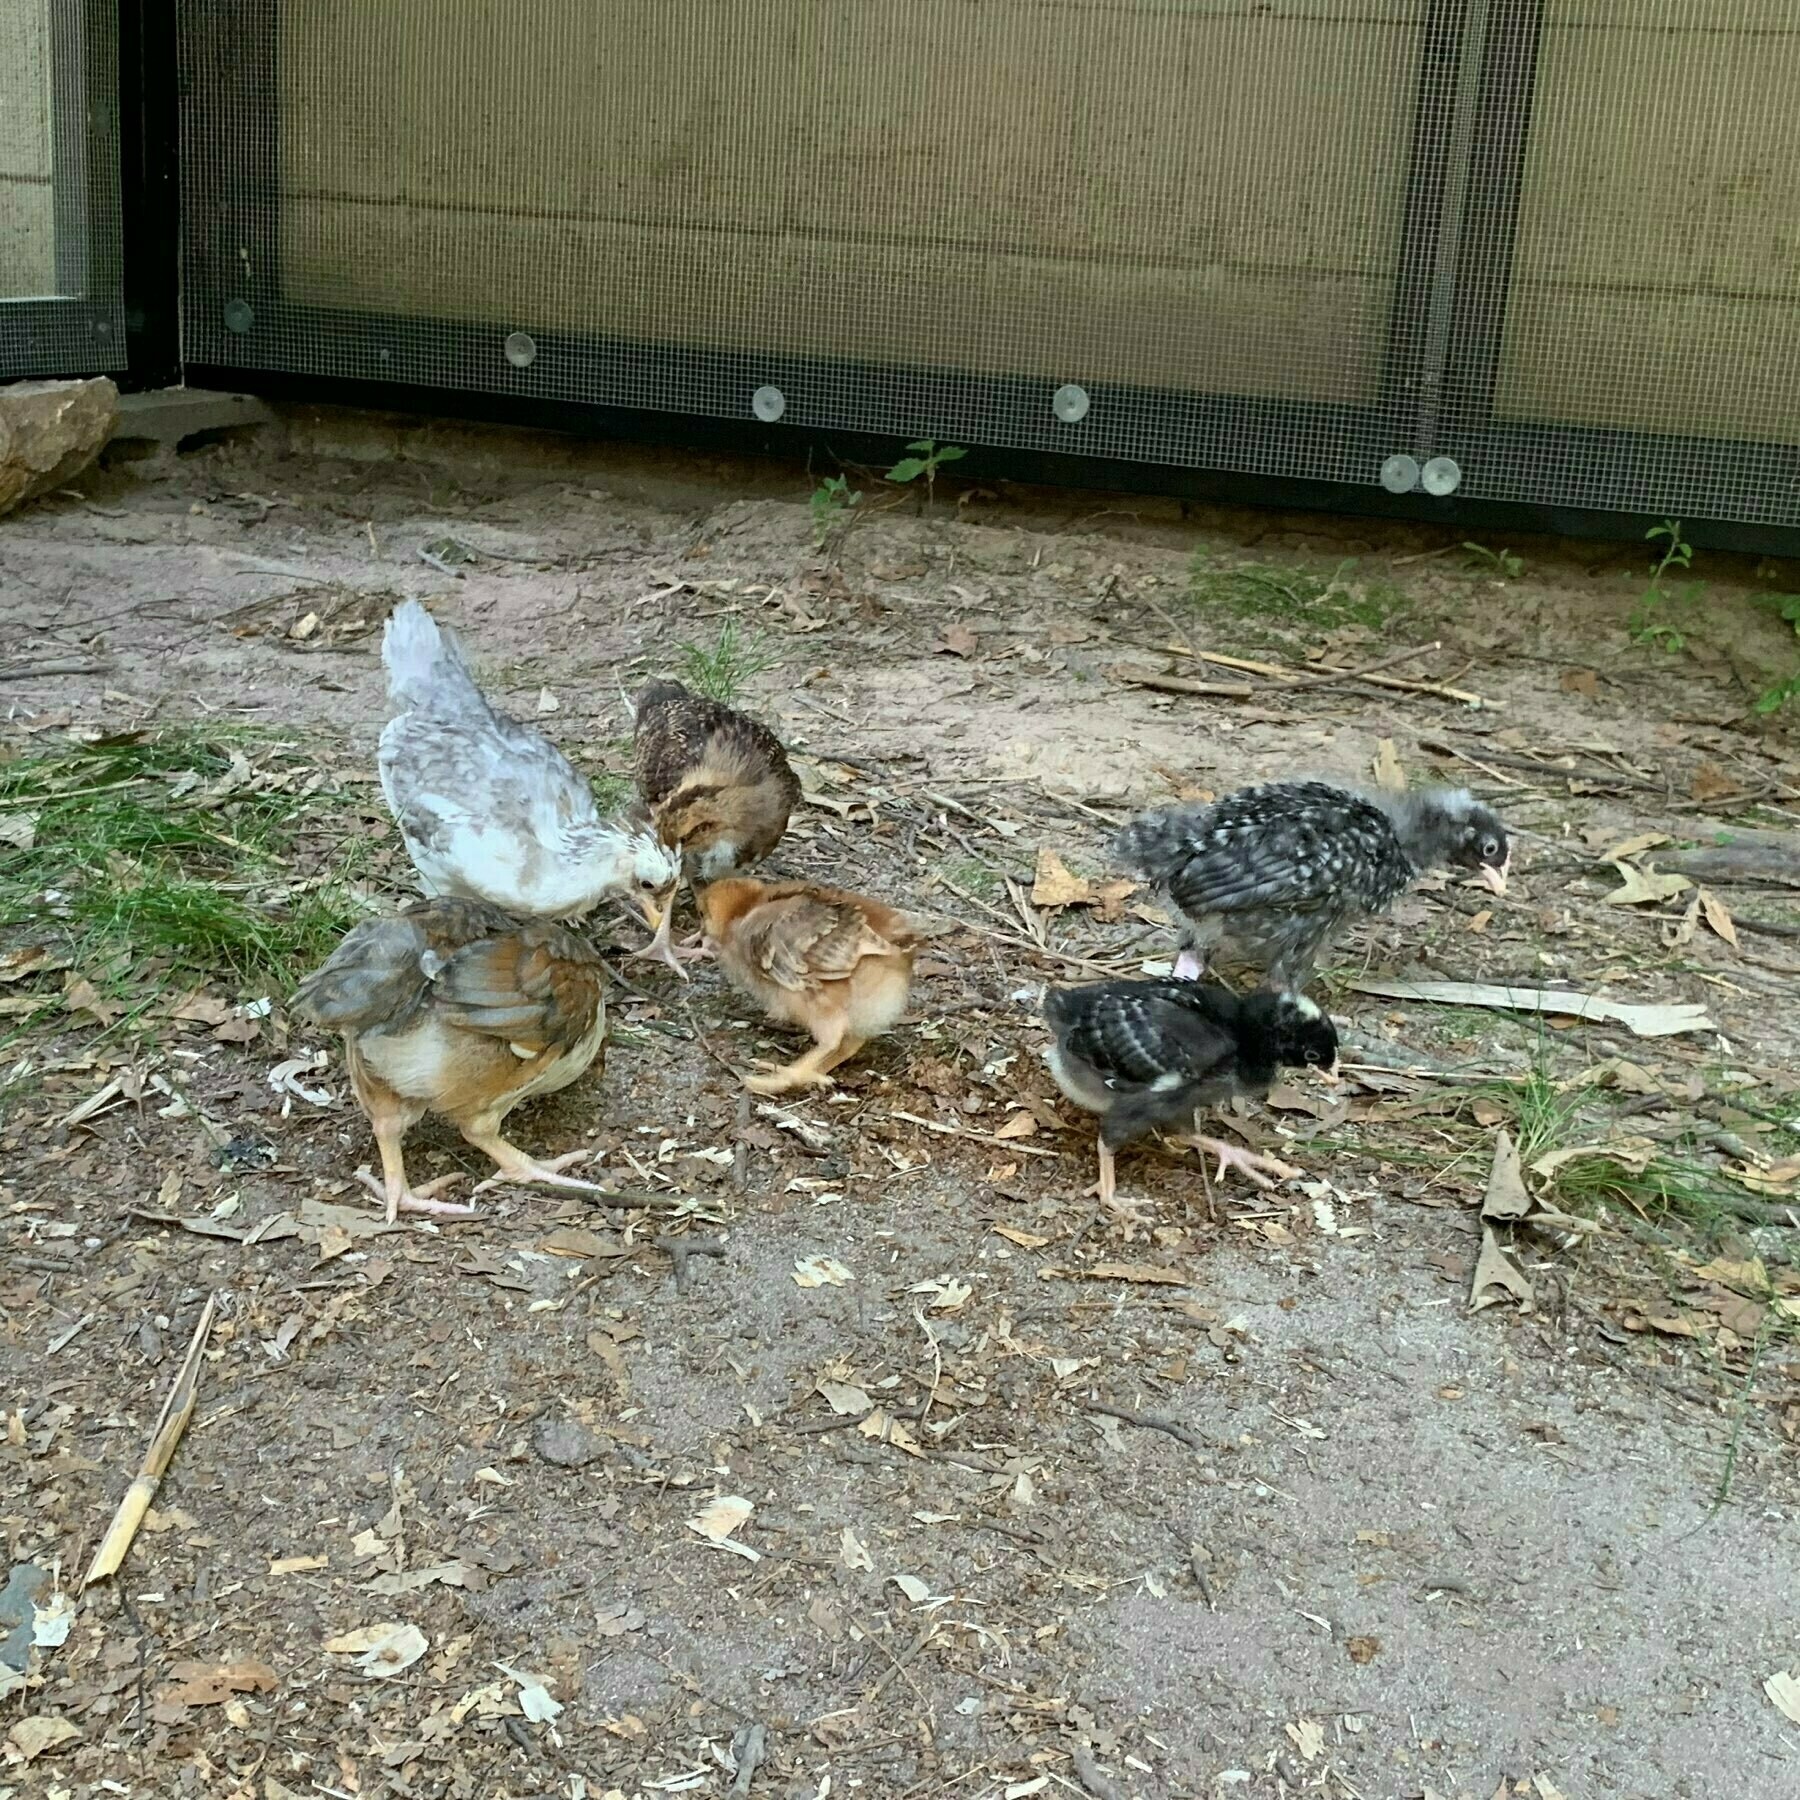
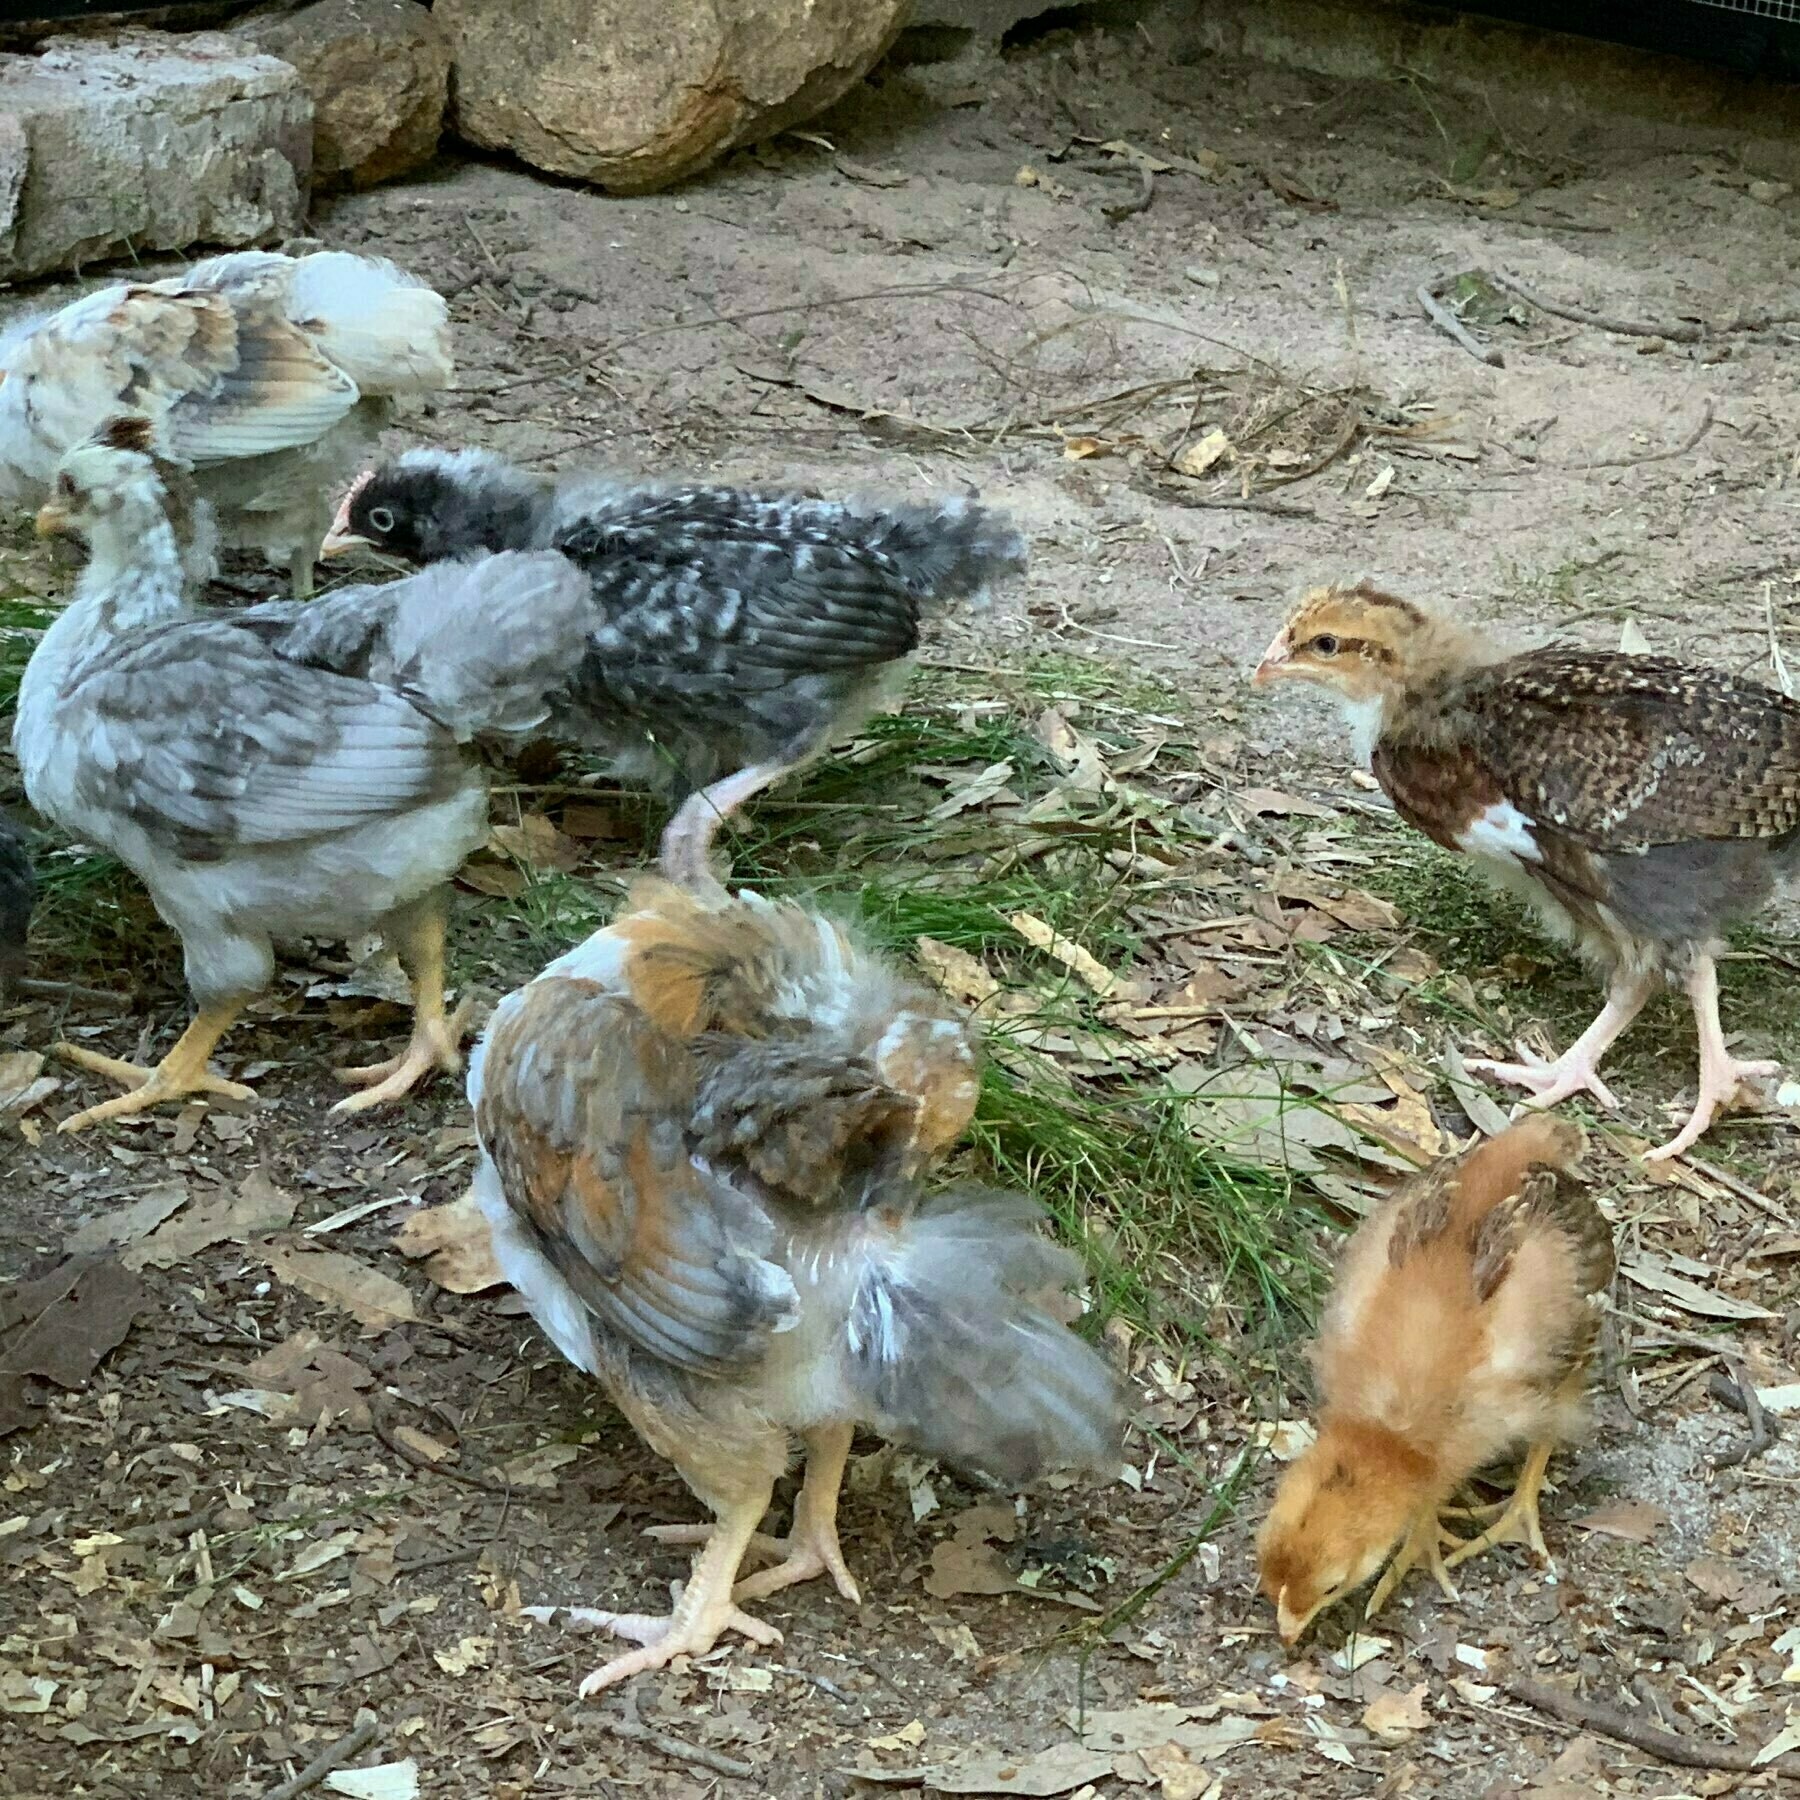
The chicks are all grownz up! 🐓
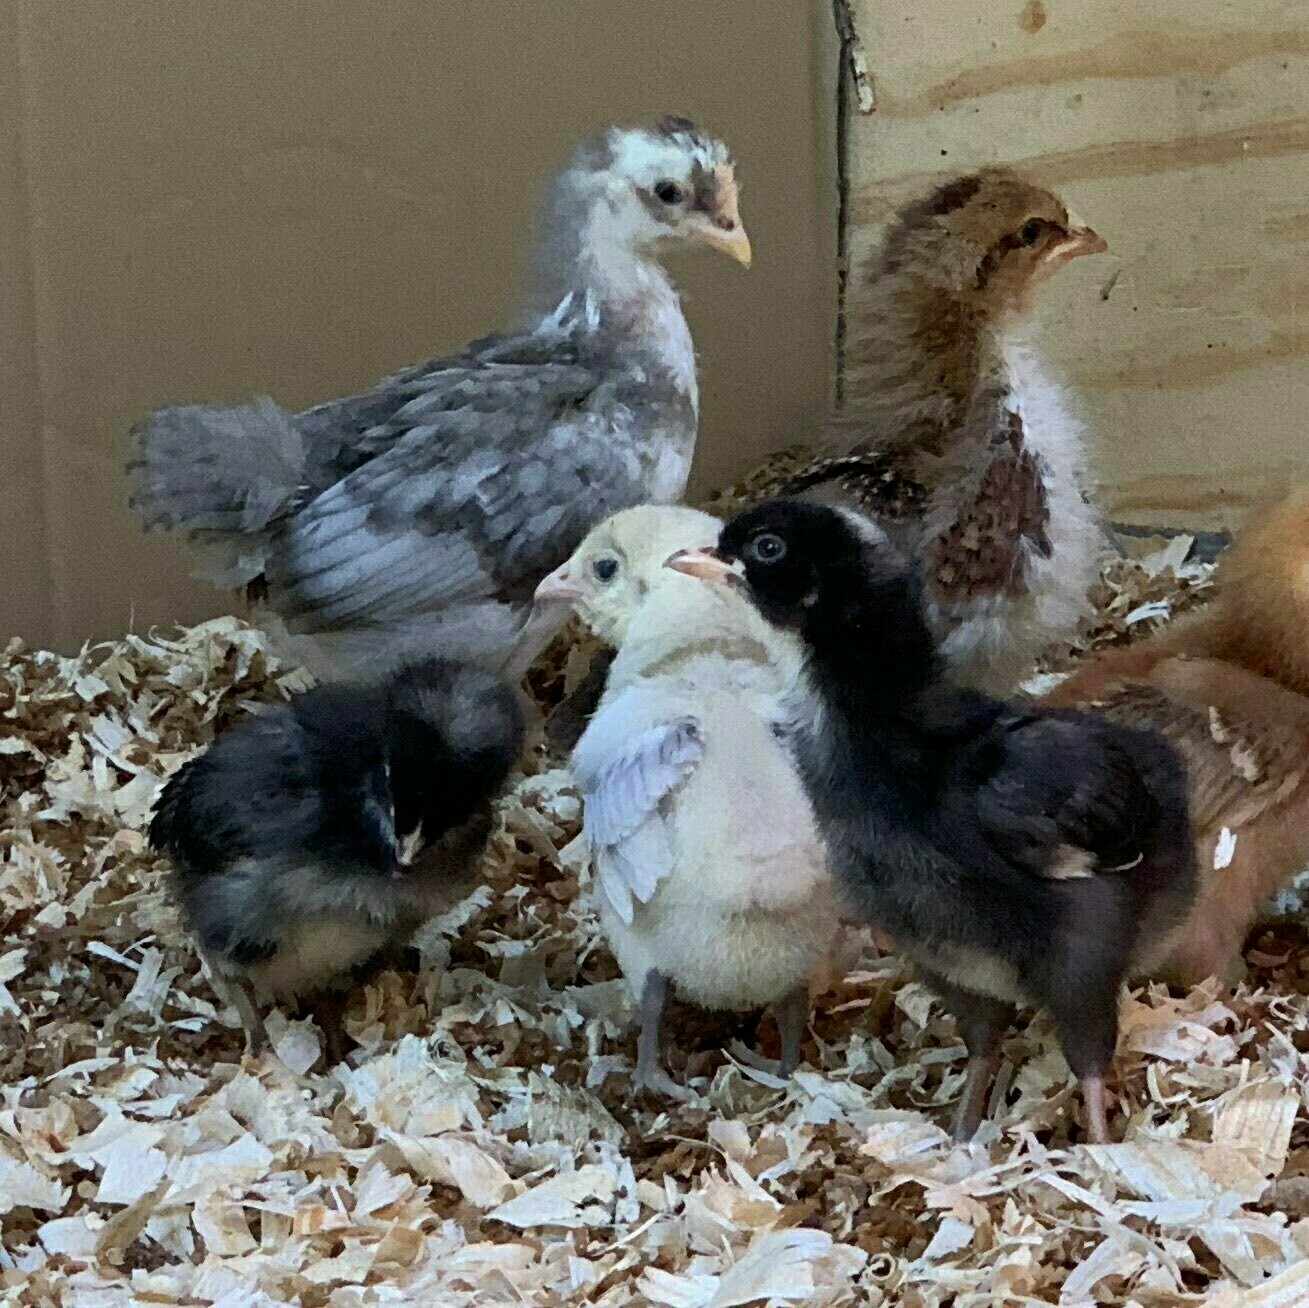
Our feather babies are making all kinds of crazy new croaky sounds as they’ve grown significantly in August. They are burning through food and water much faster and, though we are not sure yet, we have some pretty good hunches on who’s gonna be a rooster. Not gonna lie, it will be a bummer if we are correct, since we can’t have them within city lines.
As we’ve mentioned before though, we’ve got solid backup plans for them to live out their roostery lives to the fullest, it’ll just have to be elsewhere. 😩
Here are some pics of them at the beginning of the month:
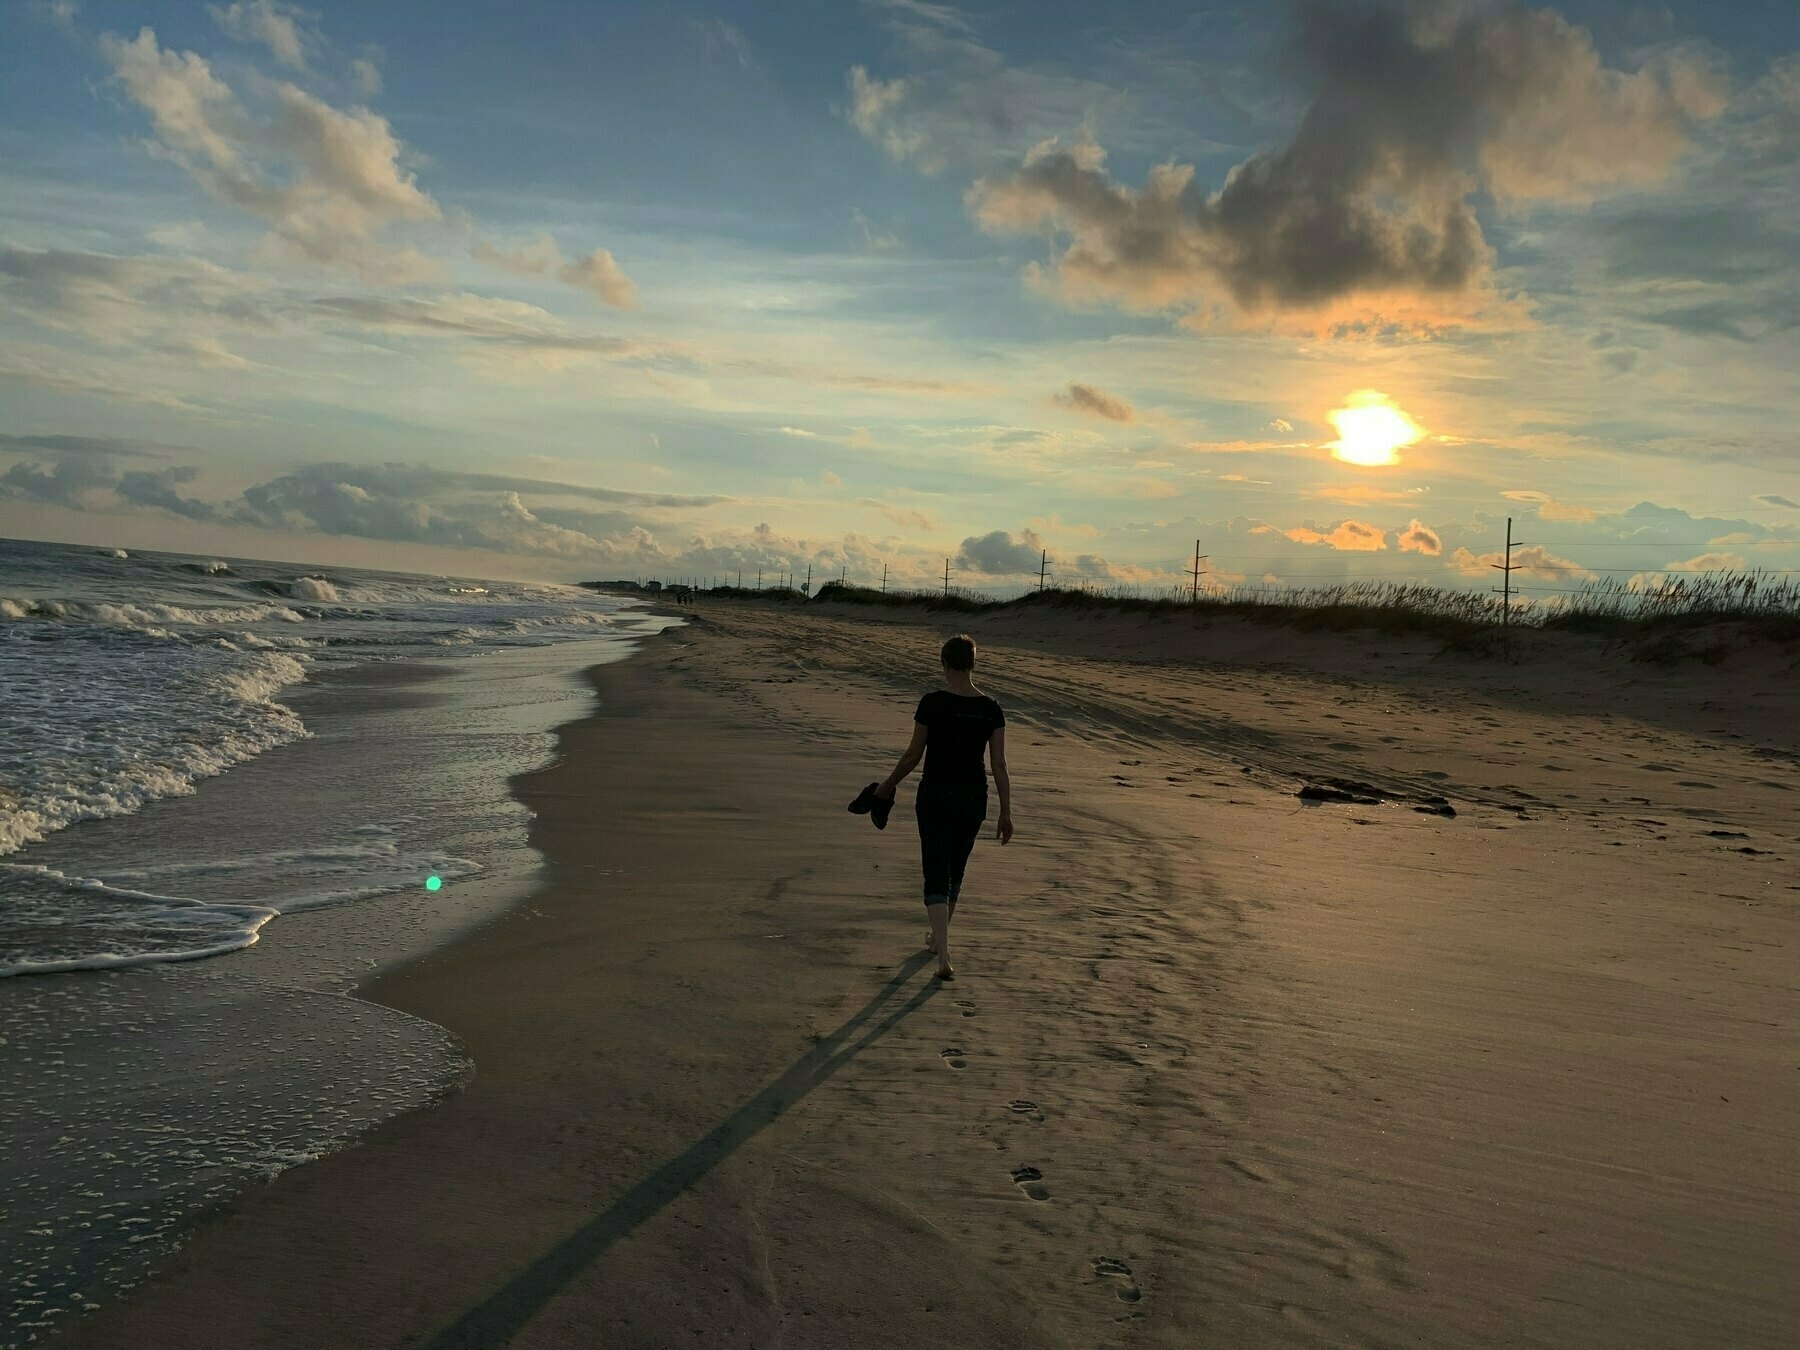
Hey there Atlantic... 🌊
… it’s been a minute.
I’ve never been a “beach person”. I get too bored, fidgety, and eventually insufferable. I am an ocean person though and it’s been years since we visited the coast. Four years for Melinda. Far too long.
Looks like we missed peak tourist season too! It was glorious having beach mostly to ourselves. 😷

🐔 Pals, weathering the storm...
The chicks have grown so damn much! We were a little worried about how they would handle their first Carolina hurricane.
So far they seem to be doing just fine. 😊🐥⛈🌬🌊🌪

Coop Update 6 🐓: The Coop Ramp and a Roof on the Run
Just a quick update on our coop and run situation. This happened days ago, but I installed a ramp up to the coop. Now we just open the sliding side door and they can walk down the ramp or, if you are too tiny, fly down from the top ramp platform and skip the ramp entirely (which is pretty damn adorable to watch TBH)!
We also installed chicken wire over the top of the run so they can finally be out in the run all day without us being present. No lie, this is a HUGE quality of life improvement over what we had before. For us and the chickens. They absolutely love being out in the run by themselves!
In some sad news, we lost our first chick. We aren’t even really sure what caused it. We just noticed our little Salt was super quiet (very odd for her) and actively withdrawing from the flock. We brought her inside and Mel held her through the night until she passed. We did all we could and we knew going into this that chances of losing one of these little guys was pretty high.
Still, it was bummer for sure. RIP little Salty. We sure miss your salty ways.


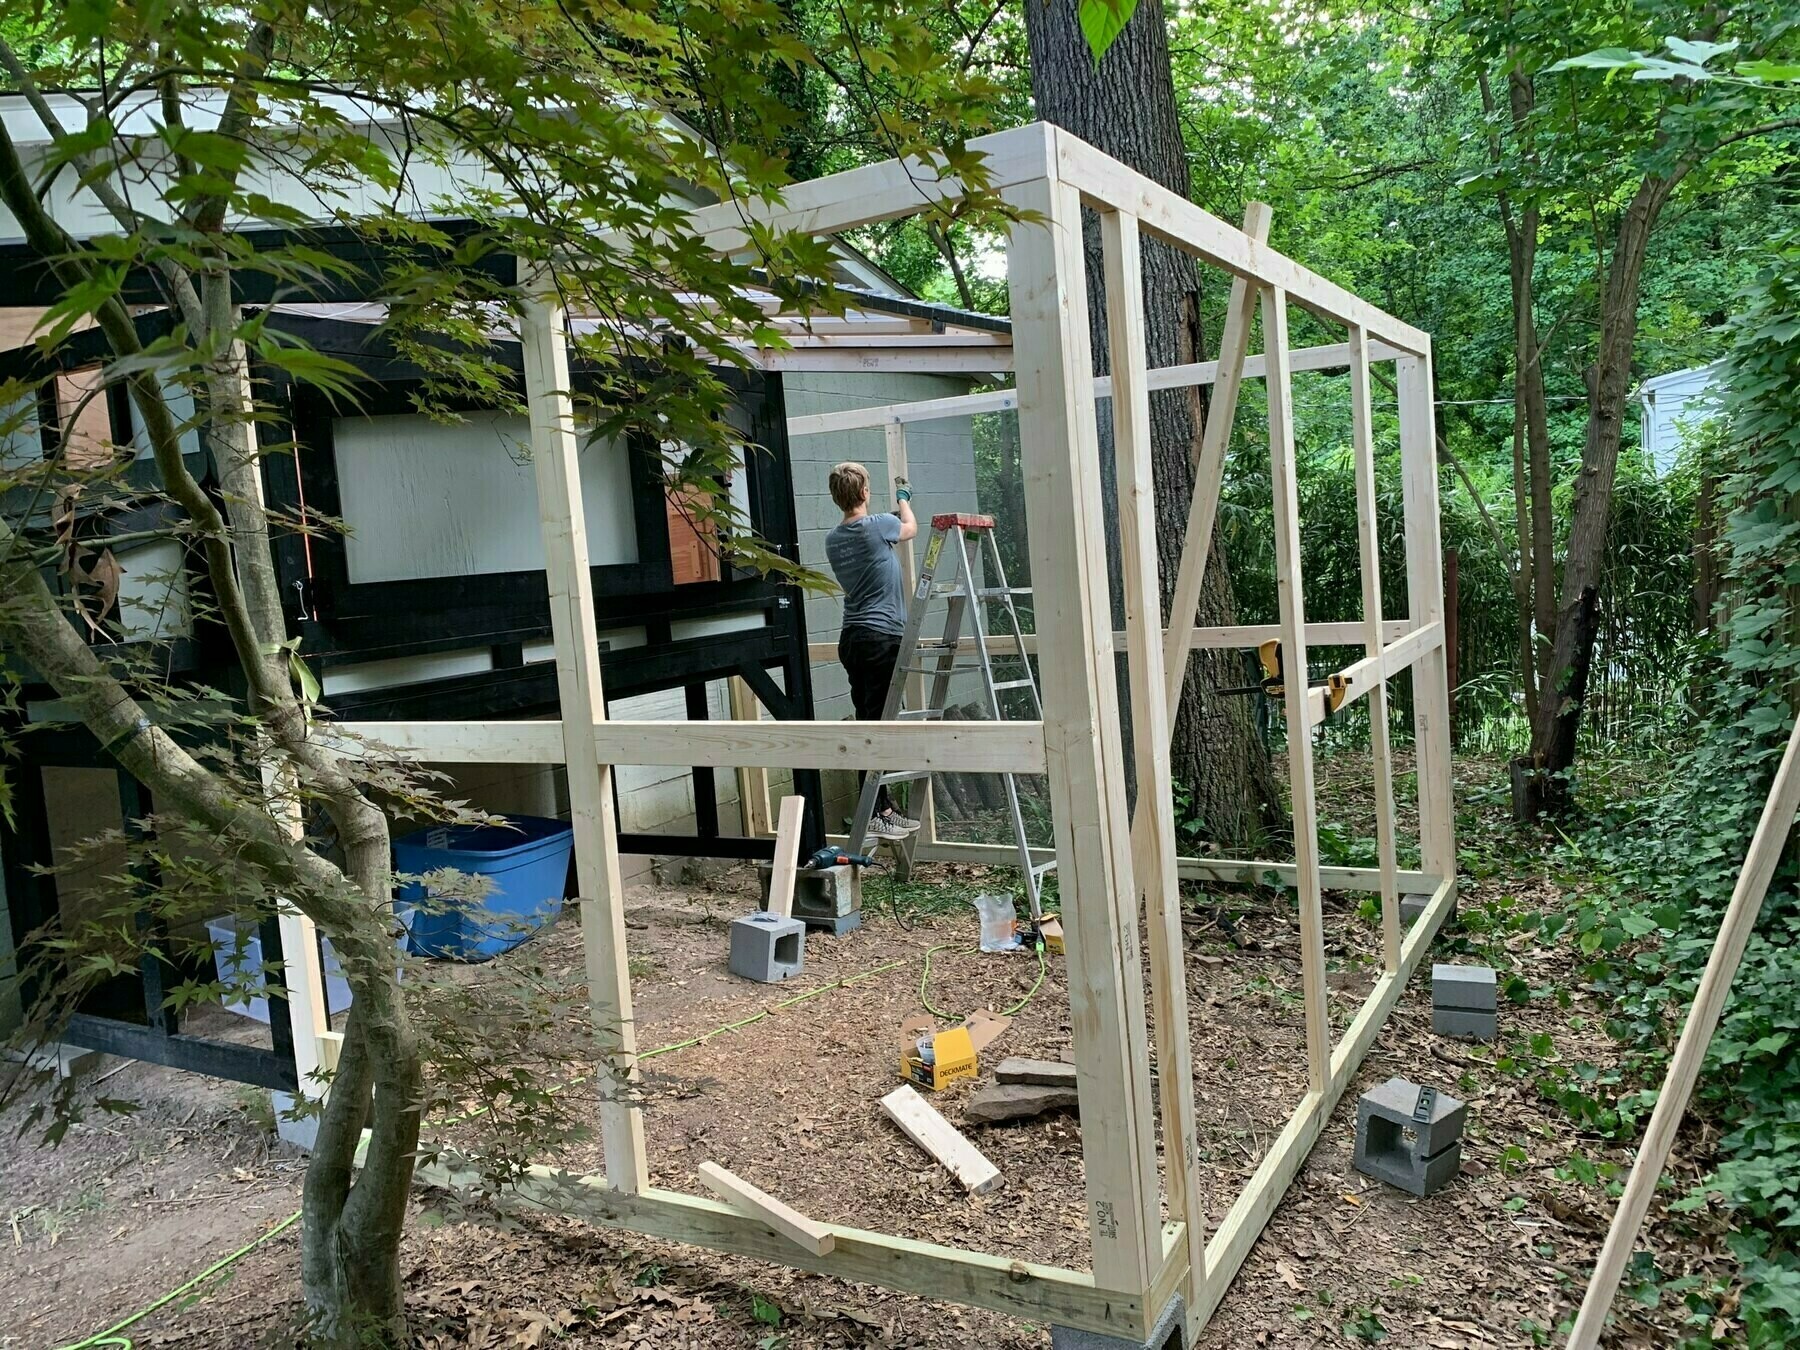
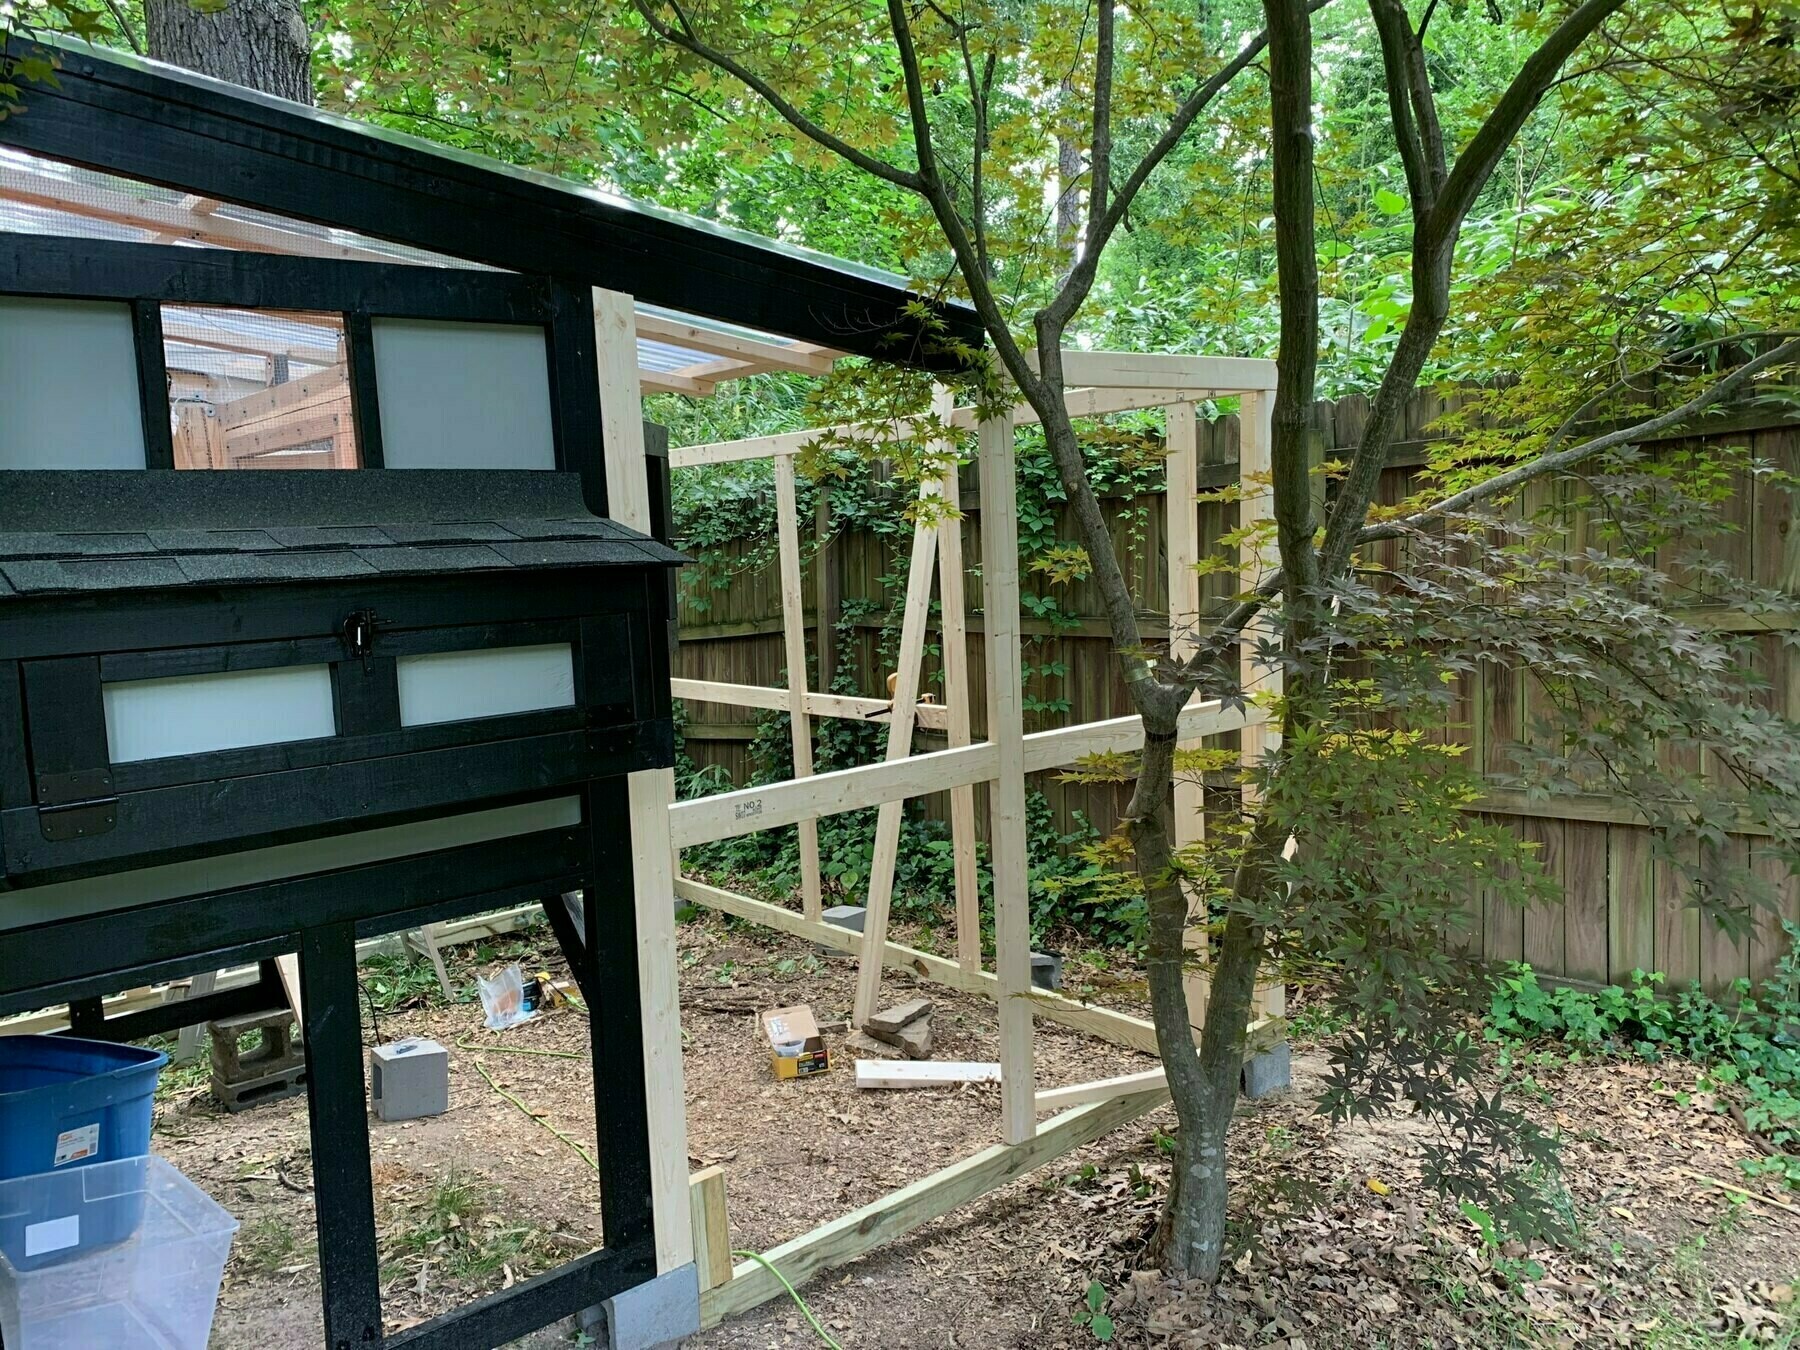
Coop Update 5 🐓: The walls of the run are complete!
We put in some serious time this week getting the walls of the run built, screened in with hardware cloth, and installing the predator apron. A few measurement issues aside, it went surprisingly smooth. Hardware cloth is not the easiest thing to manipulate but Mel did an incredible job finishing that up. I built the door into the coop as well as the mechanism to allow ourselves out of the run after locking it. Honestly, it all came out great and today? After installing the predator apron? We let the chicks out into the run! Needless to say, they had a blast and most certainly didn’t want to go back into the coop. 😄
The last bits left are the ramp down into the run from the coop and meshing in the “roof” of the run. Then, aside from some upgrades I have in mind, we are finally done and our chickens will have a safe environment to live out their chicken days!
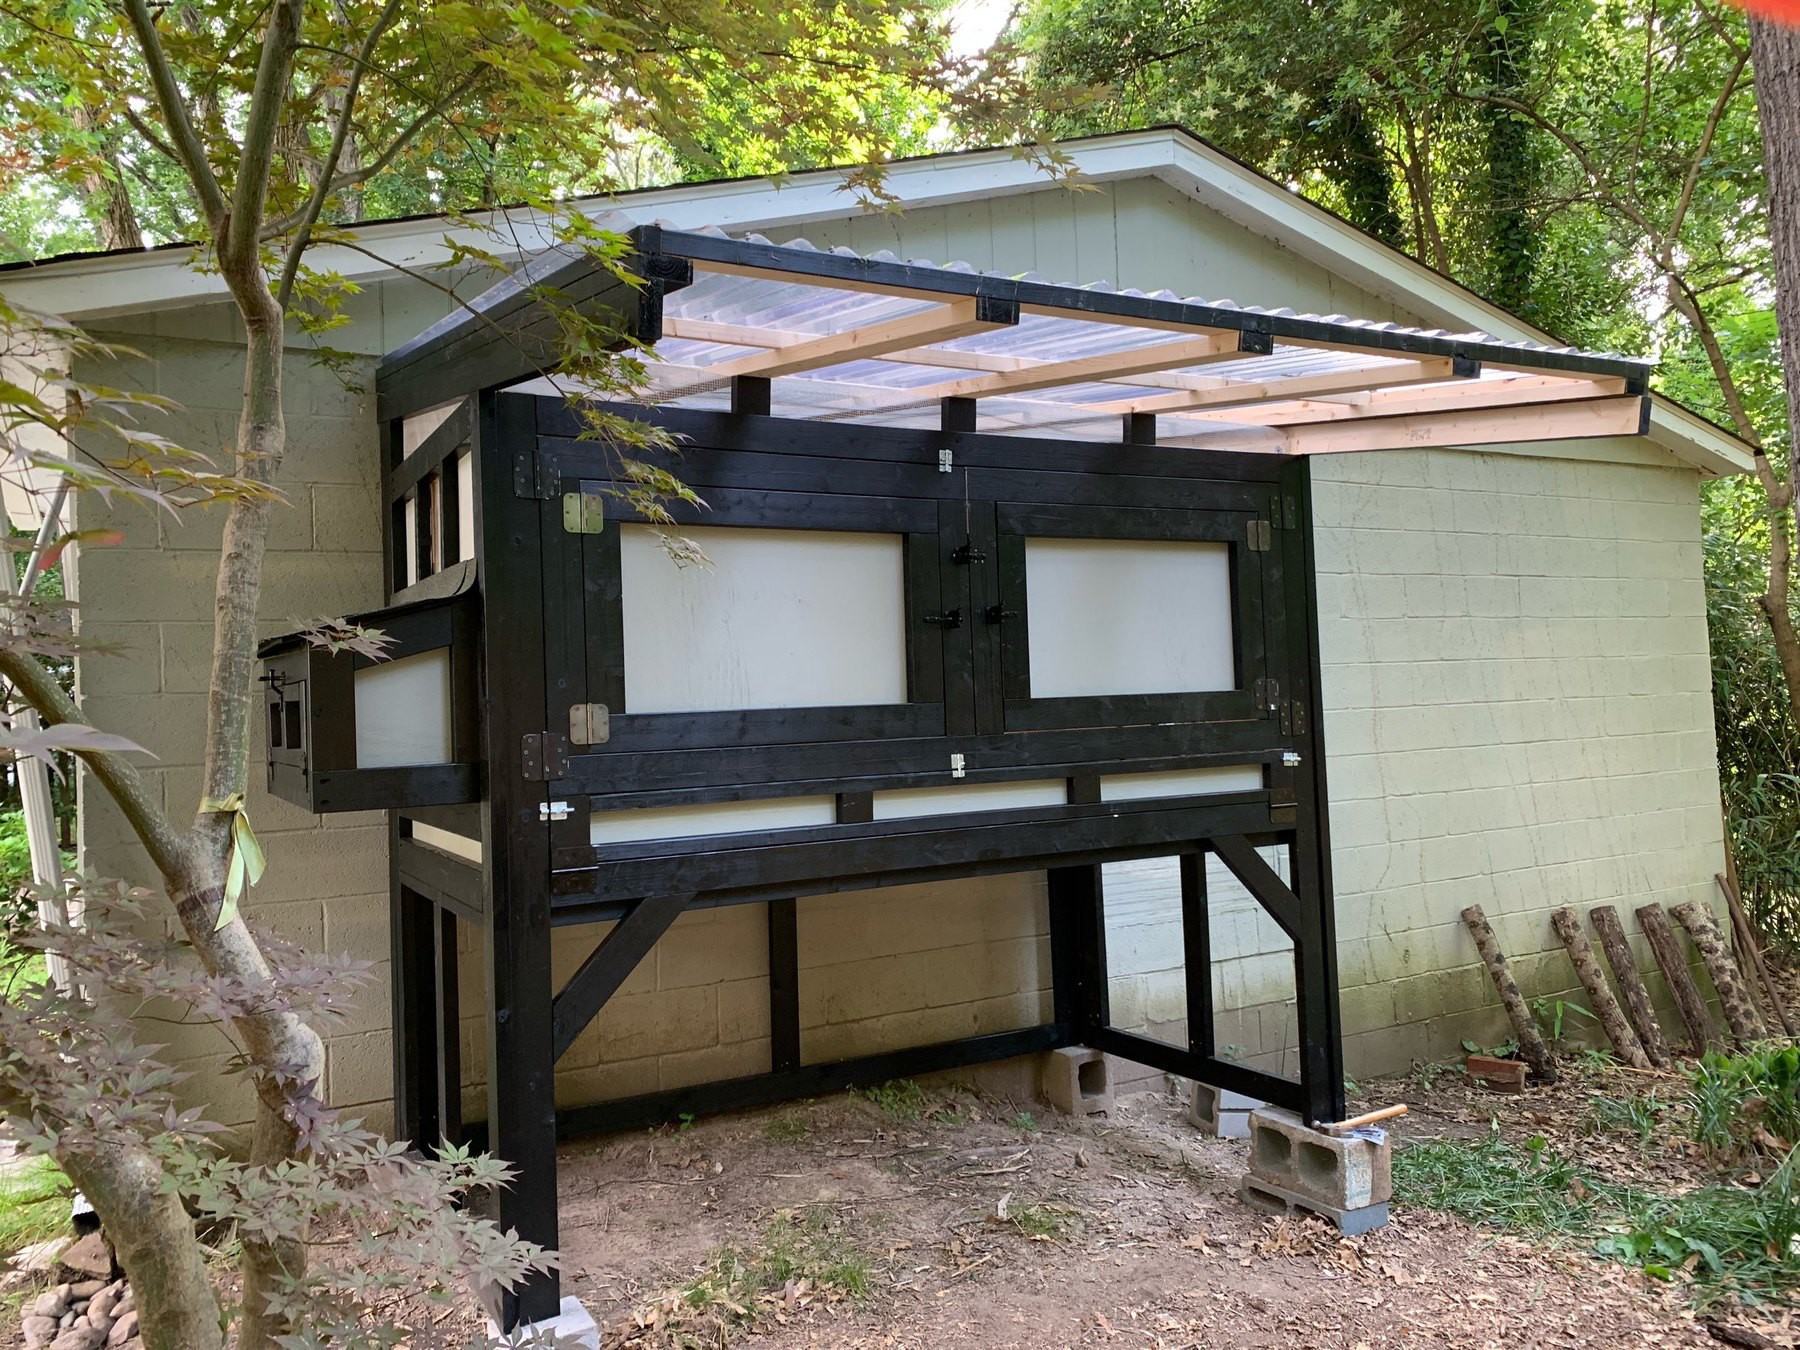
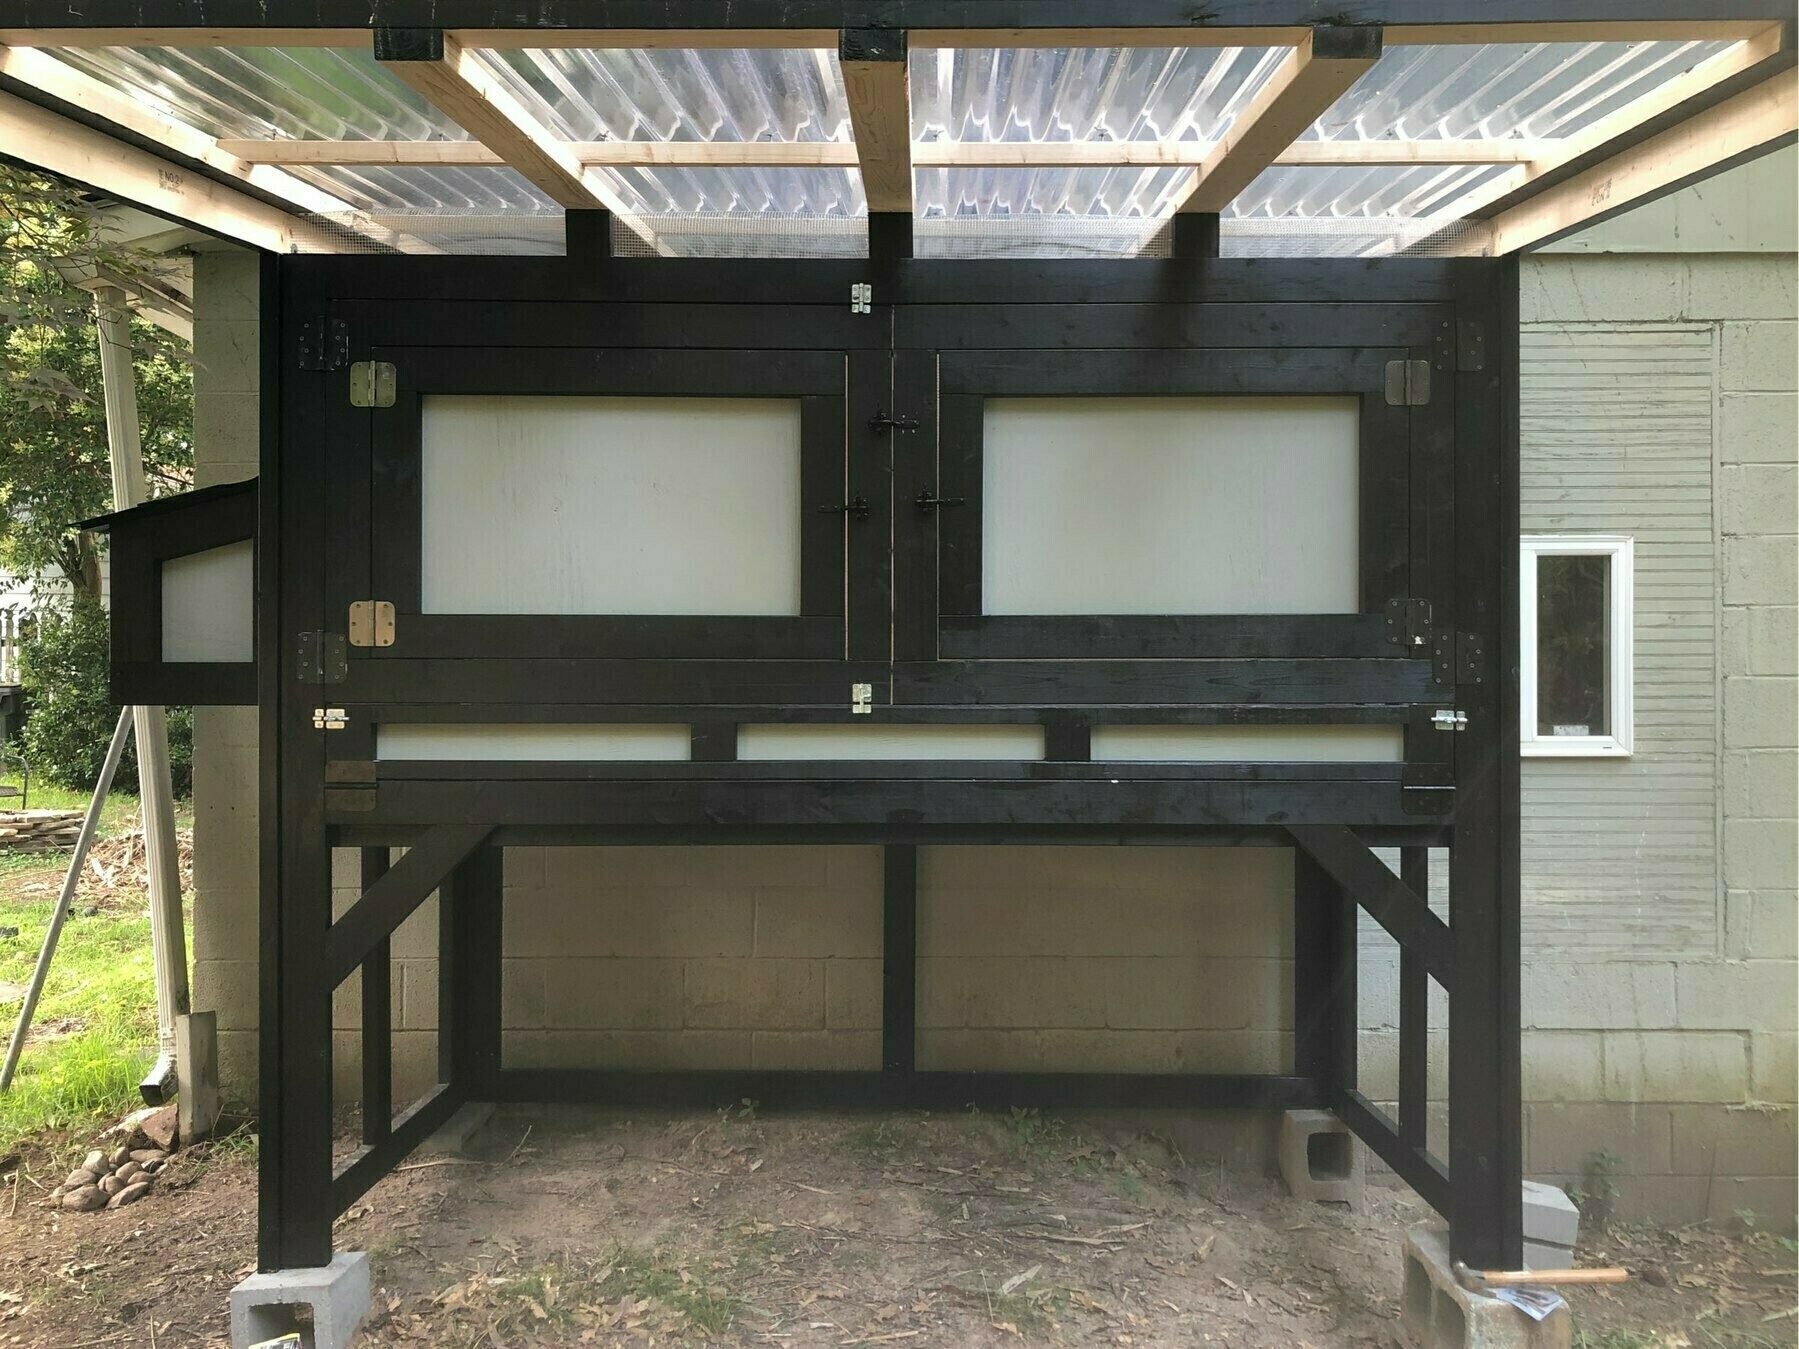
Coop Update 4 🐓: It's complete!
Been falling down the last few days on updates for this project but, I am happy to report that the coop itself is complete and we couldn’t be happier with how it turned out!
We learned sooooo much on working on this and there were definitely some moments at the end where we were close to throwing our tools into the next door neighbors' yards😅. But for every obstacle we encountered, we took a step back, readjusted, and found a way around it.
The biggest concern was making the coop structure itself predator-proof and I believe we accomplished that. No lie though, this thing weighs a TON!
With the chicks getting bigger by the day, the completion of this couldn’t have come at a better time. The plan is to move them out to the new space today and then get cracking on the run. We hope the construction of the run goes smoother. Though in truth, the coop could’ve gone so much worse.